
In my experience with woodworking, one of the key challenges I often face is dealing with cracks and knots in wood. These imperfections can affect both the look and strength of any wood project.
I’ve found that polyurethane is effective for filling knot holes and preventing cracks. It’s known for its durability and resistance to moisture, which is essential in woodworking.
In this article, I’ll share methods and tips on using polyurethane to achieve a great wood finish.
QUICK ANSWER:
Yes, polyurethane can effectively fill knots and cracks in wood. It offers a durable, moisture-resistant solution that ensures a smooth, long-lasting finish in woodworking projects.
Polyurethane To Fill Holes
One solution that comes to mind is polyurethane, but not necessarily straight up. A bit of sawdust from the wood being filled and a little polyurethane, and you might just have a good solution.
Using sawdust from the same wood will help match the color and blend in well for you. For small scratches and cracks, the polyurethane option may very well work for you, just as making a DIY wood filler from glue and sawdust can be. It’s an option.
Types of Polyurethane
Water-based Polyurethane
Probably the far more widely used of the types of polyurethane, the water-based version is exactly that. Water is the medium that blends polymers (a plastic substance) and urethane (something between plastic and rubber) into a very good wood finish.
When applied and dried, it forms a hard, waterproof plastic shell that is mostly heat-proof. We use this often in our shop with good results. It doesn’t penetrate the wood, forming that hard plastic film, but it does a great job.
Oil-Based Polyurethane

The older-developed wood finish uses an oil medium to carry the polymers and urethane; this one is less used today. The oil-based poly presents some challenges with odor, respiratory issues, longer drying time, and more difficult cleanup. However, in its defense, it does provide a more durable finish and can be a good choice for flooring because of the foot traffic and furniture it must endure.
For its ease of use and more friendly product to work with, water-based polyurethane is the more popular choice generally and will work well as a homemade filler medium mixture with sawdust to fill those small holes and scratches on the wood surface.

Varathane Scratch Repair Polyurethane pens can be a good choice for their ease of use. In fact, it is made specifically for that purpose.
Small scratches and scuffs on wood, even flooring, are fair game for this product and serve that purpose well. It’s extremely durable and won’t crack, and will fill them with a clear, hard finish that will match the surrounding sheen.
Using Polyurethane To Fill Cracks And Knot Holes

But is polyurethane a good choice for filling knot holes that will tend to be larger and deeper than scratches and small holes? Maybe not, no pun intended.
Knot holes will tend to be deeper than a scratch, and the depth will play a bit of a part in filling it. The woodworkers we spoke with, coupled with our own experience, tell us that the depth needing to be filled might be beyond a polyurethane to dry and cure fully. That will lead to an unstable filler, even with sawdust from the wood being filled and added to the mix.
Most of those we consulted tell us that an epoxy filler is better. A soft epoxy stick that will fit into a heat gun will fill the crack or knot hole fully and easily. Colored epoxy is an option, also, with black being a popular one.
Surrounding the knot hole or crack with pieces of tape will limit the spread of the epoxy and make the cleanup easier. After drying, the excess can be scraped off and then sanded with your orbital sander to a smooth finish flush with the surrounding wood surface.
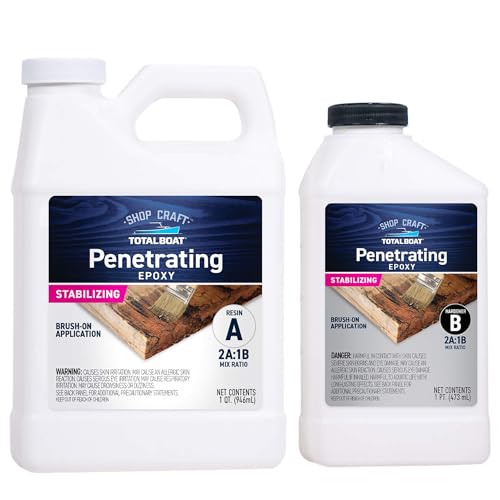
Epoxy is strong and waterproof. A low-viscosity epoxy to seal cracks and knot holes is a good choice. For small cracks and pinholes, choose a different epoxy; if epoxy is your preference, something like Total Boat Penetrating Epoxy is better suited for the smaller and more minor flaws.
A slow-drying epoxy (2 or more days) will allow any bubbles that have formed to rise to the surface and disappear. Epoxy resin will do the trick for you and fill the knot hole well and smoothly.
Wood Preparation for Filling a Knot Hole or Crack
There is no special preparation for the wood you are filling beyond normal preparation. Sanding and cleaning well, wiping with a tack cloth, and perhaps even vacuuming to remove all dust from the knot hole will be sufficient.
Remember that whatever is in the knot hole or crack when you fill it with a polyurethane/sawdust mixture or an epoxy will be there once the fill has dried and cured.
Post filling, and as we mentioned above, scraping away the excess filler you’ve chosen and sanding to smoothness is all that is needed. A colored epoxy, a black one, for instance, will make a more professional appearance for your project.
Of course, the knot or crack will not be hidden like paint will cover it. A primer like Bin or Kilz over the knot will then take the colored paint well, and the knot will be hidden if the knot hole itself has been filled with something.
If you’ve chosen the DIY solution of sawdust and poly, a little stain for the sawdust will help blend the filler in with the color of the stain you’ve chosen for your project. Again, this will give a more professional look, although some will argue that choosing a piece of wood with a knot hole in it might not make a good impression.
Here’s a good video that demonstrates how to fill knot holes with epoxy. It’s worth watching, and the process is not complicated.
We did find one solution for filling knot holes in our research for this piece that was unusual and worth passing on to you.
One woodworker poured glue into the knot hole and then jammed toothpicks into the hole until it was full. He waited until the glue was dried and cured, cut off the tops of the toothpicks, and used his orbital sander to smooth it all off.
That’s one way, we suppose, to fill a hole. We’d probably stay with colored epoxy for our knot holes, but for every woodworker, there are at least 3 solutions to everything, maybe more.
Last update on 2026-07-28 / Affiliate links / Images from Amazon Product Advertising API