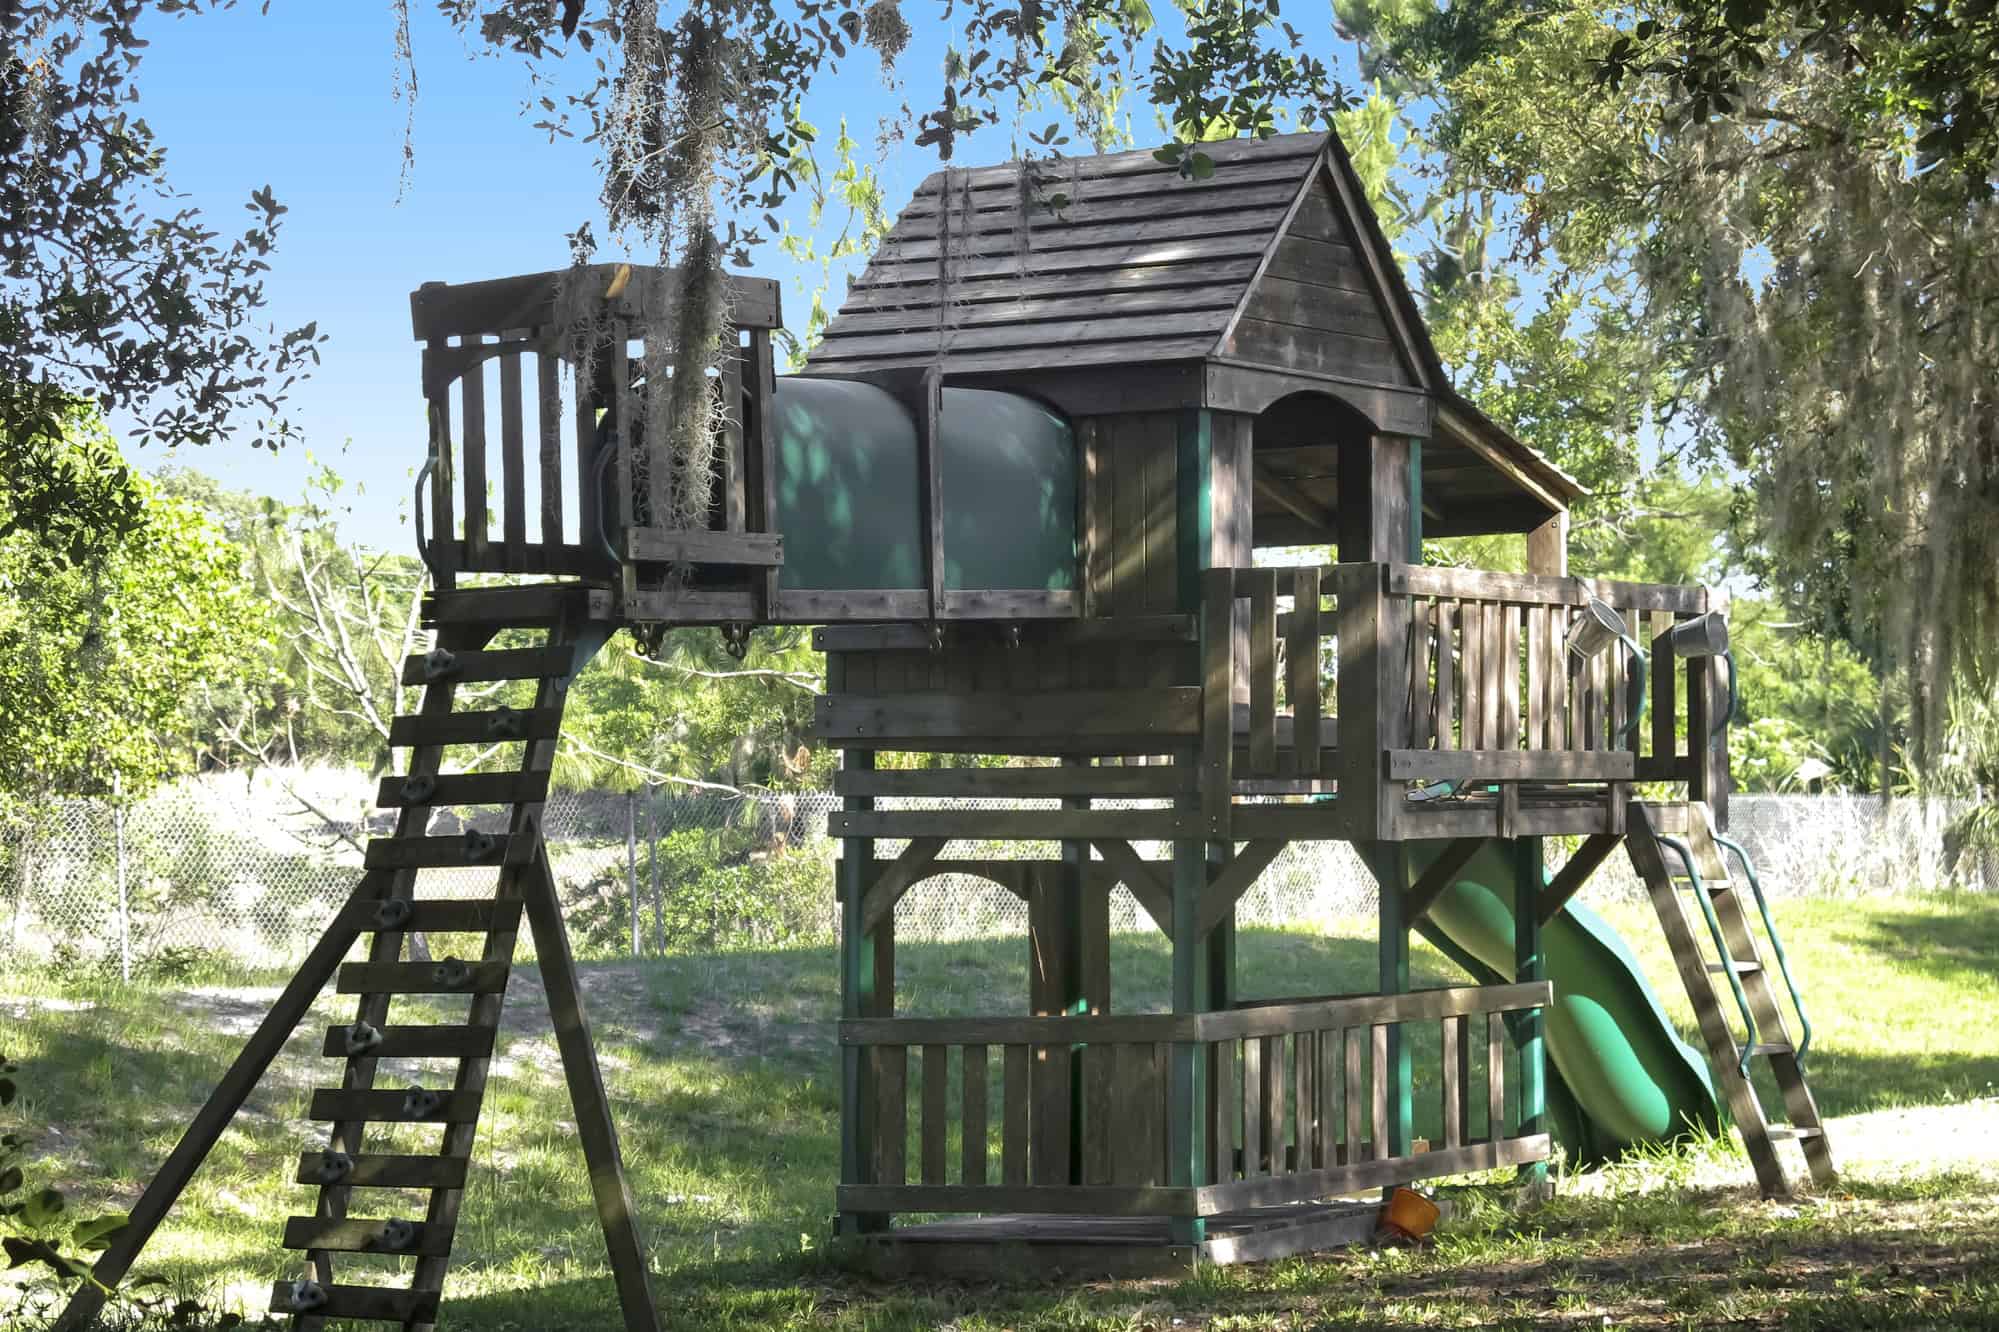
A wooden playset can take a beating over the years and a but a neglected one can become dangerous.
Sun, rain, and everyday use leave it faded, splintered, and sometimes unsafe. If yours looks like an eyesore, don’t assume it needs to go to the curb.
With a few basic tools and a weekend or two of work, you can bring it back to life for a fraction of the cost of replacement.
By the end, your kids will have a safe, splinter-free playset to enjoy, and you’ll have peace of mind knowing you prevented accidents while saving thousands of dollars compared to buying new.
Why Restore Instead of Replace?
Replacing a swingset can cost $2,000–$5,000.
Restoring typically runs $200–$400 for materials and $50–$100 for a pressure washer rental.
The difference is significant, and the end result is often just as functional.
Restoration gives you:
- A safe, splinter-free structure your kids will actually want to use
- Protection against rot, insects, and UV damage
- An updated look that blends into your yard
- Satisfaction knowing you extended its life with your own hands
Step 1: Inspect Before You Invest
Before buying supplies, spend 15 minutes doing a careful inspection. Think of it as a reality check to make sure the project is worth your time.
Check for Rot
- Probe posts, joints, and boards with a screwdriver. If it sinks in easily, the wood is compromised.
- Pay extra attention to areas touching the ground and to load-bearing posts.
- Dark spots, soft areas, or crumbling wood are all warning signs.
Check Hardware
- Wiggle swings, ladders, and rails. Anything loose needs tightening or replacing.
- Look for rust on bolts, screws, and chains. Light rust is okay, but severe corrosion isn’t.
- Make sure swing hangers are secure and not pulling away from the wood.
Check Surfaces
- Splinters where kids put their hands? Sandable.
- Mildew and dirt? Pressure washer will handle it.
- Faded color? Stain will bring it back.
When to Stop
Skip restoration if:
- More than 25% of the wood needs replacement
- Multiple posts are rotted
- The entire structure wobbles when pushed
- Hardware is rusted beyond recognition
If the main structure feels solid, you’re clear to move forward.
Step 2: Clean It Up
This is the most satisfying part of the project.
Years of grime, mildew, and dirt wash away to reveal the wood underneath.
Remove Accessories First
Take off swings, chains, handles, and climbing holds. Bag bolts and screws by location and label the bags.
Remove rotted boards you already know need replacing.
Pressure Washing Basics
- Rent a washer if you don’t own one — about $50/day
- Use soap nozzle for cleaner, then rinse with a 40° tip
- For stubborn areas, carefully switch to a 25° tip
- Always wear safety glasses and keep the wand moving to avoid gouging
After Washing
- Let the playset dry for 24–48 hours
- Lightly sand raised grain and rough edges with 150-grit sandpaper
- Focus on railings, ladders, and anywhere kids will grip
At this stage, your playset will already look dramatically better.
Step 3: Make Repairs
With the structure clean and dry, you’ll see exactly what needs fixing.
Wood Repairs
- Rotted boards: Replace them entirely. Cedar is recommended.
- Splinters: Smooth with 150-grit sandpaper.
- Minor cracks: Fill with exterior wood filler, sand once dry.
Hardware Repairs
- Replace bolts or chains that are heavily rusted.
- Stainless steel costs more but lasts longer outdoors.
- If bolts are stuck, try penetrating oil. In worst cases, drill them out.
Plastic and Rubber Parts
- Clean faded plastic handholds, sand lightly, and repaint with outdoor spray paint.
- Replace any cracked swing seats or worn chains — safety comes first.
Step 4: Apply Finish
The finish protects the wood and makes the playset look new again.
Stain vs. Sealant
- Stain: Adds color and protects from UV and moisture.
- Sealant: Clear protection that keeps the natural look.
- Stain + Sealer combo: Most beginner-friendly, offering color and protection in one step.
Best Choice for Playsets
A semi-transparent stain is the most popular.
It highlights the wood grain while adding even color, and it’s easier to apply evenly than solid stain.
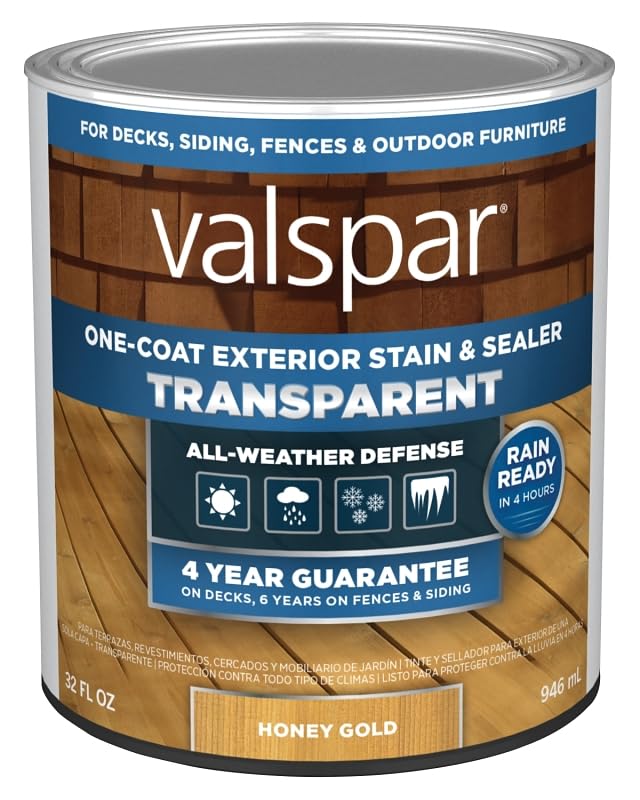
- Valspar STAIN&SEALER TRNSP HONY GLD QT VL1028071-14
Application Tips
- Work top to bottom
- Apply two thin coats, not one thick coat
- Brush or spray, but if spraying, back-brush immediately to prevent drips
- Avoid hot sunny days or imminent rain
- Wipe stain off hardware right away
After drying, the wood will look richer, smoother, and protected from the elements.
Step 5: Reassemble and Safety Check
Once the stain cures (24–48 hours), it’s time to put everything back.
- Use your labeled hardware bags and photos to reattach swings, handles, and accessories.
- Space swings at least 24″ apart with 6′ of clearance front and back.
- Check bolts for tightness, but don’t overtighten.
- Run your hands over every surface — no splinters or sharp edges should remain.
Finish with a push-and-pull test of the whole structure. It should feel solid and safe.
The Payoff
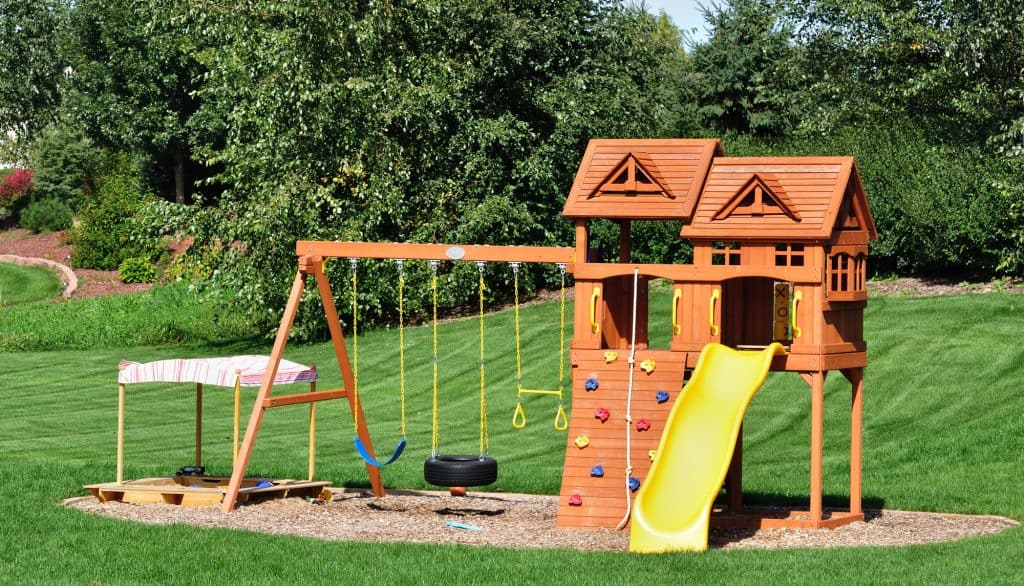
When you step back, the difference will be dramatic.
From a distance, it will look nearly new. Up close, some dings and marks may remain — but that’s the charm of a well-loved playset.
Most importantly, you’ve:
- Saved thousands compared to replacement
- Extended the life of your structure by years
- Made it safe for kids again
- Gained skills and confidence for future projects
Your kids won’t care about minor imperfections.
What they’ll notice is that their swingset feels brand new — and that’s what matters most.
Last update on 2026-03-05 / Affiliate links / Images from Amazon Product Advertising API