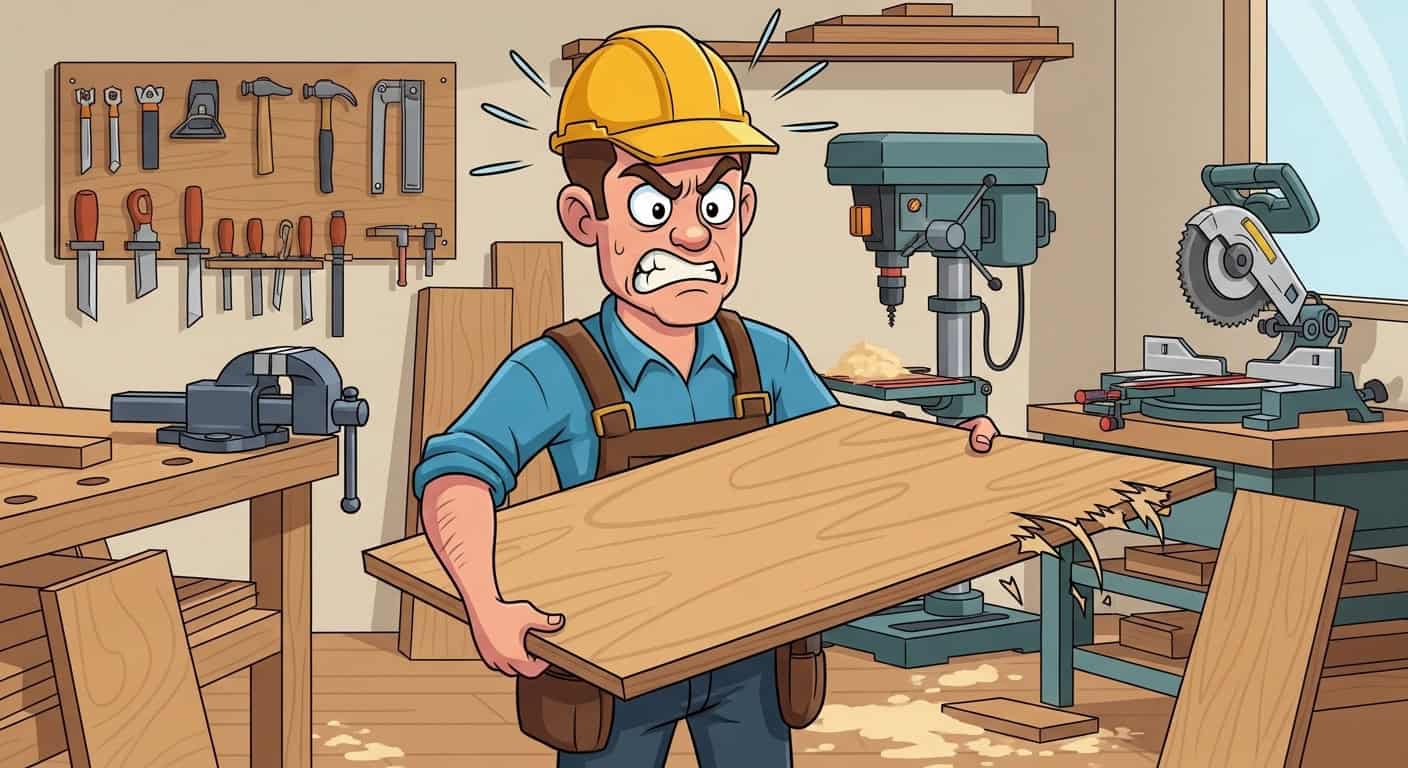
Nothing ruins a woodworking project faster than tear-out.
Those rough, splintered edges can turn what should be a clean cut into a frustrating setback, often requiring extra sanding or even scrapping the piece.
The key to preventing tear-out is supporting wood fibers so your blade slices cleanly instead of ripping them apart.
Over the years, I’ve learned that tear-out usually happens when fibers aren’t supported as the blade exits, leaving behind chips, fuzz, and splinters.
What Causes Tear-Out?
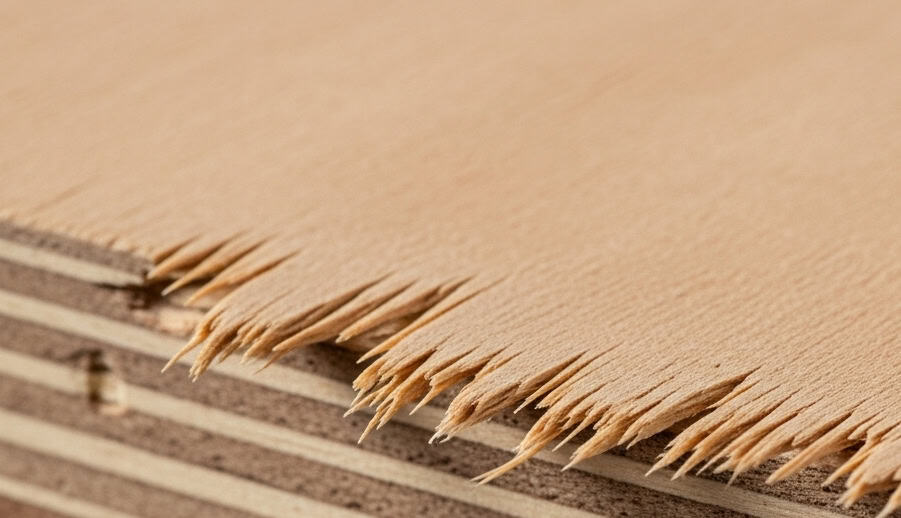
Tear-out occurs when the blade pushes wood fibers aside instead of severing them. It’s most obvious where the teeth exit the workpiece, usually on the bottom face.
Typical signs of tear-out:
- Splintered edges or chipped corners
- Rough, uneven cut surfaces
- Missing chunks or fuzzy fibers at the exit point
Common Causes
- Dull or wrong blade – Fewer teeth or chipped carbide tips tend to rip instead of slice.
- Wide throat plate gap – Standard inserts leave space for fibers to bend and break.
- Incorrect feed rate – Too fast rips fibers, too slow burns wood.
- Blade height – Too high exposes more teeth, increasing tear-out risk.
Grain Direction
- Crosscuts are the worst for tear-out since fibers run perpendicular to the blade.
- Rip cuts usually fare better because the blade follows the grain.
- Dense hardwoods with interlocked grain (like oak or maple) splinter more easily.
Choosing and Maintaining the Right Blade
A sharp, well-matched blade is the single most effective way to reduce tear-out.
Blade Types
- Crosscutting: 60–80 tooth ATB blade for clean slices across the grain
- Ripping: 24–30 tooth flat-top blade for efficient cuts along the grain
- Combination: 40–50 tooth mix (ATB + flat top) for general shop use
- Specialty: Triple-chip grind blades for melamine, veneer, or delicate surfaces
Blade Care
- Clean resin/pitch buildup to restore performance.
- Watch for burn marks, rough edges, or extra push force—all signs of a dull blade.
- Sharpen professionally when cleaning doesn’t help.
Saw Upgrades That Make a Difference
Zero-Clearance Inserts
These support fibers right at the blade, reducing tear-out by as much as 90%. They also improve dust collection and safety.
Custom inserts can be cut to fit standard or dado blades.
Throat Plates
Choose durable materials: phenolic (best), aluminum (long-lasting), or MDF (budget-friendly).
Always keep plates flush with the table surface to prevent lips that catch wood.
Fence and Miter Slot Alignment
A misaligned fence binds the workpiece and increases tear-out. I keep mine within 0.002 inches of parallel.
Crosscut sleds and gauges should fit snugly with no play.
Supporting the Workpiece
Sacrificial Fences
Attach scrap wood to your fence or miter gauge so the blade exits into it instead of your workpiece. Replace when too chewed up for clean backing.
Painter’s Tape
Apply tape directly along the cut line. It holds fibers in place and works especially well for plywood or veneer. Peel immediately after cutting.
Stability
Prevent vibration by keeping boards flat against the table and fence. Use push sticks, featherboards, or roller stands for long pieces. Stability is key to letting the blade slice instead of tear.
Cutting Techniques That Prevent Tear-Out
Feed Rate
Maintain a steady, moderate pace.
- Too fast: Rough edges, bogging motor.
- Too slow: Burn marks, excessive friction.
Grain Direction
Plan cuts so the clean face is where tear-out would show the least. Feed with the grain whenever possible.
Multiple Passes
Take several shallow passes instead of one deep cut, especially in thick or hardwood stock. This reduces blade stress and produces a cleaner edge.
Sanding
Even with clean cuts, I finish with a sanding sequence (120 → 150 → 220 grit) along the grain for smooth, professional edges.
Choosing the Right Wood and Preparing Stock
- Straight-grained boards cut cleaner than interlocked or highly figured ones.
- Quarter-sawn lumber tends to splinter less than plain-sawn.
- Avoid knots near cut lines when possible.
Prep Steps:
- Joint one face flat
- Plane to thickness
- Joint one edge straight
- Rip to width
Proper moisture content (6–8%) and acclimation also help prevent unpredictable fiber tearing.
Preventing tear-out isn’t about one trick—it’s the combination of sharp blades, proper support, good technique, and careful prep.
With these methods, I’ve consistently turned rough, splinter-prone cuts into clean, professional edges that need little sanding.