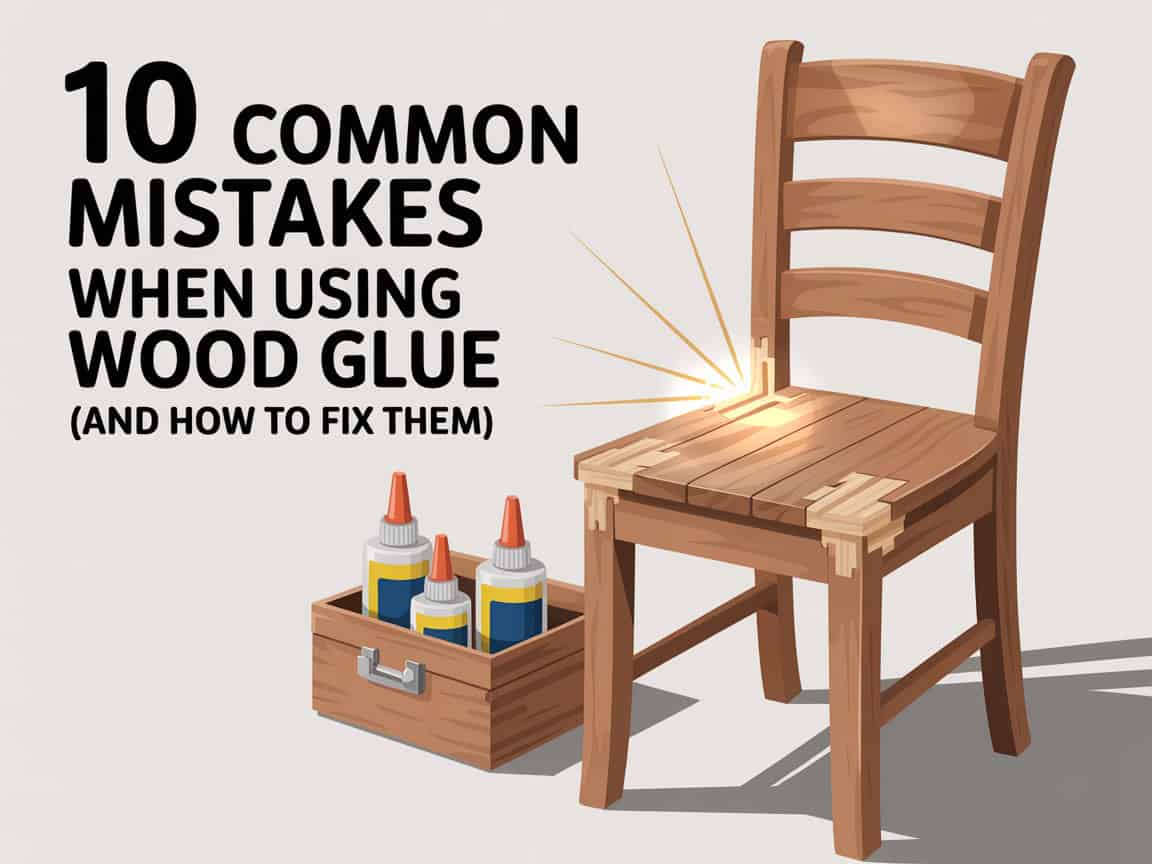
I’ll be the first to admit it—I’ve made just about every mistake possible when using wood glue. From slathering on way too much, to pulling clamps off too early, to wondering why my joints weren’t holding, I’ve learned the hard way more than once.
If you’ve been frustrated by glue squeeze-out, weak joints, or finishes that don’t look right, you’re definitely not alone.
These mistakes are easy to make, but the good news is they’re just as easy to fix once you know what to look out for.
In this post, I’ll walk you through the 10 most common wood glue mistakes and share the simple fixes I’ve picked up along the way. Hopefully, you can skip the trial and error and get straight to strong, clean joints that actually last.
1. Using Too Much Glue
Applying too much glue is one of the first mistakes many woodworkers make. The result is a joint that oozes glue everywhere, leaving stains on the surface that can be difficult to remove later.
Excess glue squeeze-out may also interfere with finishes, leaving behind shiny spots that don’t take stain or polyurethane evenly. It creates extra work and often compromises the final appearance of your project.
How to fix it: Apply a thin, even layer of glue to the surfaces being joined. A small brush, roller, or even a finger covered with a glove works well to spread glue without leaving thick beads.
2. Not Using Enough Glue
The opposite problem is just as bad. Using too little glue leads to starved joints that don’t bond properly.
This often happens when woodworkers try to avoid squeeze-out and under-apply adhesive. The result is gaps in the glue line and a joint that can split apart under stress.
How to fix it: Start with a light bead across the length of the joint, then spread it evenly. Each mating surface should look wet and covered, but not dripping.
3. Poor Surface Preparation
Another mistake is skipping surface prep. Wood glue can’t bond properly if the surfaces are dirty, dusty, or rough.
Glue needs direct contact with wood fibers to penetrate and create strength. Sawdust, oil, or even uneven planing will block that connection.
How to fix it: Always make sure your surfaces are smooth and clean before gluing. A quick pass with sandpaper (120–150 grit) is usually enough to ensure even contact.
4. Not Clamping Correctly
Even if you apply glue perfectly, poor clamping can ruin the bond. Too little pressure means the joint doesn’t close fully, while too much pressure can squeeze out all the glue.
Misaligned clamps can also cause the wood to shift, leaving you with uneven joints that are weaker and harder to fix later.
How to fix it: Use clamps that apply firm, even pressure across the entire joint. When tightening, stop as soon as you see a thin, consistent bead of glue appear along the seam.
5. Rushing the Drying Time
One of the most frustrating mistakes is rushing the glue’s drying and curing process. Removing clamps too early or putting stress on the joint before the glue has cured weakens the bond.
Wood glue needs time to penetrate the fibers and fully harden. Handling joints too soon may not cause immediate failure, but the bond will never reach its full strength.
How to fix it: Always follow the manufacturer’s drying recommendations. Most PVA glues require at least 30 minutes of clamping and 24 hours before full strength is achieved.
6. Using the Wrong Type of Glue
Not all wood glues are the same. A glue that works perfectly for indoor furniture may fail quickly on an outdoor project.
Using the wrong formula can lead to joints that break down when exposed to moisture, heat, or heavy loads.
How to fix it: Choose glue based on the project’s needs. PVA glues like Titebond Original are fine for indoor furniture, but exterior projects require waterproof formulas such as Titebond III.
7. Ignoring Open Time
Every glue has a working window, often called open time, before it begins to set. If you take too long, the glue can start to skin over and lose its ability to bond.
This often happens when assembling large or complex projects where multiple joints need gluing at once.
How to fix it: Plan your glue-up in advance. Do a dry run with clamps before applying glue to ensure you know the order of assembly.
8. Failing to Spread the Glue
Simply squeezing a bead of glue onto the joint and clamping it together isn’t enough. The glue won’t naturally spread evenly, leaving dry spots or weak bonds.
This is especially true for wide surfaces like panels or edge joints, where coverage matters most.
How to fix it: Always spread glue before clamping. Use a brush, roller, or spreader card to ensure full coverage across the entire surface.
9. Wiping Squeeze-Out Too Soon
A common mistake is wiping away glue squeeze-out while it’s still wet. This spreads glue into the surrounding wood grain, which can later resist stains and finishes.
It may look clean in the moment, but once the finish goes on, those spots stand out.
How to fix it: Let squeeze-out partially dry before removing it. Once it turns rubbery, you can peel or scrape it off cleanly without smearing it into the wood fibers.
10. Not Considering Temperature and Humidity
Wood glue performance changes with temperature and humidity. In cold conditions, glue thickens and cures more slowly, while heat and humidity can speed up drying and reduce open time.
Ignoring these factors often leads to weak joints or rushed assemblies.
How to fix it: Check the glue manufacturer’s recommended temperature range. Most PVA glues perform best between 50°F and 80°F.
Final Thoughts
I’ve learned the hard way that wood glue can be both your best friend and your biggest headache. Most of my early mistakes came from rushing, not prepping properly, or just not knowing what the glue actually needed to work right.
The good news is once you get the hang of it, these problems are easy to avoid. By keeping an eye on the amount of glue, clamping with care, and giving it enough time to cure, you’ll save yourself a lot of frustration.
I still make the occasional slip-up, but every mistake has taught me something that makes the next project stronger and cleaner. Hopefully, these tips save you from a few of the headaches I’ve already had.