This project was built and designed by Nick from Rocky River Woodworks. It’s a simple, budget-friendly tray that’s perfect for beginners and a great way to start building confidence with woodworking tools and techniques.
Designed to be both functional and decorative, this tray makes a great gift, household accessory, or entry point into selling handmade items. With a few basic tools and materials, Nick shows how easy it is to build something useful without needing a full workshop.
Watch the full video and subscribe to Nick’s channel:
Why Make a Rustic Serving Tray?
This project strikes a nice balance between skill-building and usability. It’s simple enough for someone new to woodworking, but polished enough to be gift-worthy or sold at craft fairs and markets.
Rustic trays are versatile—used for serving drinks, holding candles or flowers, or simply as a centerpiece on a table. Their simplicity allows beginners to focus on accuracy and finish without worrying about complicated joinery or advanced tools.
Tools and Materials Overview
Nick keeps the material list short and affordable. Most of what’s used can be picked up at any home improvement store, and many woodworkers will already have some of these items on hand.
The tray uses common pine boards for the base and sides. Other materials include wood glue, brad nails or screws, handles, wood stain, and a clear protective finish. For tools, a circular saw or miter saw is needed for cuts, a drill for the handles, and a sanding sponge or palm sander for cleanup.
Cutting and Prepping the Boards
The project begins with cutting all the boards to length. The longer pieces make up the base, while the shorter ones form the tray’s ends. Accuracy during this step is key—tight, flush joints make the final piece look intentional and clean.
Nick lays out the good sides of the boards to face up before assembly. This way, any imperfections or markings are hidden underneath or on the back. Even without a miter saw, a careful setup with a circular saw will work well.
Assembly and Joinery Tips
To assemble the tray, the end boards are secured perpendicular to the base boards. Brad nails or trim nails are the fastest method here, but screws can be used if needed. Nick also demonstrates how wood glue alone can hold everything in place when clamps are applied for pressure.
Making sure the tray is square during this step is essential. Checking alignment before final fastening helps avoid gaps or uneven edges that can throw off the finished look.
Sanding for Comfort and Appearance
The tray is lightly sanded once the structure is complete. While the goal isn’t a silky-smooth finish, knocking down any sharp edges makes the tray safer and more comfortable to handle.
A sanding sponge works great for this task, especially on softwoods like pine. It helps maintain the rustic texture while smoothing over any rough cuts or raised grain.
Applying Stain and Finish
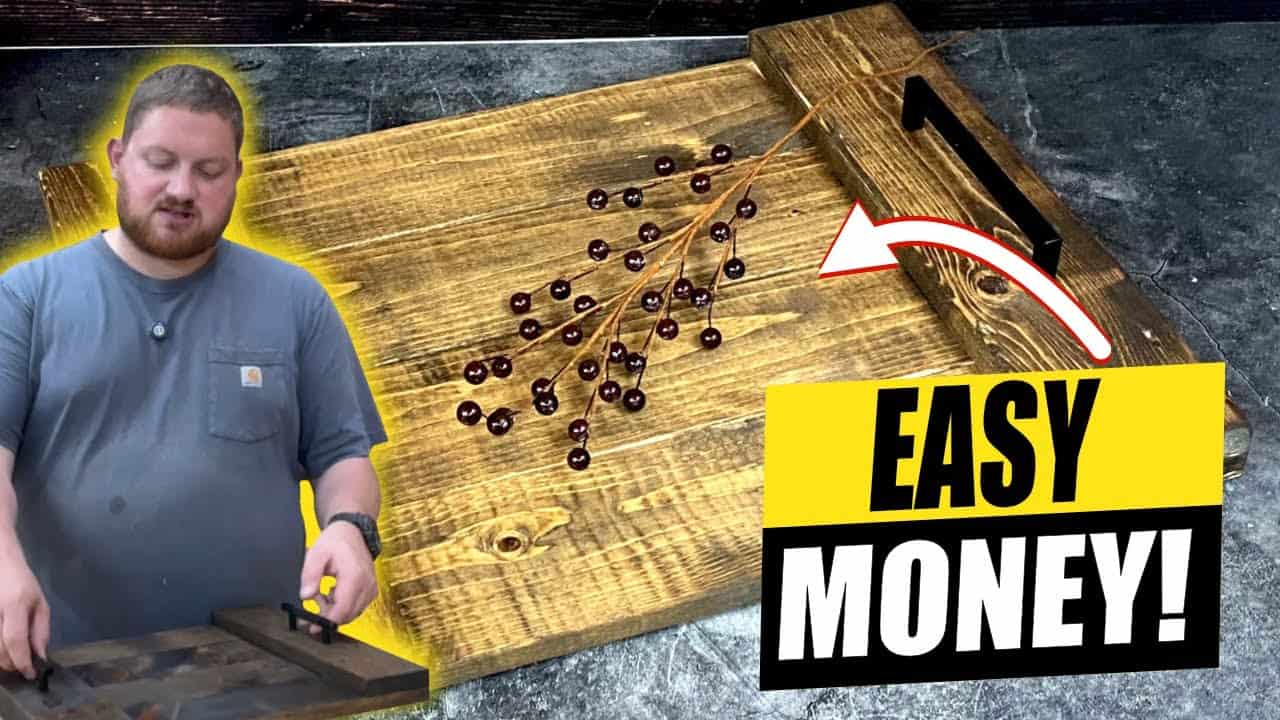
Nick chooses a dark walnut stain to bring out the grain and give the tray a warm, rustic tone. The stain is applied generously, then wiped back to highlight the natural texture of the wood.
After staining, a clear coat is added to protect the surface. Spray lacquer or wipe-on polyurethane both work well here, depending on your preference. The goal is a protective layer that won’t change the color too much but still seals the surface from moisture and wear.
Installing the Handles
The final touch is attaching a pair of simple handles. These not only make the tray easier to carry, but also give it a more finished and balanced appearance.
Nick measures carefully to center the handles on each end. After marking and drilling pilot holes, the handles are screwed into place. With this final step complete, the tray is ready for use or display.
Practical and Sellable
This is one of those projects that’s just as useful as it is teachable. It’s a great first build for someone testing out woodworking as a hobby, and it offers an easy product idea for those looking to sell at markets or online.
Because the cost of materials is low, each tray can be made for under $20. Depending on finish quality and hardware, they can easily sell for $35 or more—providing a solid return on your time and effort.
A Smart First Step Into Woodworking
Nick’s tray project offers everything a beginner needs: a short material list, basic tools, and results that feel professional. It’s also a great reminder that woodworking doesn’t need to be complicated or expensive to be satisfying.
For anyone new to the shop or looking for a quick win, this rustic tray is a great way to get started.
Please support Nick by visiting his website here: https://www.rockyriverwoodworks.com/.

Matt’s Take
These are my personal thoughts and tips based on my own experience in the shop. This section is not written, reviewed, or endorsed by the original creator of this project.
What I really like about this tray design is how it demonstrates that good woodworking doesn’t require fancy joints or expensive lumber. Pine boards from the home center work perfectly here, and the rustic aesthetic actually benefits from the natural character marks and grain variations you’ll find in construction lumber. Just make sure to select your boards carefully at the store—look for pieces that are reasonably straight and avoid any with large knots near where you’ll be cutting.
One thing worth emphasizing is the importance of that initial layout step where you identify the best face of each board. Taking an extra few minutes to arrange your pieces so the nicest grain faces up will make a huge difference in the final result. Also, when you’re drilling for those handles, backing up your workpiece with scrap wood will prevent tearout on the back side—nothing ruins a clean look quite like splintered exit holes.
The finishing approach here is spot-on for beginners. Dark walnut stain is forgiving and hides minor imperfections while giving inexpensive pine a more premium appearance. If you’re nervous about staining, test your technique on a scrap piece first. Pine can be a bit blotchy, so consider a pre-stain wood conditioner if you want an even more uniform look.
This project hits that sweet spot where the skills you learn—measuring, cutting square, basic assembly—transfer directly to more complex builds down the road. Plus, having a finished piece you can actually use in your kitchen gives you that satisfying sense of accomplishment that keeps you coming back to the shop.