

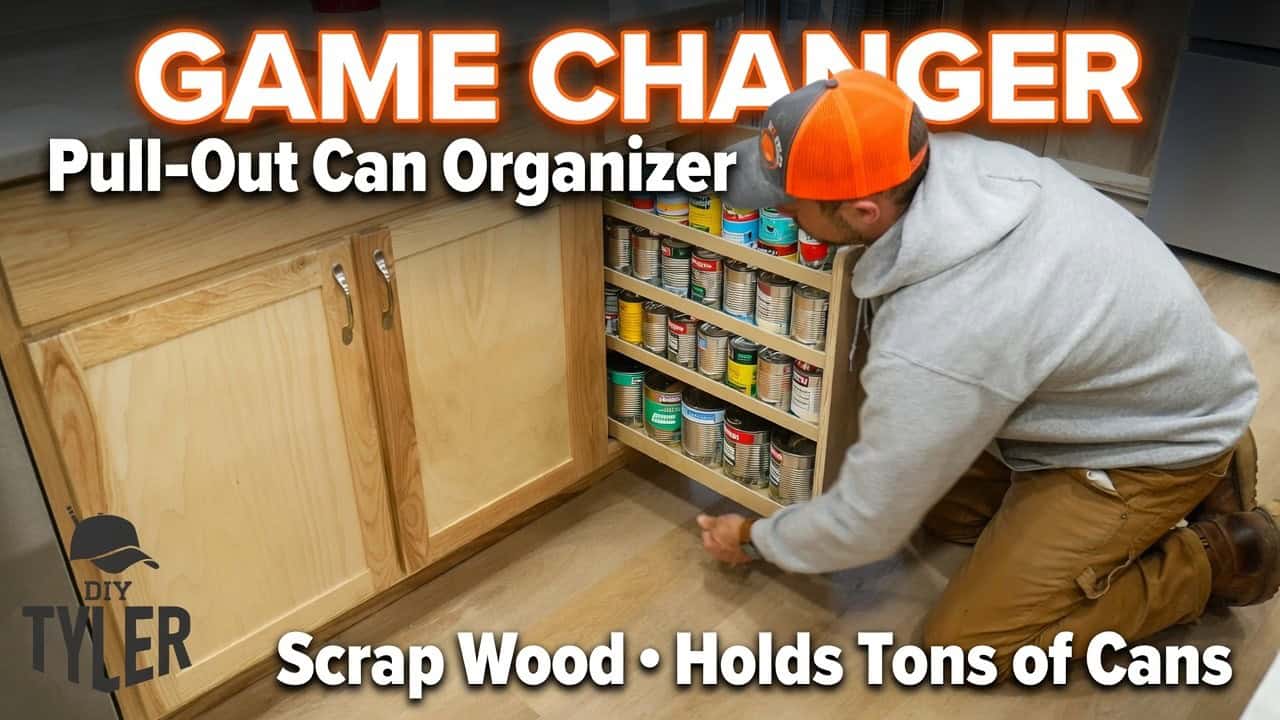
This project was built and designed by Tyler from DIYTyler.
With a new kitchen renovation come new storage challenges, and Tyler tackled one of the most common ones: keeping canned goods organized without letting them pile up in the pantry. Using leftover scrap material from the kitchen build, he put together a compact pull-out can organizer designed to fit into a tight, custom space while still holding a large quantity of cans.
Watch the full video and subscribe to DIYTyler:

Design and Purpose
The goal behind this build was simple: make the most of a narrow, condensed cabinet space so it could hold as many cans as possible while remaining easy to access. Tyler has built similar can racks in previous projects, so this version builds on lessons learned from those earlier attempts, refining the layout for better efficiency.
Rather than buying new material, he opted to use scrap plywood left over from the broader kitchen build. This approach not only cut down on waste but also kept the project cost-effective, since most of the material was already on hand from other parts of the renovation.
Breaking Down the Material
Since the plywood came in large sheet form, Tyler needed a way to break it down into manageable pieces before moving to more precise cuts. He used a track saw to make initial rough cuts, which is especially useful for anyone without easy access to a table saw or working in a smaller shop space.
He pointed out that this method is particularly handy for those with shops in a basement or other hard-to-reach area, since breaking down large sheets before moving them downstairs makes the material much easier to handle. After the initial rough cuts, he moved to the table saw for more accurate sizing, a combination that speeds up the entire cutting process.
Assembly with Pocket Hole Joinery
For joining the pieces together, Tyler relied on pocket hole joinery, a fast and reliable method for building simple boxes and drawer-style organizers like this one. Using a cordless pocket hole jig kept the workflow efficient, since there was no need to stay tethered to an outlet or worry about a cord getting in the way while maneuvering the workpieces.
This kind of joinery is a great option for shop projects that don’t require show-quality joinery, since it’s quick to execute and plenty strong for cabinet-style builds. It also allowed him to move through assembly without a lot of extra clamping or waiting on glue in awkward positions.
Installing the Slides and Final Fit
To make the can organizer function like a proper pull-out drawer, Tyler installed heavy-duty undermount drawer slides rated to hold a substantial amount of weight. This ensures the unit can be packed full of cans without any concern about the slides failing or sagging over time.
Once installed, he noted that the fit was a little tighter than he originally planned, ideally wanting a bit more clearance on the sides. Even so, the snug fit worked out fine functionally, and the organizer slid into place and operated smoothly.
Bringing It All Together
With the build complete, Tyler immediately put it to use by transferring cans that had been stacked in the pantry into the new pull-out organizer. The compact design freed up a noticeable amount of pantry space, and there’s still room to add another similar unit elsewhere in the kitchen for even more storage.
This project is a great example of how a small, well-thought-out storage solution can make a big difference in kitchen organization. It also shows how leftover scrap material from a larger renovation can be repurposed into something genuinely useful rather than tossed aside.
See Tyler’s plans here: https://www.diytyler.com/shop/

Matt’s Take
These are my personal thoughts and tips based on my own experience in the shop. This section is not written, reviewed, or endorsed by the original creator of this project.
Breaking down plywood with a track saw before hitting the table saw is a trick more people should use, even outside of basement shops. A full sheet of plywood is awkward and heavy for one person to control safely on a table saw, so cutting it down into rough sections first just makes the whole process safer and more manageable. If you don’t have a track saw, even a straightedge clamped down with a circular saw does the same job.
Pocket screws are a smart call for something like this. There’s no reason to reach for dominoes or dovetails on a utility piece that’s going to live inside a cabinet where nobody sees the joinery. Just make sure you’re using the right screw length for your material thickness, and don’t skip clamping the pieces flush before driving screws, since pocket holes can shift material slightly if you’re not careful.
Undermount slides are a great choice for anything holding real weight like canned goods, but they do require pretty precise cabinet openings to work smoothly. That tight fit mentioned in the build is a common experience with undermount slides in general, since they need consistent clearance on both sides to operate without binding. If you’re building something similar, it’s worth dry-fitting your slides before final assembly so you can make small adjustments while there’s still room to do so.
Repurposing scrap plywood like this is also just good shop practice. Kitchen builds generate a lot of usable offcuts, and keeping a scrap pile organized by thickness makes it much easier to pull material for smaller projects like this one down the road.