

Walk into a house that’s been quietly cared for and you feel it before you can name it.
The light hits clean walls. The doorknobs match. Nothing yellowed, nothing dated, nothing screaming “builder special from 2004.”
Most of that feeling doesn’t come from a gut renovation. It comes from a stack of small, cheap changes that add up.
You don’t need a contractor and a second mortgage. You need a free weekend, a few gallons of paint, and a list of the moves that actually move the needle.
Here are 32 small upgrades that punch far above what they cost.
1. A Fresh Coat of Paint in a Modern Neutral
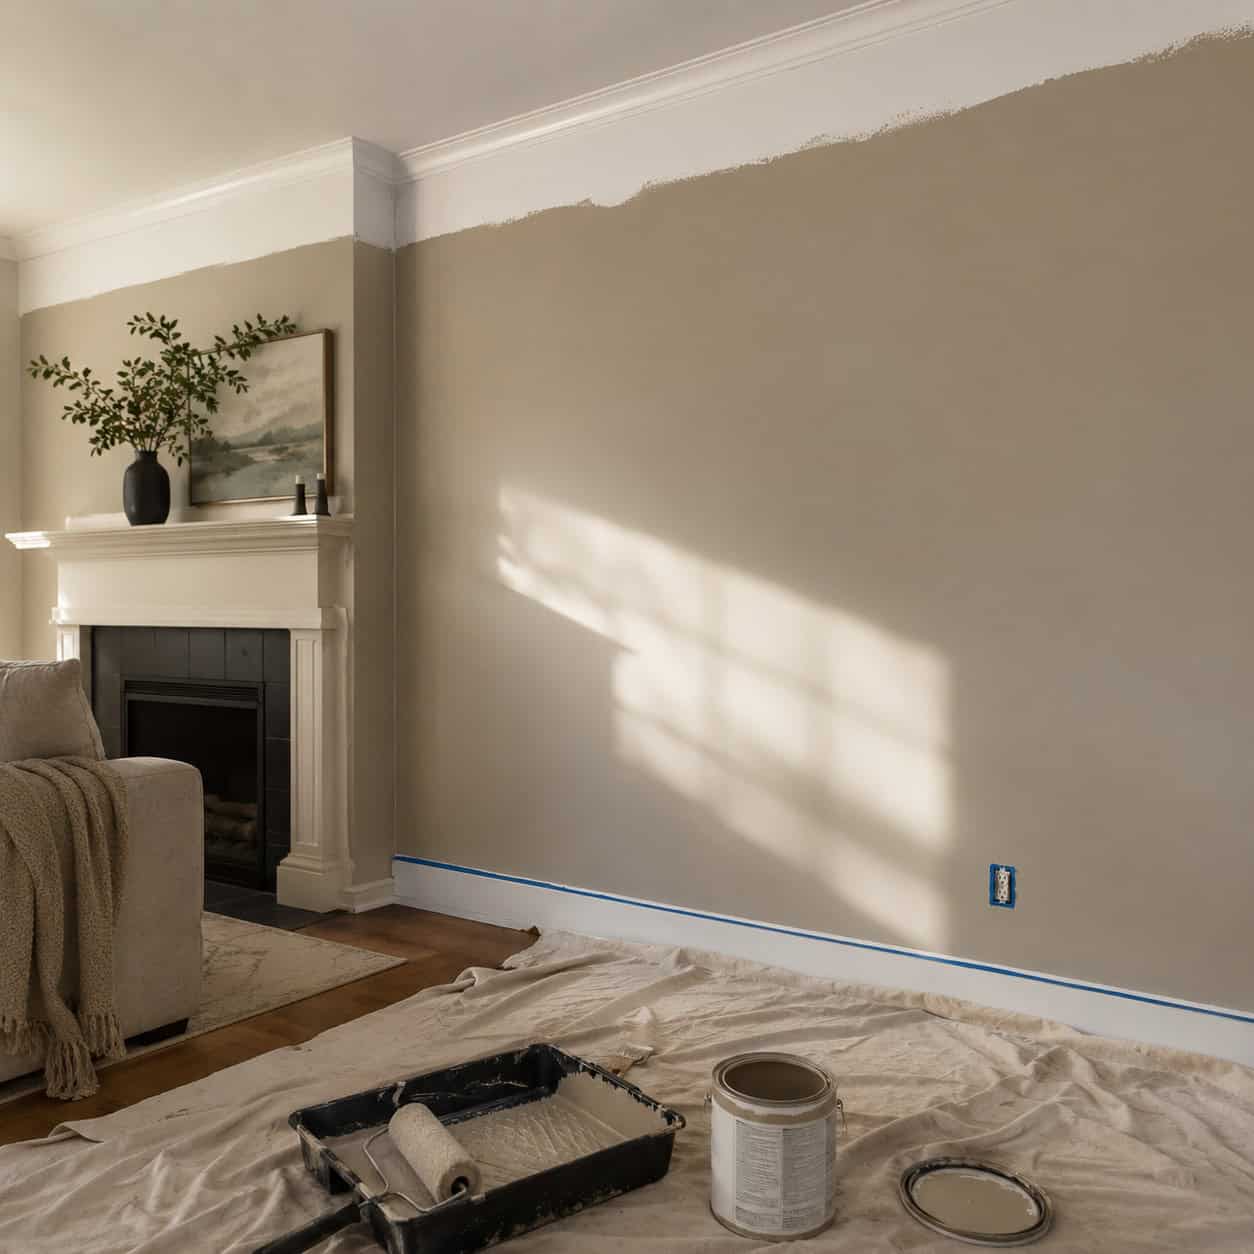
Start here. Nothing else on this list gives you more per dollar.
A gallon runs about $40. A single room transforms in an afternoon.
The trick isn’t the color — it’s restraint. Pros suggest capping a whole house at three cohesive neutrals so rooms flow into each other instead of fighting.
Pick your three, carry them room to room, and the house suddenly reads like someone designed it. HomeLight and nearly every agent alive name paint the single highest-return change you can make. There’s a reason it’s first.
2. Swap Out Builder-Grade Cabinet Hardware
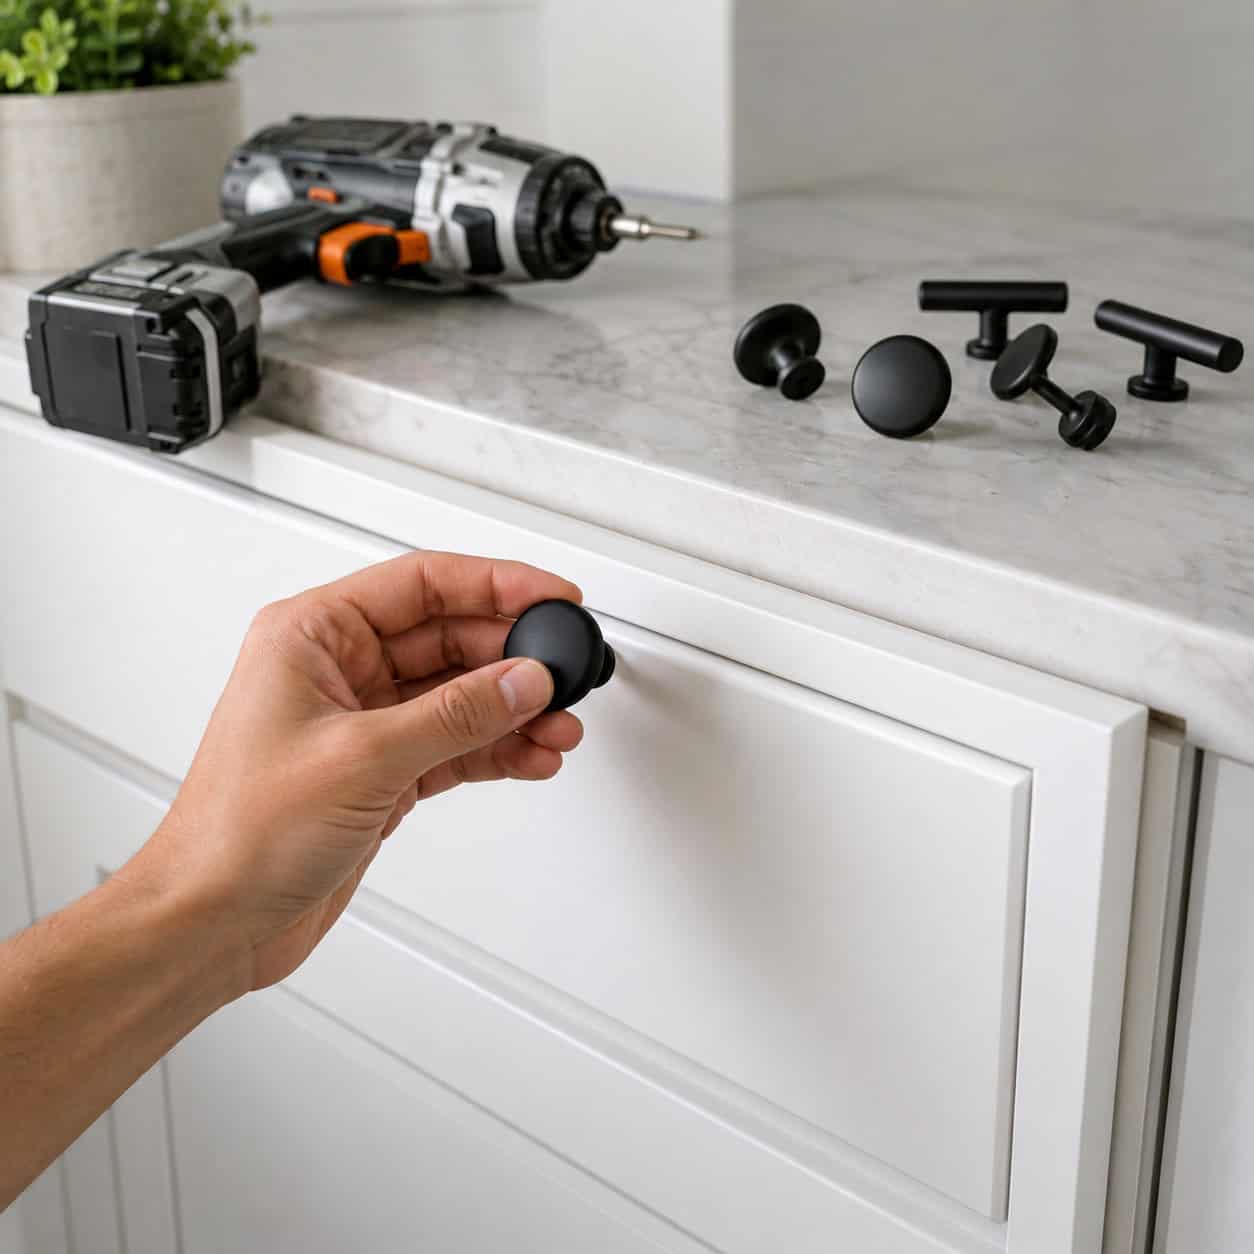
Cabinet knobs are the jewelry of the kitchen. Cheap ones drag the whole room down.
New knobs and pulls cost a few dollars each. Swapping them takes an afternoon and a screwdriver.
One rule saves you a headache: buy hardware that fits the holes already drilled. Match the hole spacing on pulls and you skip patching, sanding, and re-drilling.
The result reads like a remodel. It costs like a dinner out.
3. Upgrade the Kitchen Faucet
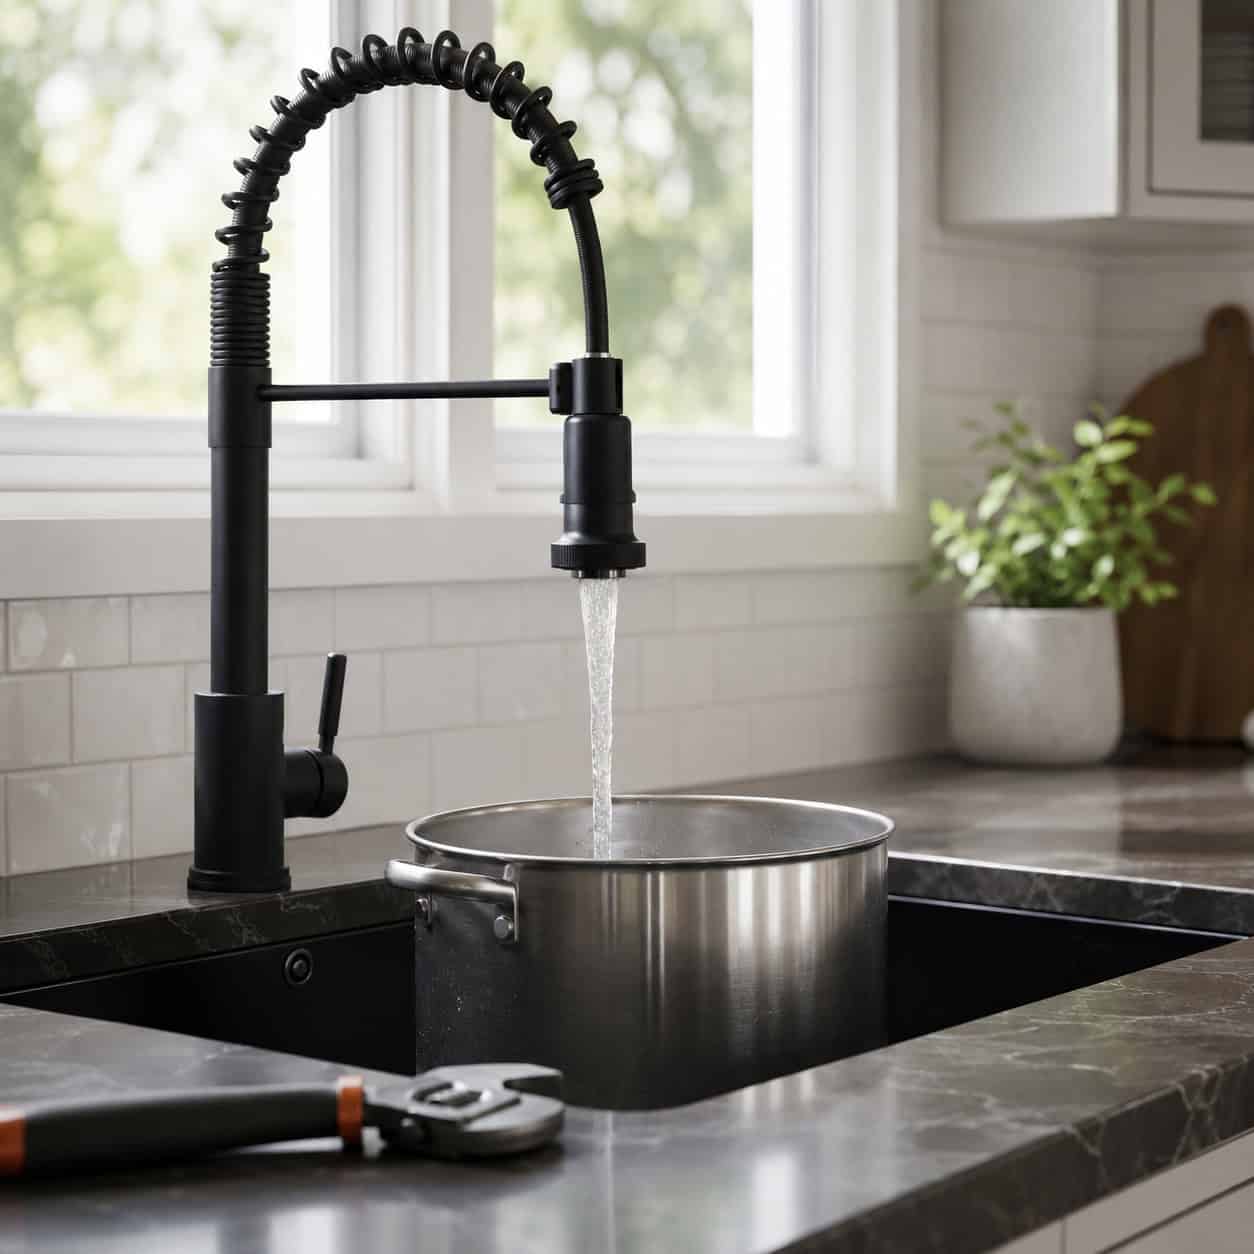
That short, stubby builder faucet is doing you no favors.
Trade it for a tall pull-down or a spray-nozzle model. Suddenly you can fill a stockpot and rinse a sheet pan without a wrestling match.
It’s a weekend job with basic plumbing skills. Shut off the supply lines, disconnect the old one, set the new one.
Function and style in one swap, in the room you actually live in.
4. Frame the Builder-Grade Bathroom Mirror
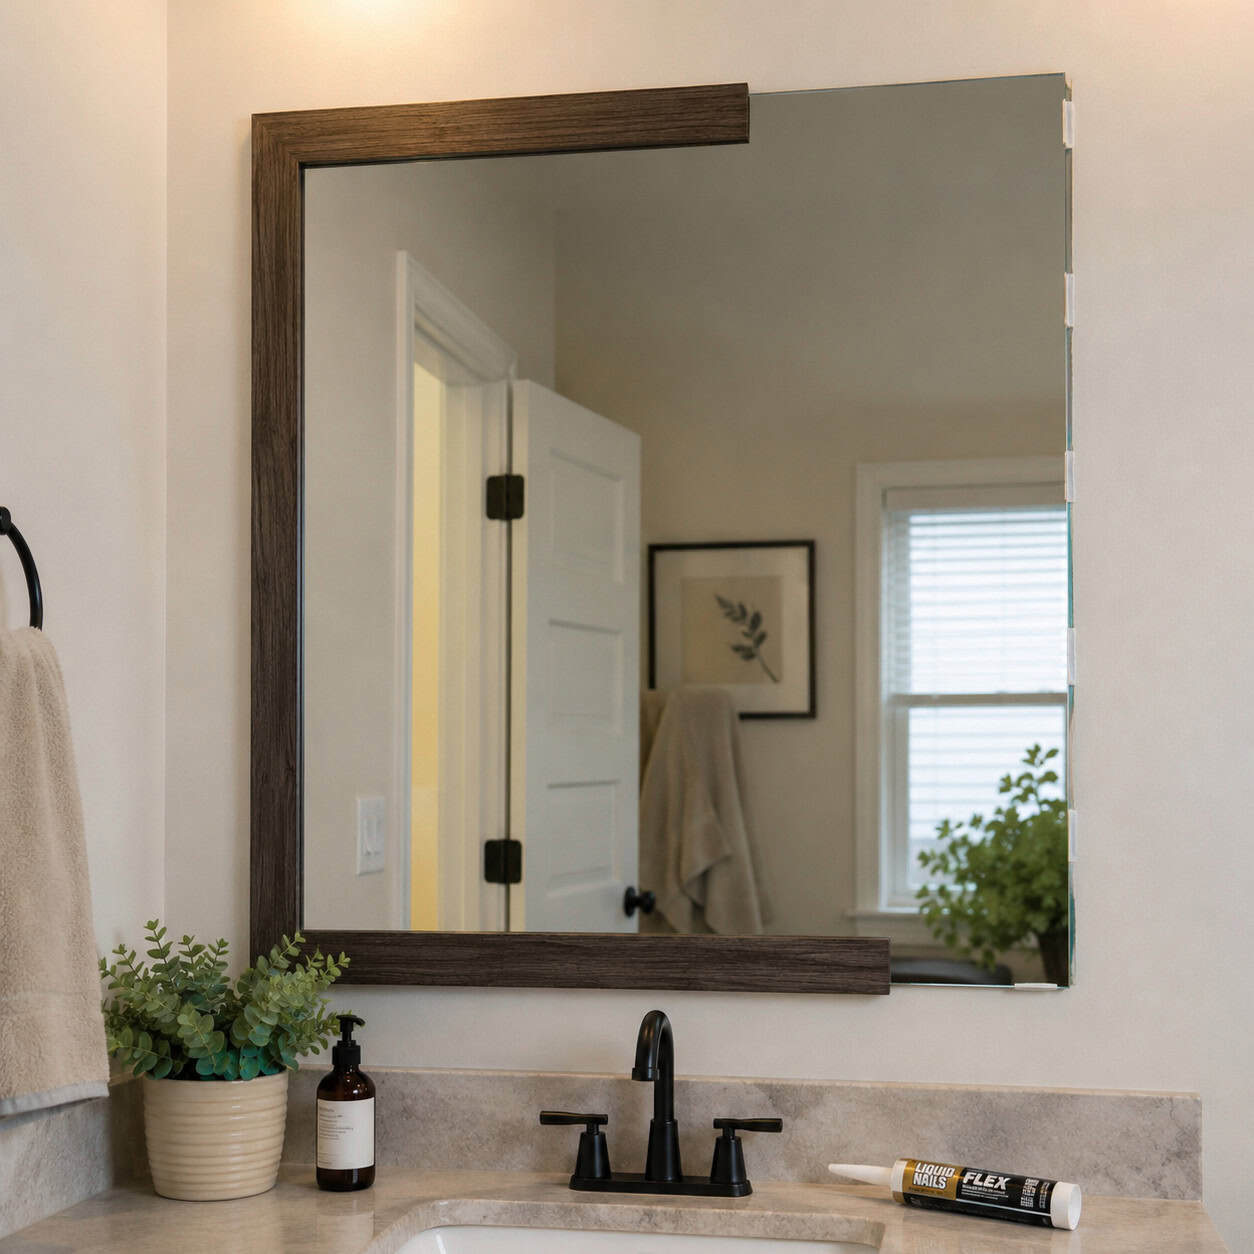
That big frameless sheet of glass glued straight to the wall? It’s the definition of builder basic.
You don’t have to pry it off. Peel-and-stick frame kits like MirrorMate clip a finished frame right onto the existing mirror.
Under $150. One afternoon. No demolition.
Most homeowners have no idea this exists, which is exactly why the finished look surprises people. The National Association of REALTORS® lists it among the small moves with outsized impact.
5. Install Dimmer Switches
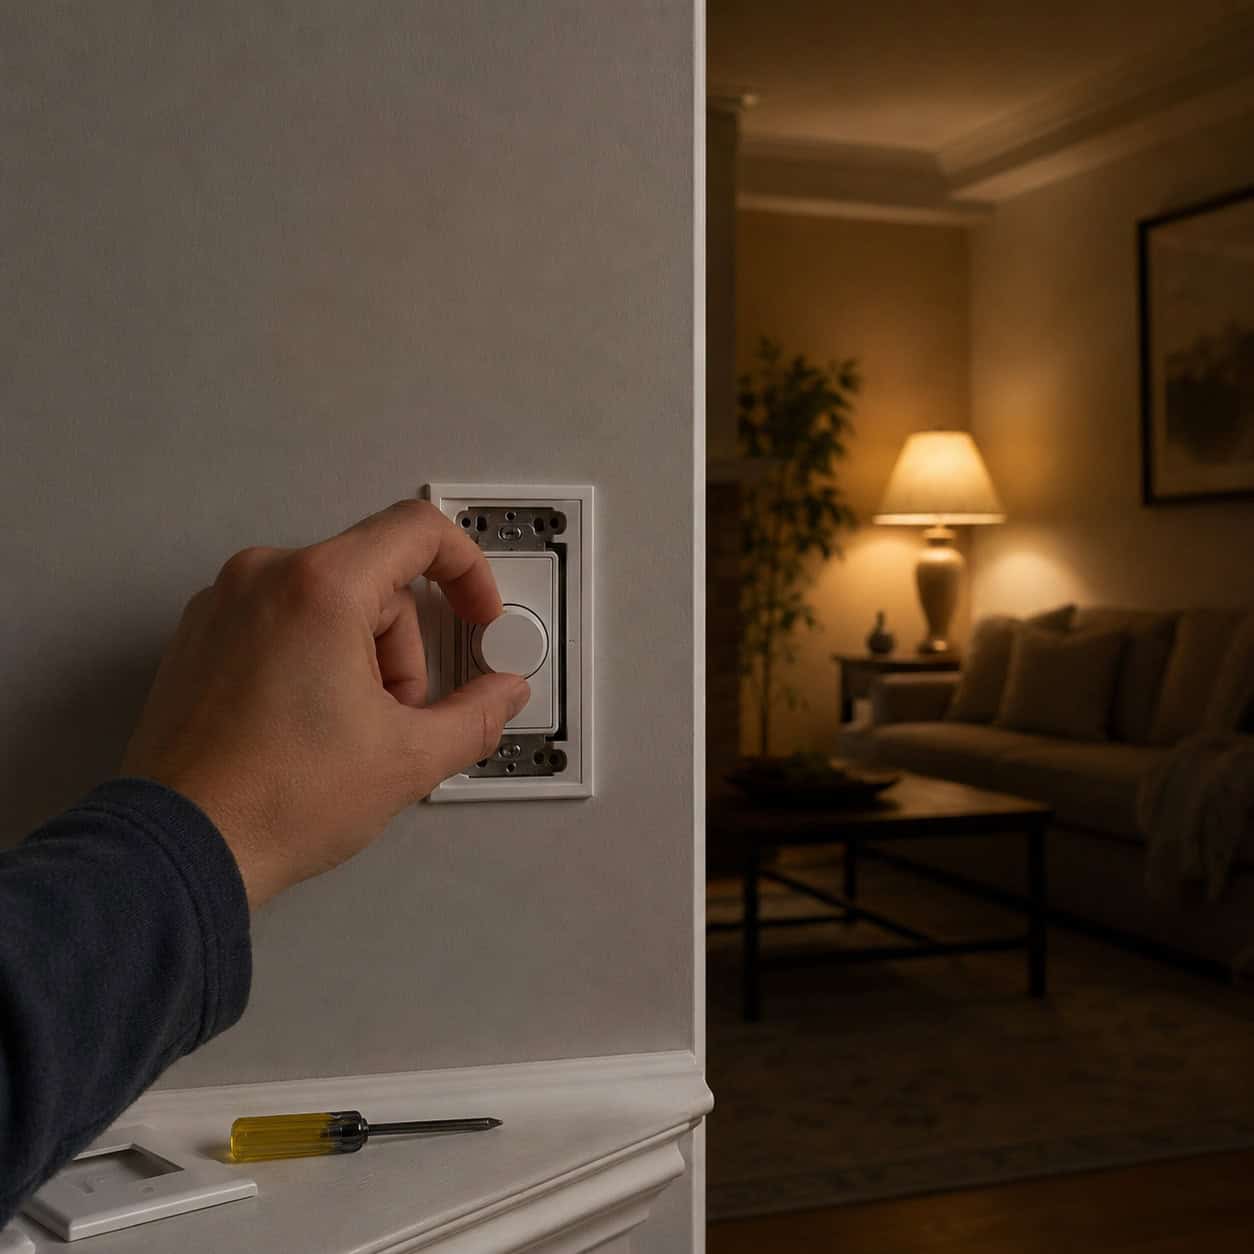
Bright light for scrubbing the counters. Low glow for movie night. Same room.
A dimmer runs about $20 and replaces a standard switch in minutes.
One warning. Pair it with dimmable bulbs or you’ll get flicker, buzz, and a dead zone at the bottom of the dial.
Get that right and you’ve bought yourself a mood dial for pocket change.
6. Replace Dated Ceiling Fixtures
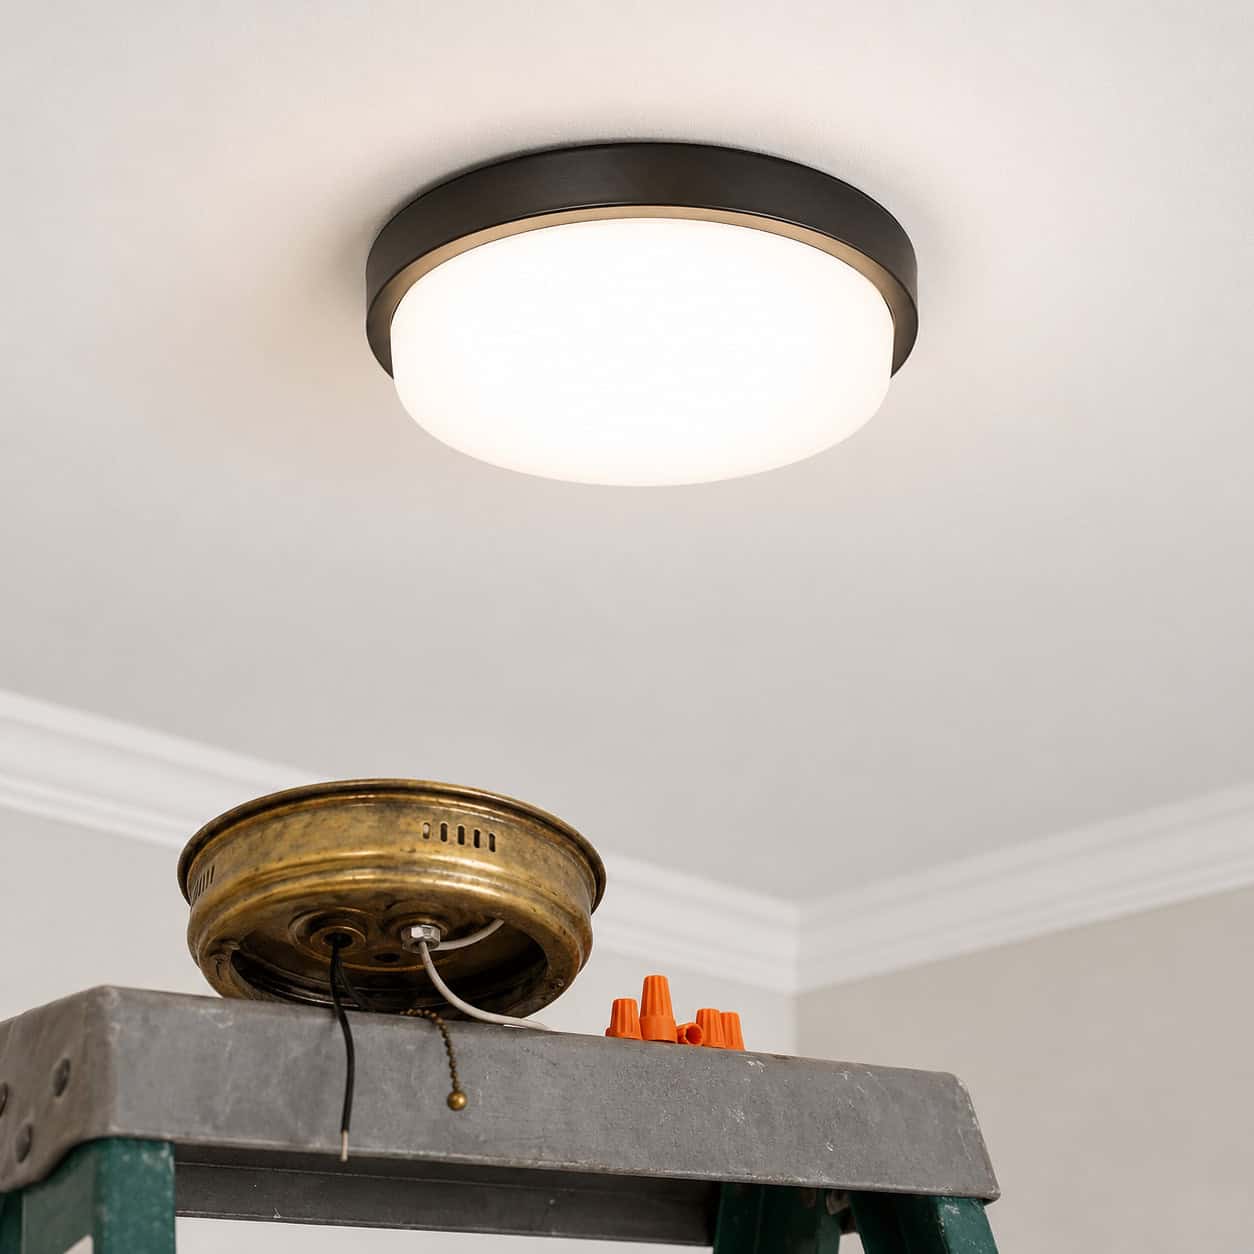
Yellowed brass. Frosted glass domes. A boob light in every bedroom.
Nothing ages a house faster, and nothing updates it quicker. A modern fixture swaps in half a day with the breaker off.
Brighter rooms almost always read as larger and more welcoming. You’re buying light and style at the same time.
Kill the flush-mount plastic first.
7. Hang a Statement Pendant Over the Island
One fixture can rewrite a whole kitchen.
Designers lean on this constantly — a single bold pendant or a run of them over the island shifts the entire look without touching a cabinet. The National Association of REALTORS® puts lighting swaps near the top for a reason.
Scale it up. People chronically hang island pendants too small and too high.
Go bigger than feels safe and hang them where the light actually lands on the counter.
8. Add a Tile Backsplash
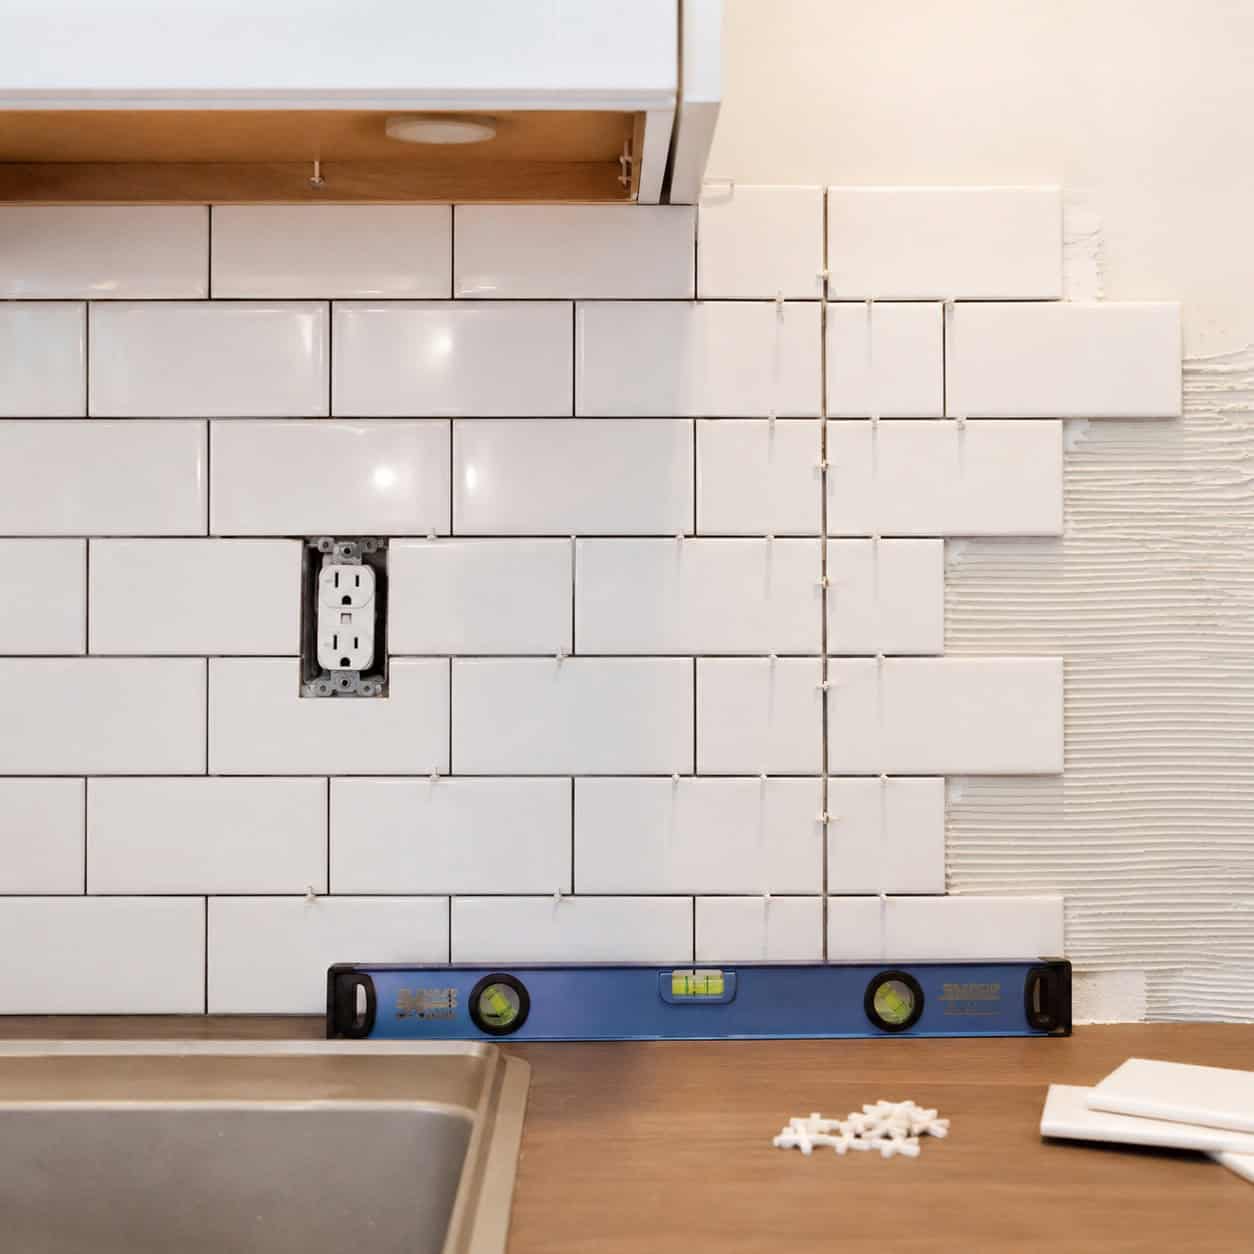
The backsplash is the kitchen’s best bang for the buck. It’s a small surface, so quality material stays cheap.
Classic subway tile. Natural stone. Even a shiplap run for a farmhouse look.
Peel-and-stick versions skip the mortar entirely if you’re nervous about a wet saw. A weekend and a level get you there.
Character on a wall that used to be blank paint.
9. Add Under-Cabinet Lighting
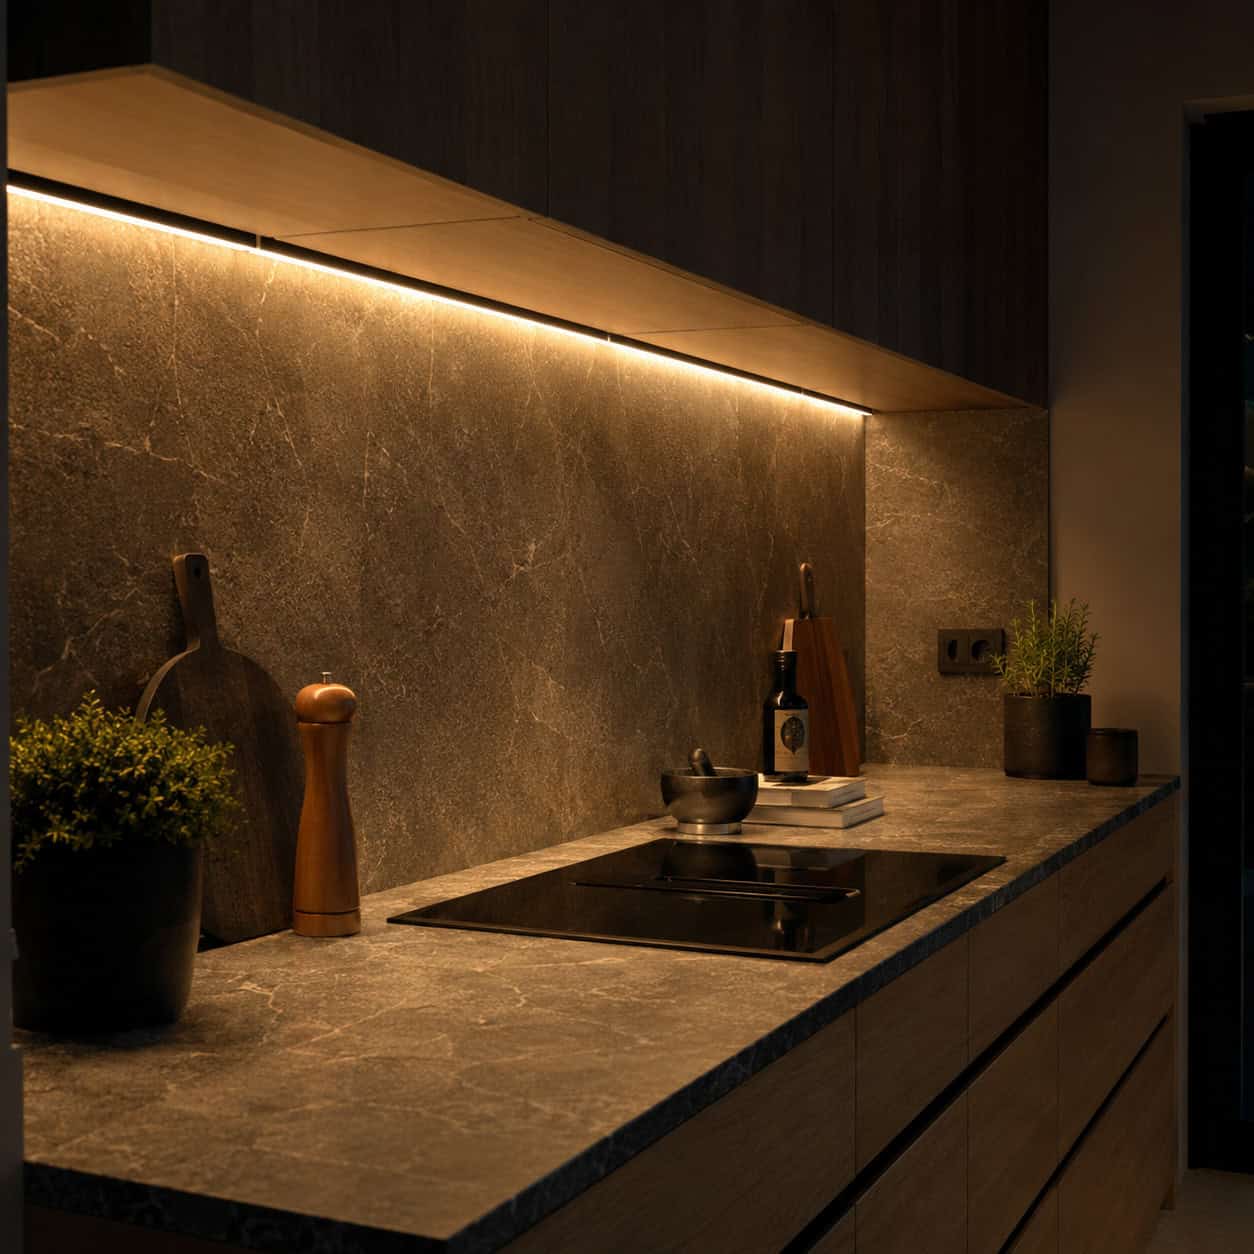
Dark countertops make a kitchen feel small and cave-like.
LED strips under the upper cabinets erase those shadows. Plug-in versions stick on in an hour; hardwired ones hide the cord for good.
The nighttime difference is dramatic. Counters glow, corners open up, and the whole room feels bigger after dark. My Lifetime Home calls it one of the highest-payoff small kitchen fixes going.
10. Add Picture-Frame Molding (Box Trim)
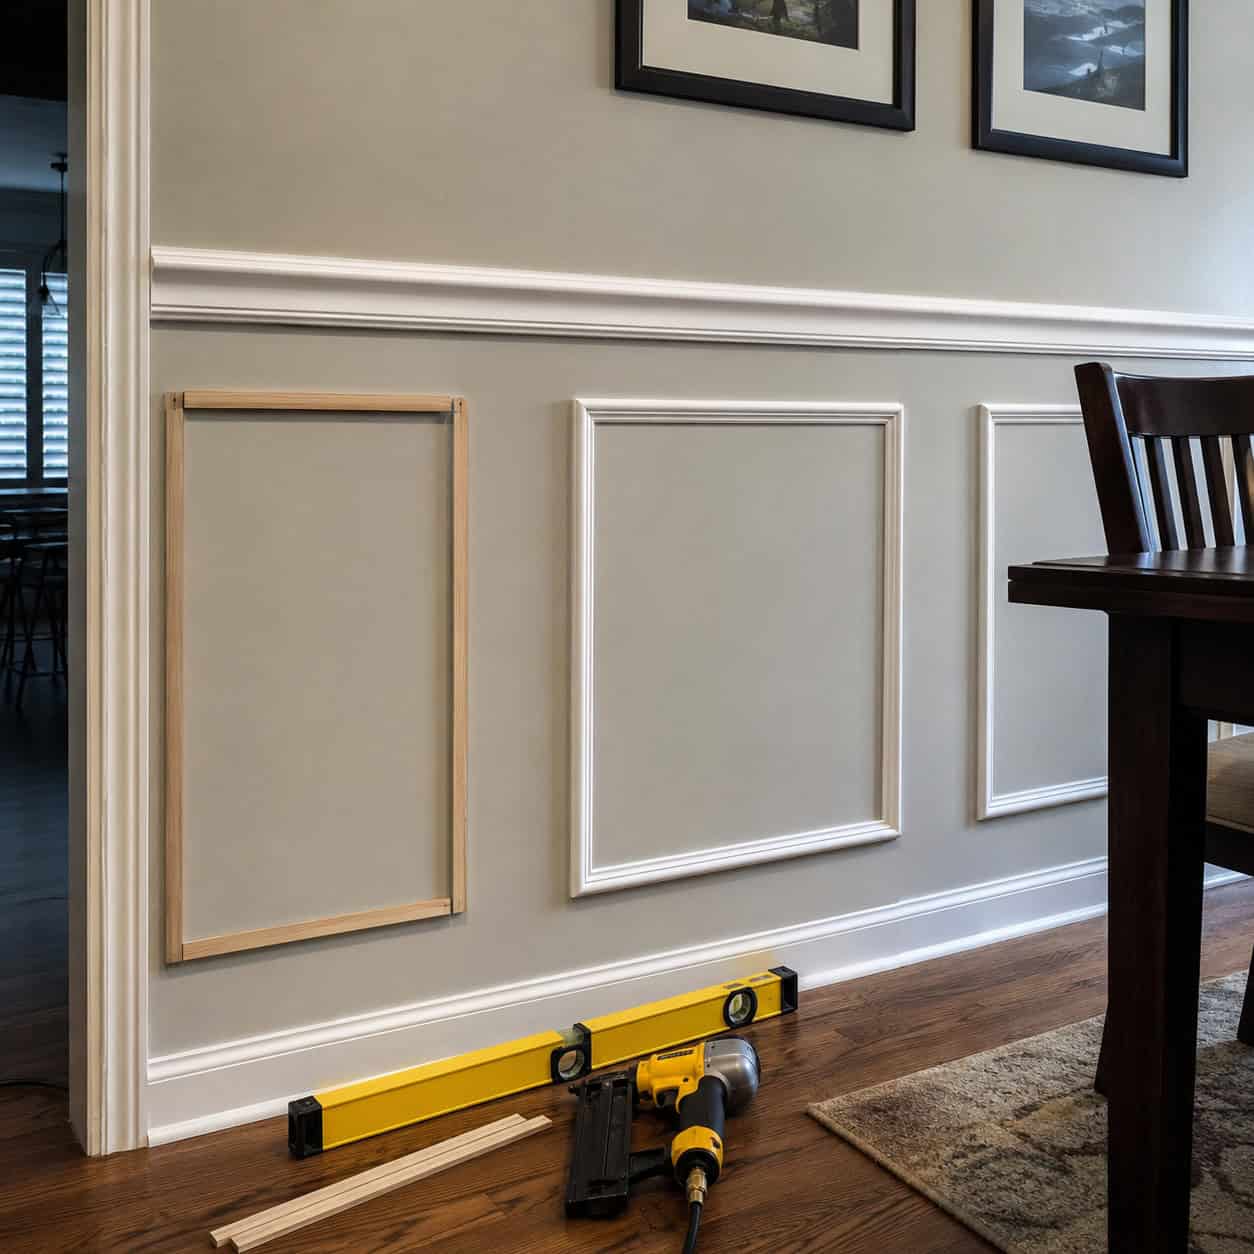
This one lands squarely in the woodworking lane, and it looks like a million bucks.
Primed MDF or PVC strips form simple boxes on a flat wall, turning builder drywall into something that reads custom and old-world. Figure $70 to $150 a wall in material.
Keep a consistent 3-to-4-inch reveal from the baseboard and crown, and let the boxes line up wall to wall. Caitlin Marie Design shows how to lay it out with a level and adhesive if you don’t own a miter saw.
It’s one of those features that make a home feel custom instead of straight off the tract-builder shelf.
11. Build a Board-and-Batten Accent Wall
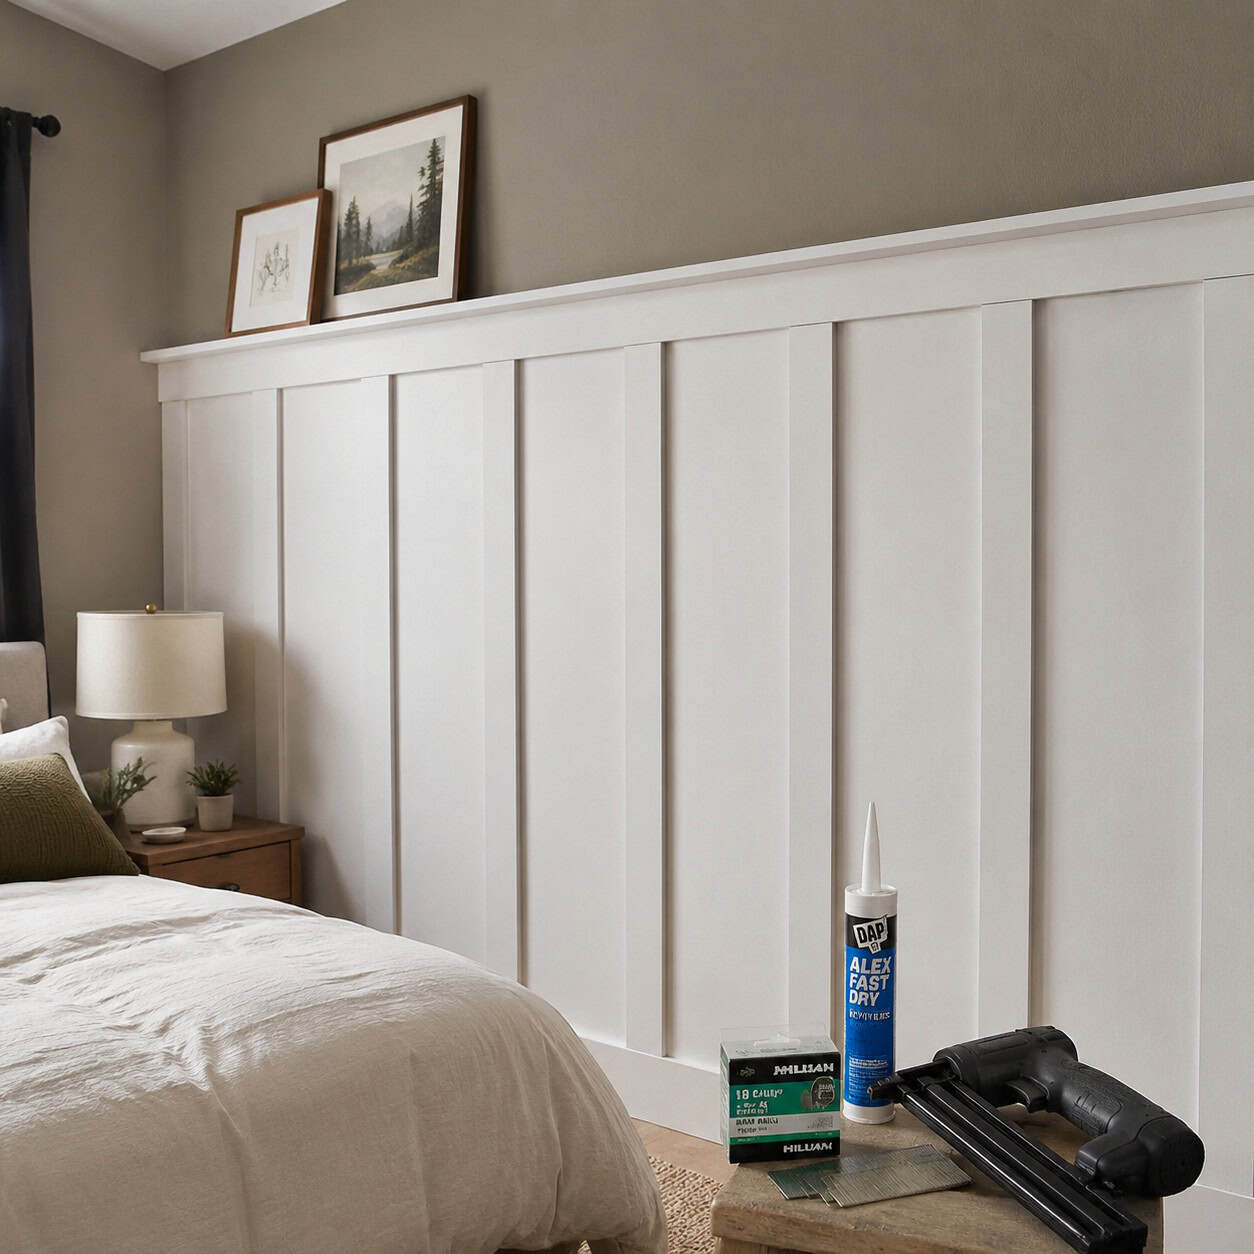
Take one plain wall and give it bones.
Vertical battens draw the eye up, add architectural weight, and make an eight-foot ceiling feel taller than it is. Top the run with a picture ledge and you get display space for free.
It’s a real weekend build. Level lines, glue, brad nails, caulk, paint.
Home with Heather walks the picture-ledge version start to finish.
12. Run Crown Molding
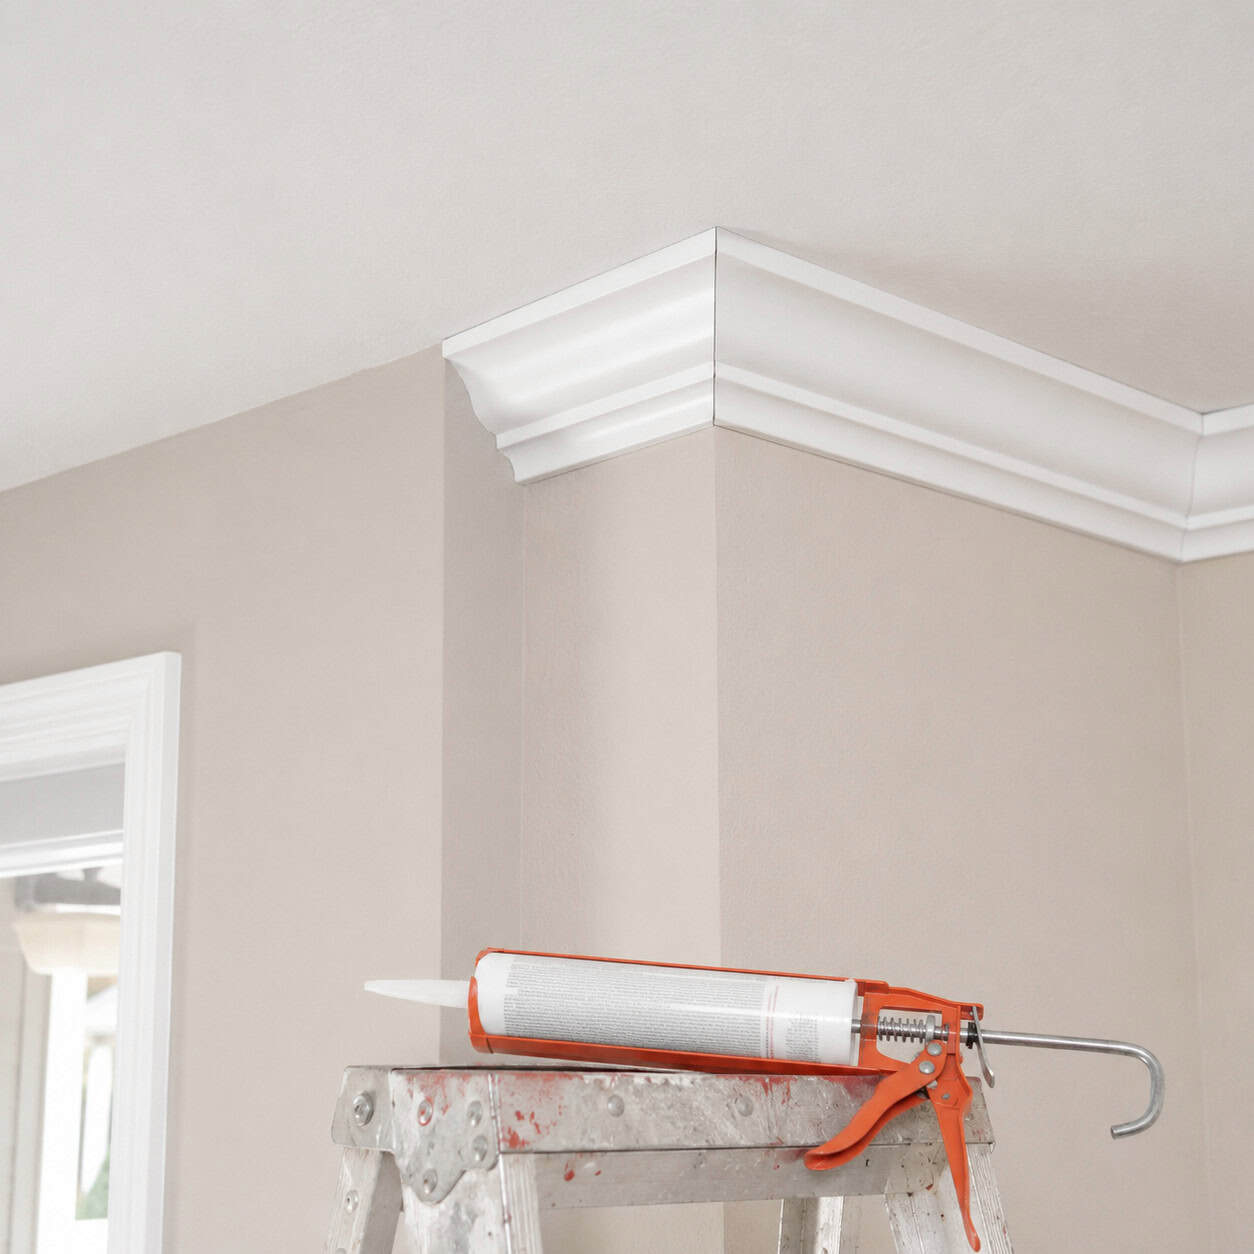
Crown is craftsmanship you can see from the doorway.
It bridges wall and ceiling with a shadow line that flat rooms never have. The material cost is small; the payoff is the feel of a custom home.
Pair it with board-and-batten or wainscoting downstairs and even a plain builder box starts to feel considered.
Dimension is the word. Crown adds it in a single afternoon per room.
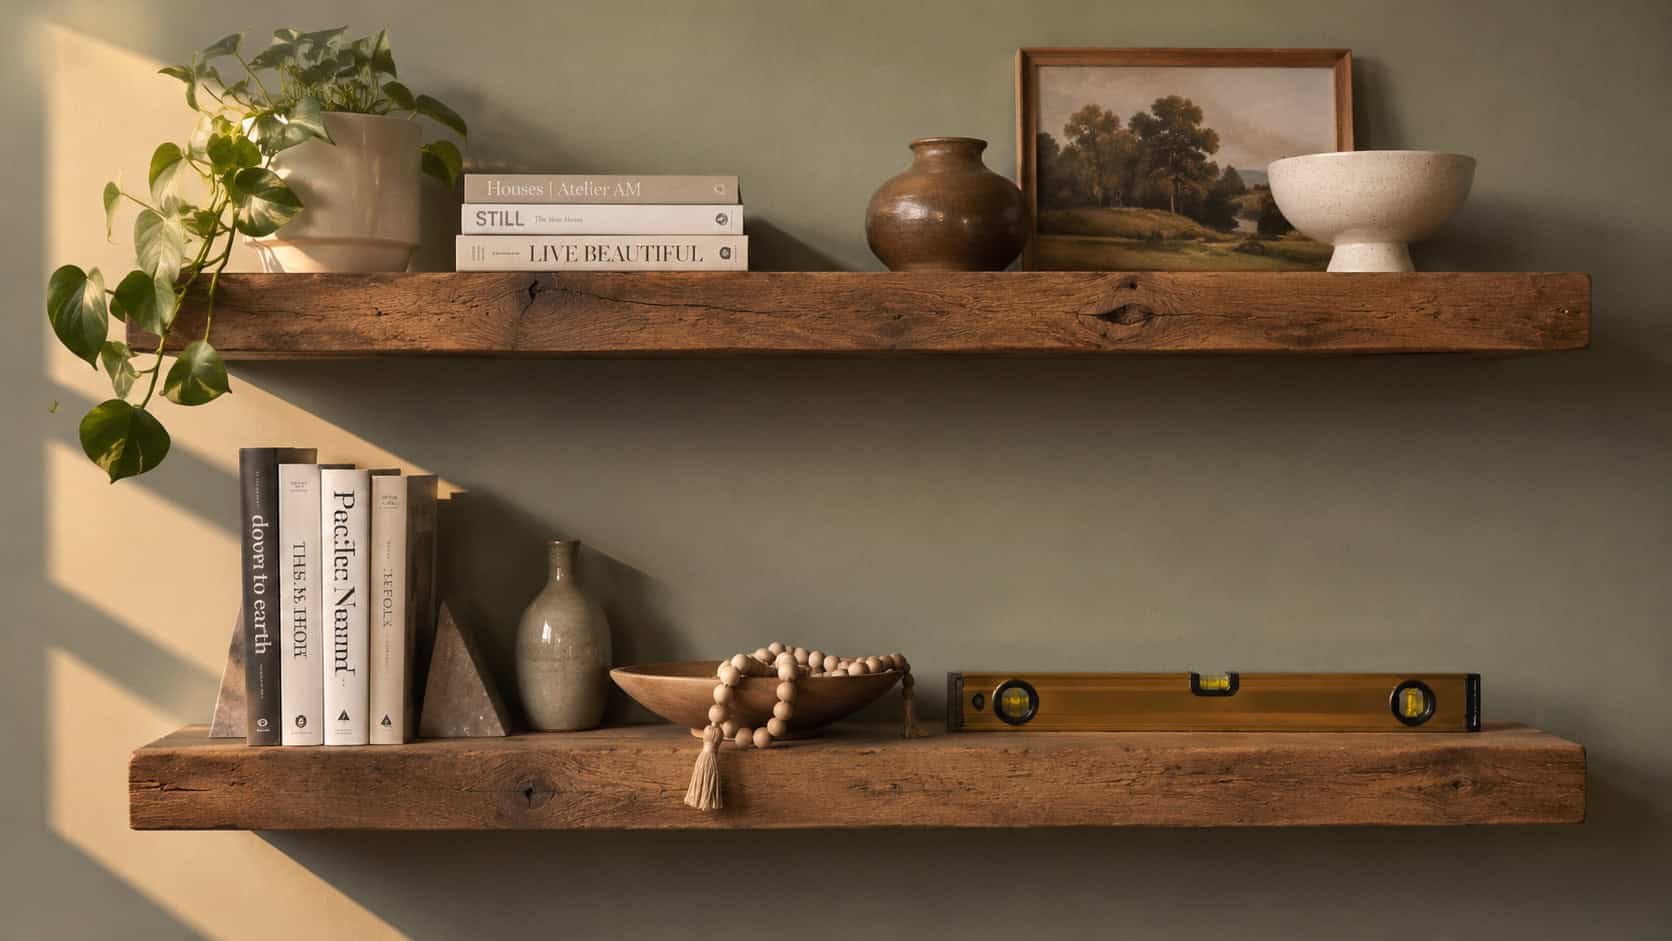
13. Build DIY Floating Shelves
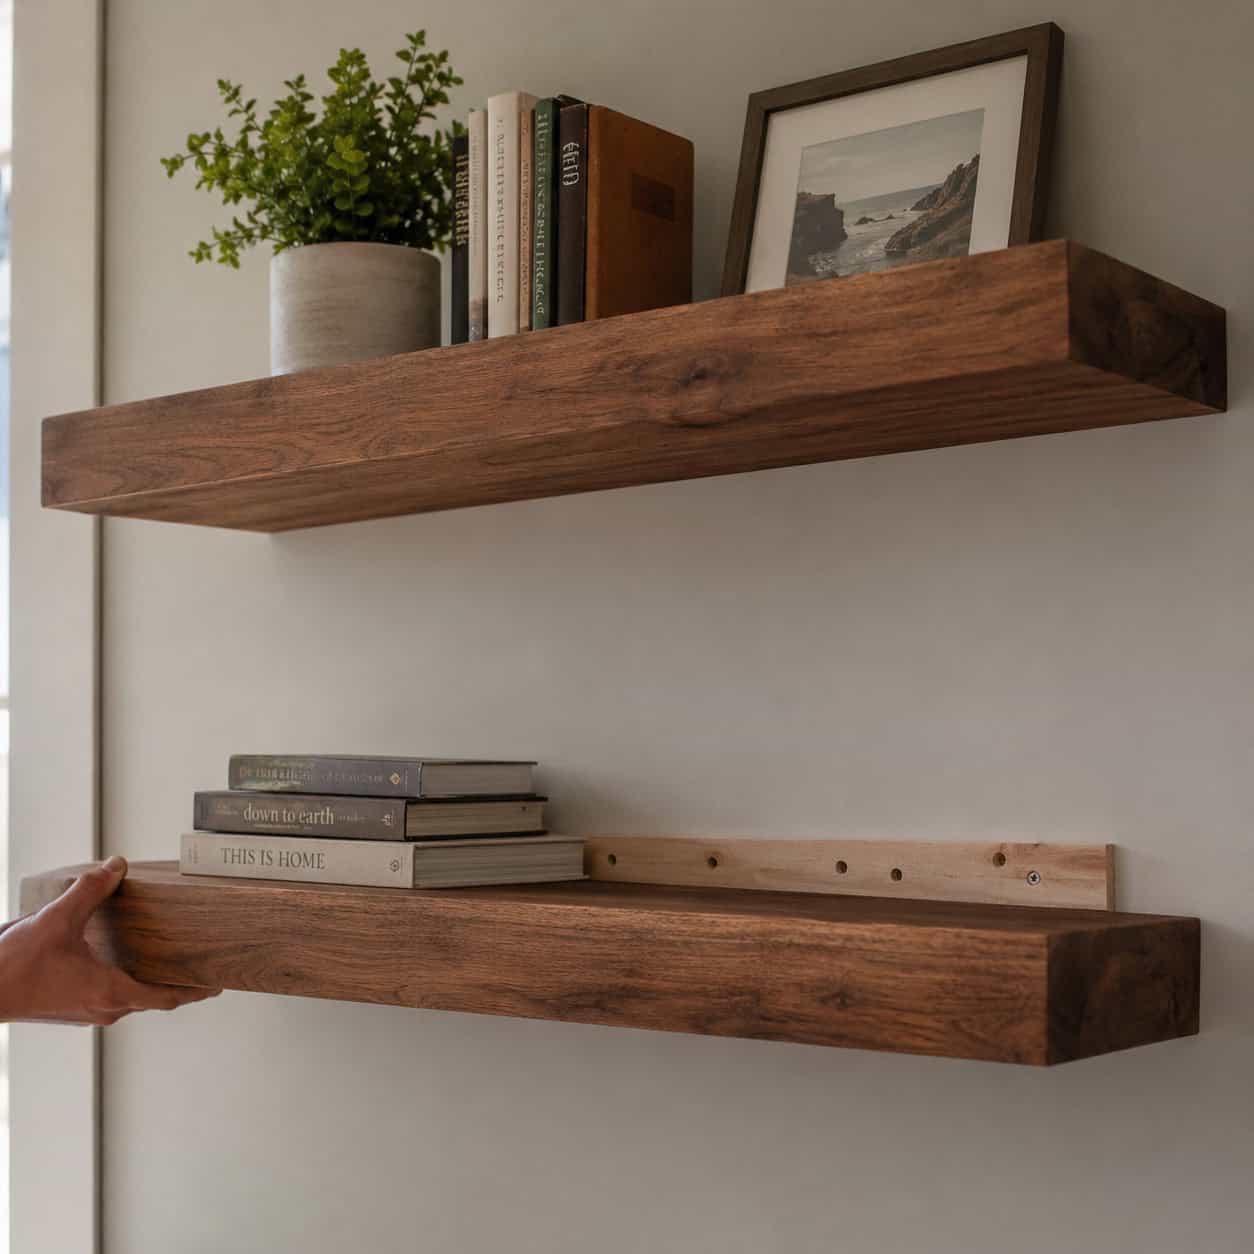
Chunky floating shelves give you storage and a designer moment at once.
The magic is that there’s no visible bracket — just a thick shelf that seems to grow from the wall.
Here’s the craftsmanship that keeps them from falling: the hidden frame has to bite into studs, not drywall. Anchor into framing or top-rated anchors, then slide the shelf box over the cleat.
Anika’s DIY Life has a plan, and if you want more, our own roundup of shelf ideas that look custom covers a dozen variations.
14. Top an Island in Butcher Block
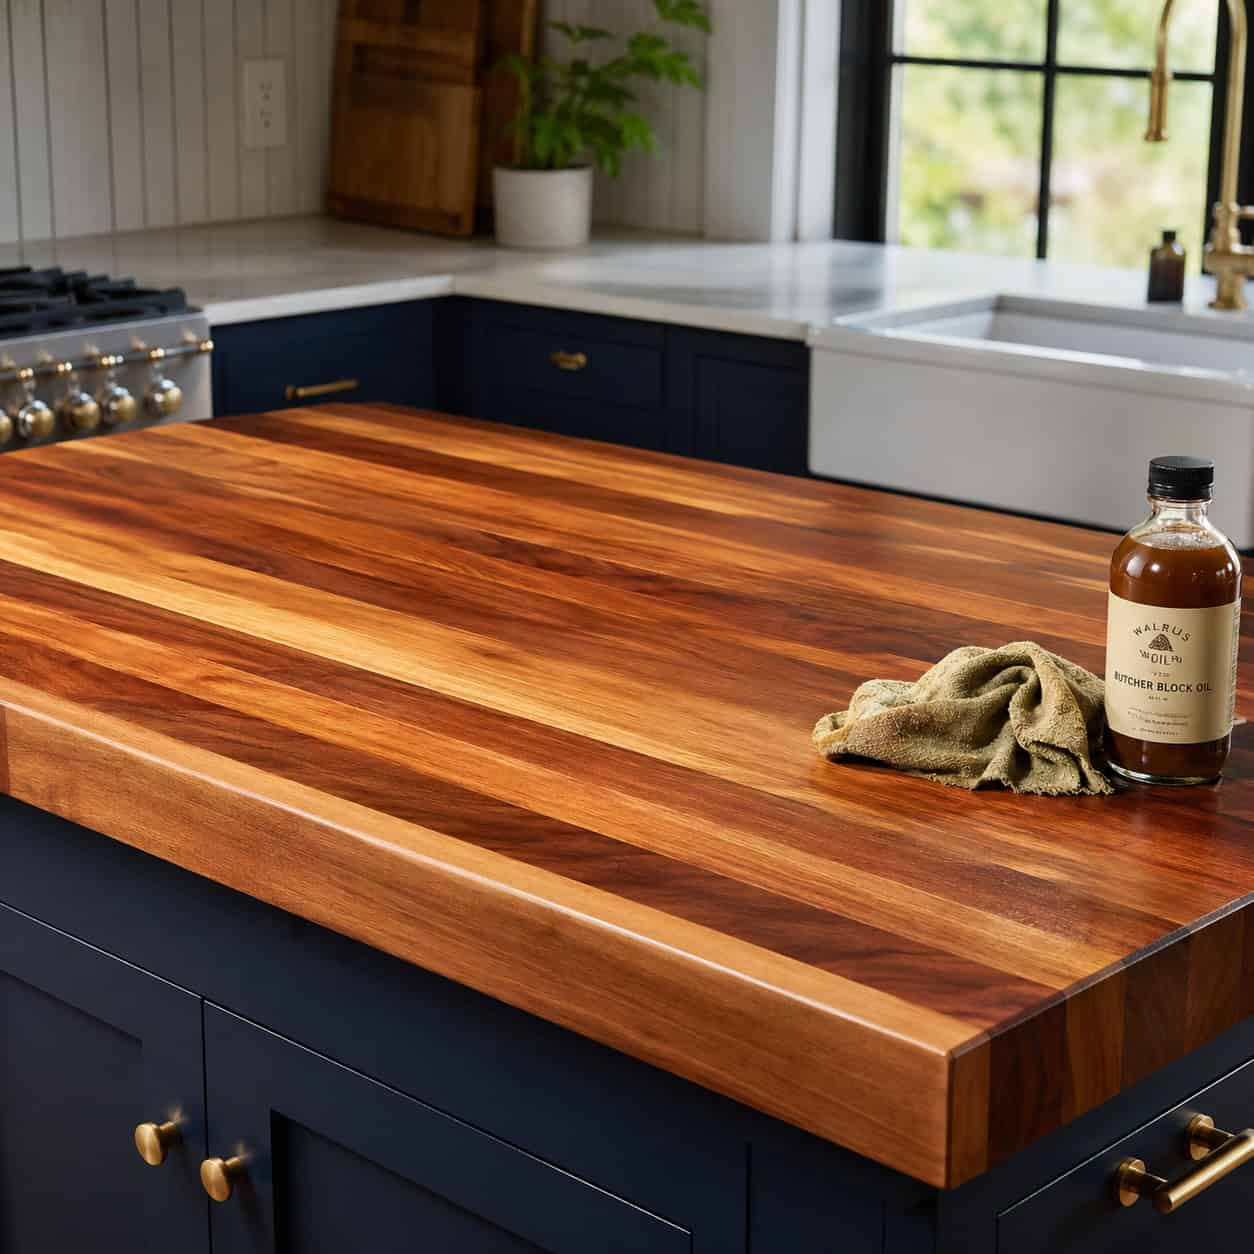
Warm wood changes a kitchen’s whole temperature.
Butcher block on an island or a short counter run contrasts beautifully against painted cabinets — hard surfaces softened by grain.
On a small footprint it stays affordable, and it’s the rare countertop a woodworker can install and finish alone. Family Handyman ranks it among the renovations that instantly add value.
Oil it, love it, and it only gets better with use.
15. Hang Curtains High and Wide
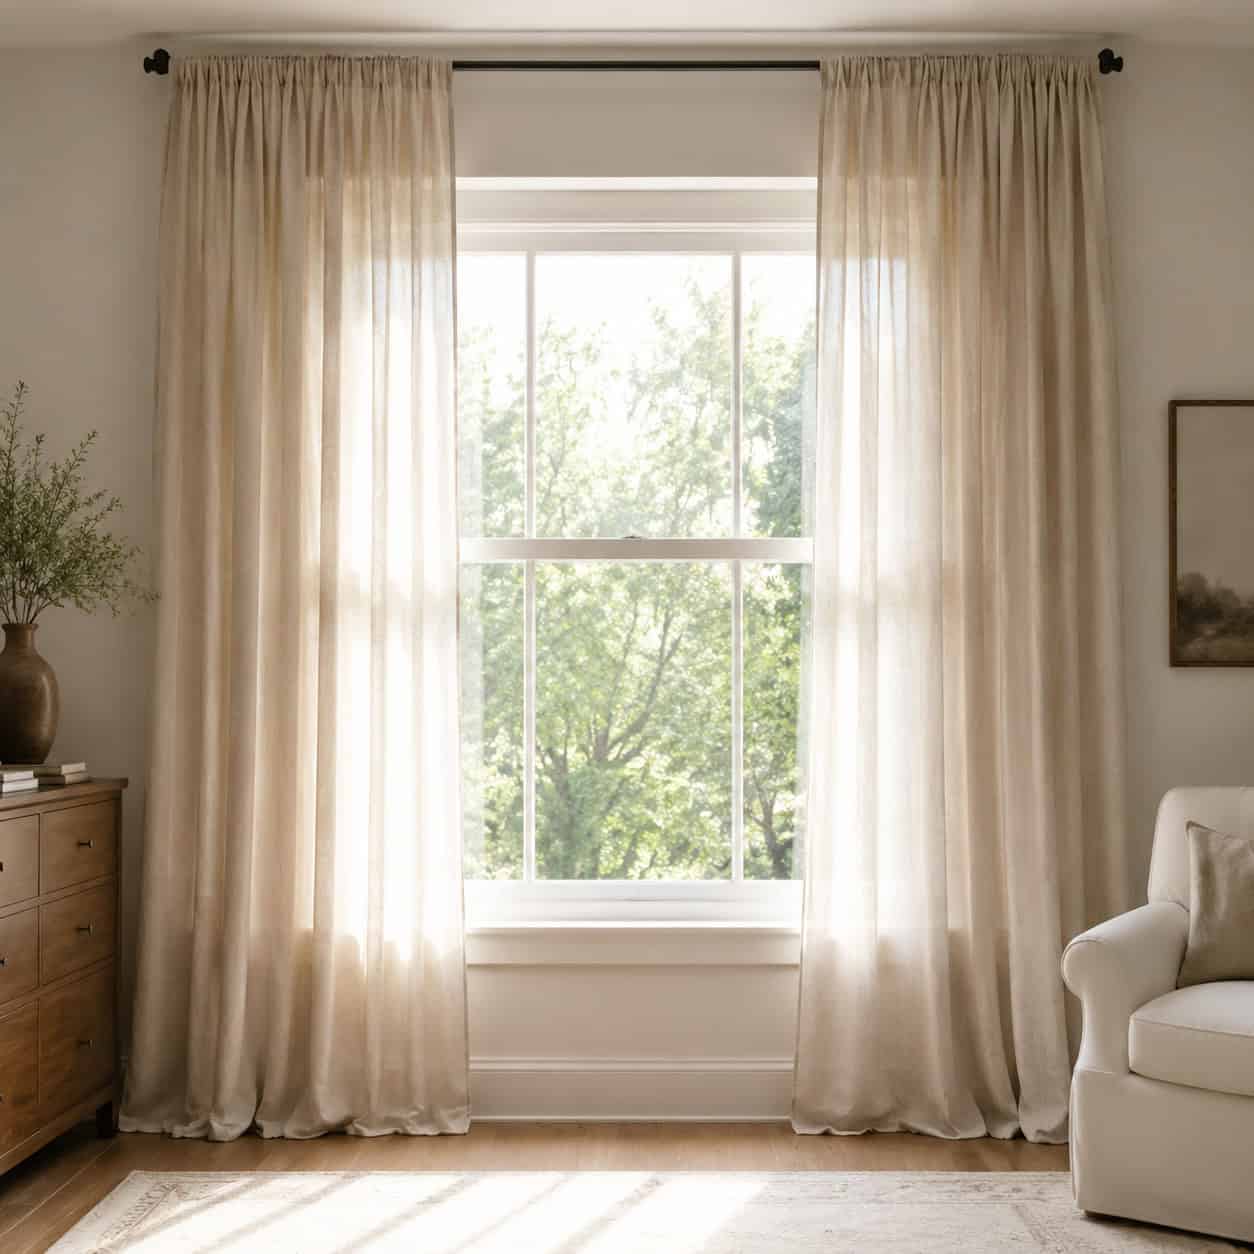
This one’s basically free, and it fools the eye every time.
Mount the rod near the ceiling, not just above the window. Run it wide enough that the panels clear the glass when they’re open.
The window looks bigger. The ceiling looks taller. The whole room breathes.
It costs nothing but a few extra inches of rod and a second look at your bracket placement. DIY Playbook swears by it.
16. Right-Size the Area Rug

A too-small rug makes a living room look like a raft floating in an ocean of floor.
Scale is the whole game. The rug should reach under the front legs of the furniture at minimum, and ideally under all of it.
Get it right and the seating group suddenly feels anchored and intentional.
It’s a conceptual fix more than a spending one — you’re not buying more rug, you’re buying the correct rug.
17. Peel-and-Stick Wallpaper Behind the Shelves
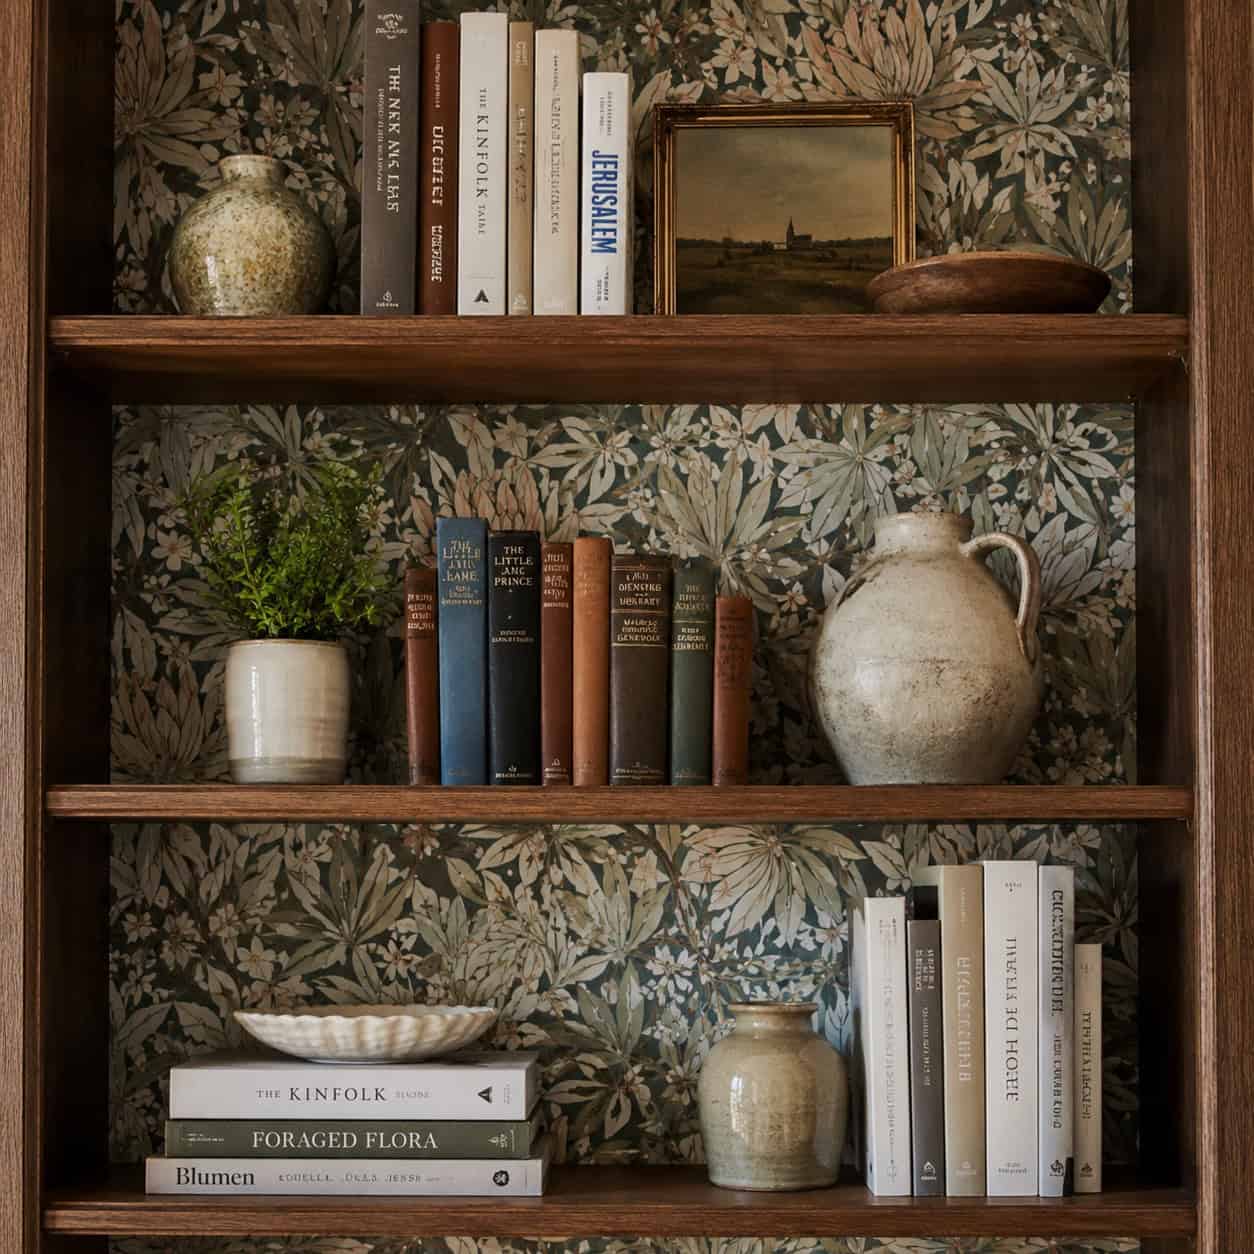
Designers love this trick because it’s sneaky and reversible.
Line the back of a bookcase or a built-in with peel-and-stick wallpaper. The pattern peeks between your books and dishes and reads as a custom detail nobody expects.
Low commitment. It comes right off when you’re bored of it.
A safe way to test the wallpaper comeback in a dose you won’t regret, and the National Association of REALTORS® flags it as a favorite low-risk move.
18. Replace Yellowed Switch Plates and Outlet Covers
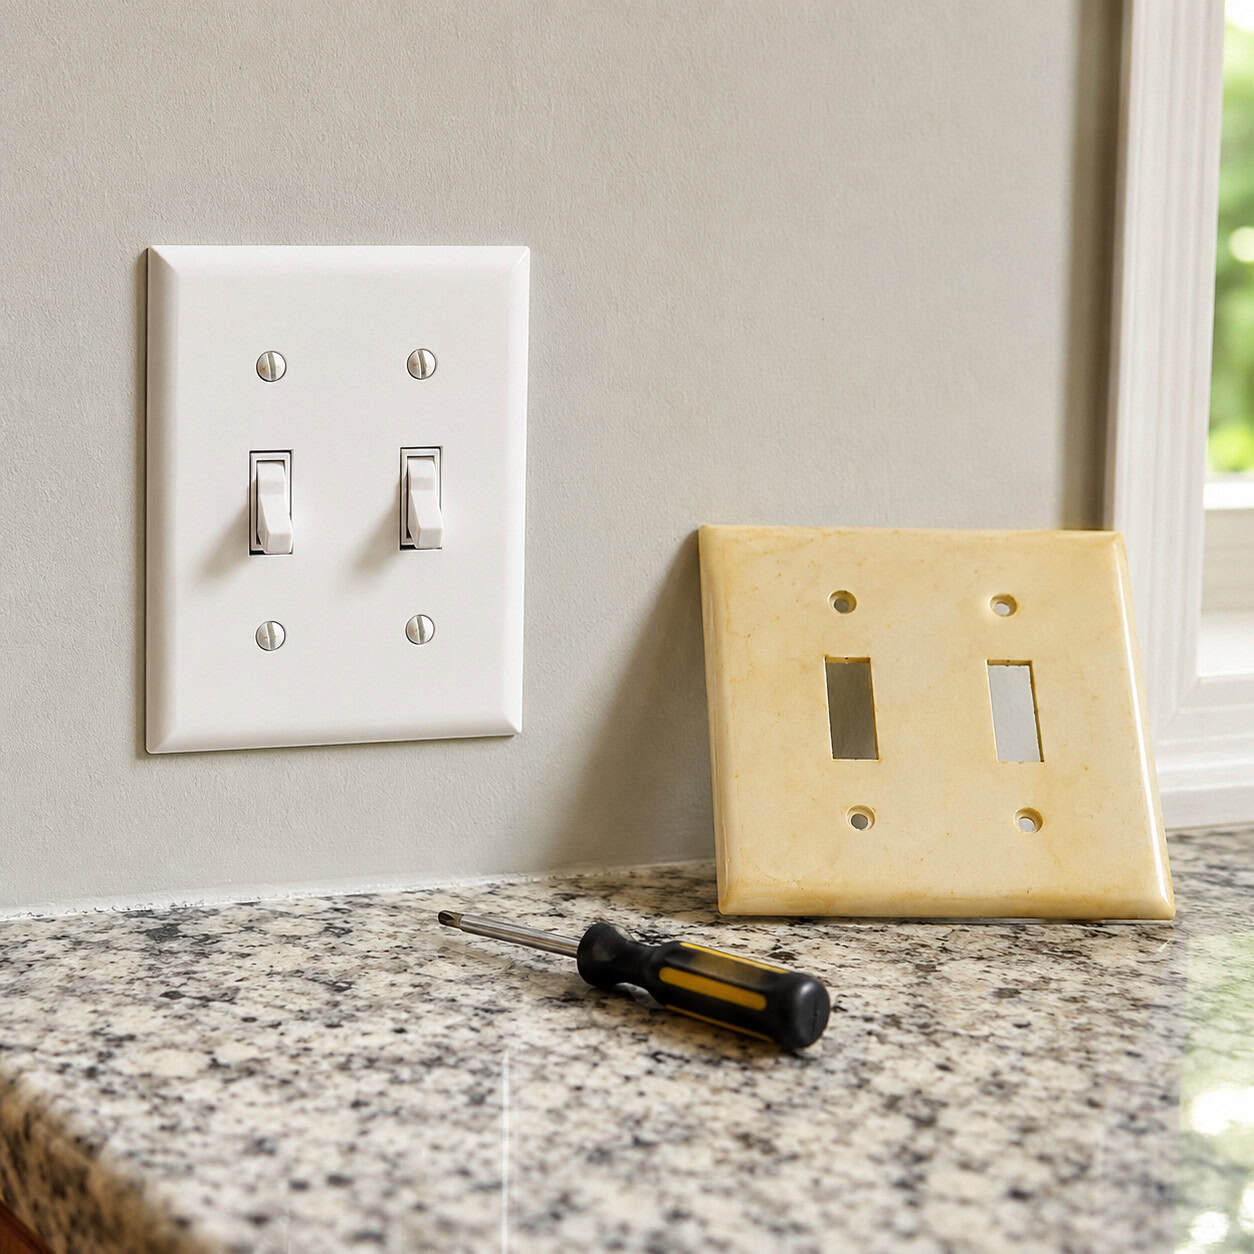
Cream-colored plastic that’s yellowed with age ages the whole house with it.
Crisp new plates cost pennies apiece. Swapping every one in the house is a five-minute-per-plate job.
Nobody consciously notices clean switch plates. Everybody unconsciously notices grimy ones.
It’s the overlooked detail that quietly signals a home is cared for. Rivero Realtors puts it on the short list of tiny fixes that read big.
19. Swap Interior Doorknobs
Old brass interior knobs date a house the way a landline does.
Matte black or brushed nickel instantly pulls a room forward. And you don’t have to do them all at once.
Knock out one room at a time. The cost spreads out, and every swap is a small hit of satisfaction.
Cumulative and quietly transformative.
20. Install Luxury Vinyl Plank Flooring
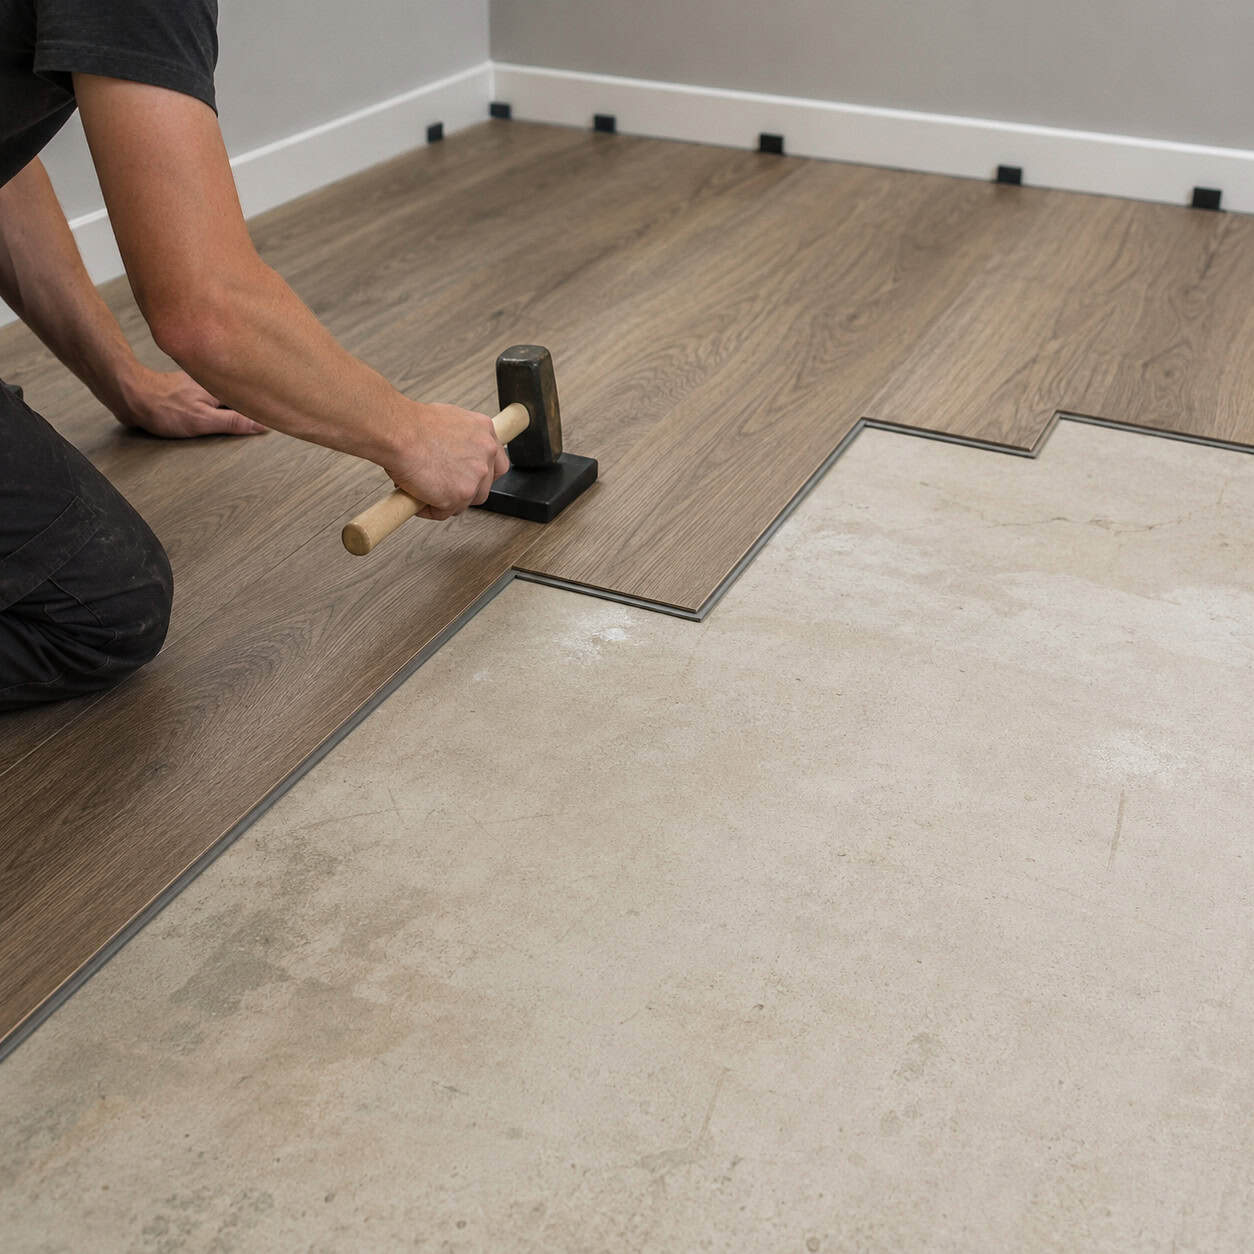
Tired carpet is a value killer. LVP is the fix agents keep recommending.
It starts as low as $2 a square foot and clicks together without a single power tool. Beginners install it in an afternoon.
Waterproof, scratch-resistant, and convincing enough that guests assume it’s real wood.
Rip out the worn carpet and lay it down. HomeLight calls it the accessible flooring swap for a reason.
21. Refinish or Deep-Clean the Floors You Have
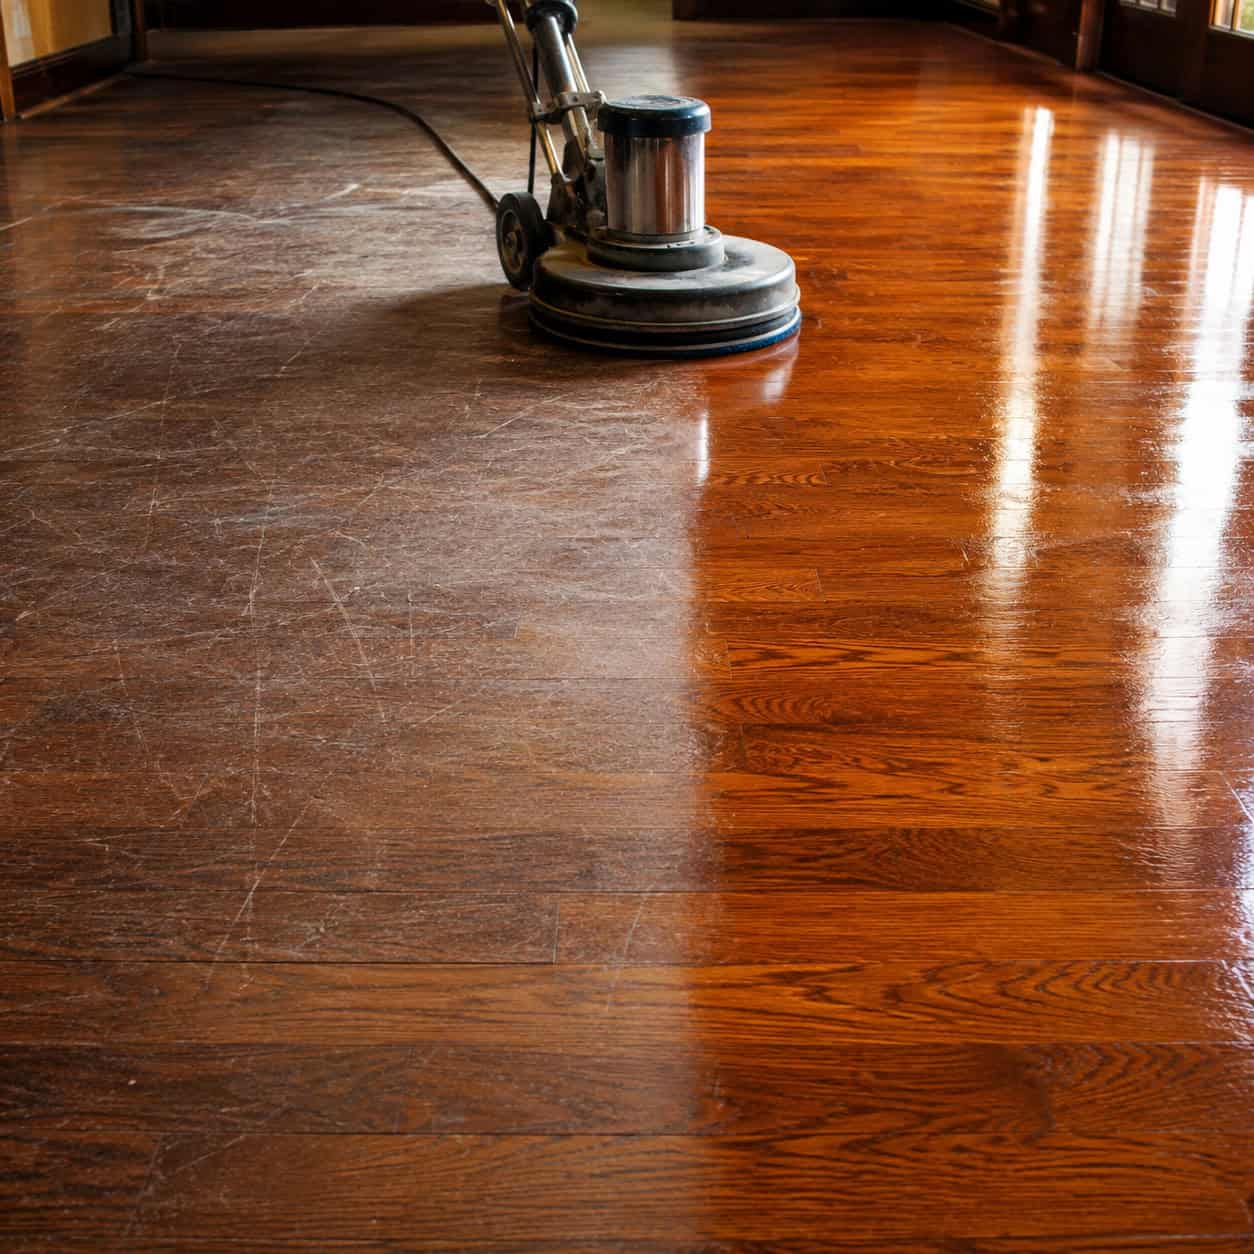
Before you replace anything, look harder at what’s under your feet.
Scratched hardwood often just needs a buff and a fresh top coat. Dull tile and grout often just need a real deep clean.
A restored shine tells anyone walking in that the house has been looked after.
It’s near-free and high-impact — the cheapest floor upgrade is the one you already own. Zillow ranks refinishing among the strongest returns in the house.
22. Remove the Popcorn Ceiling
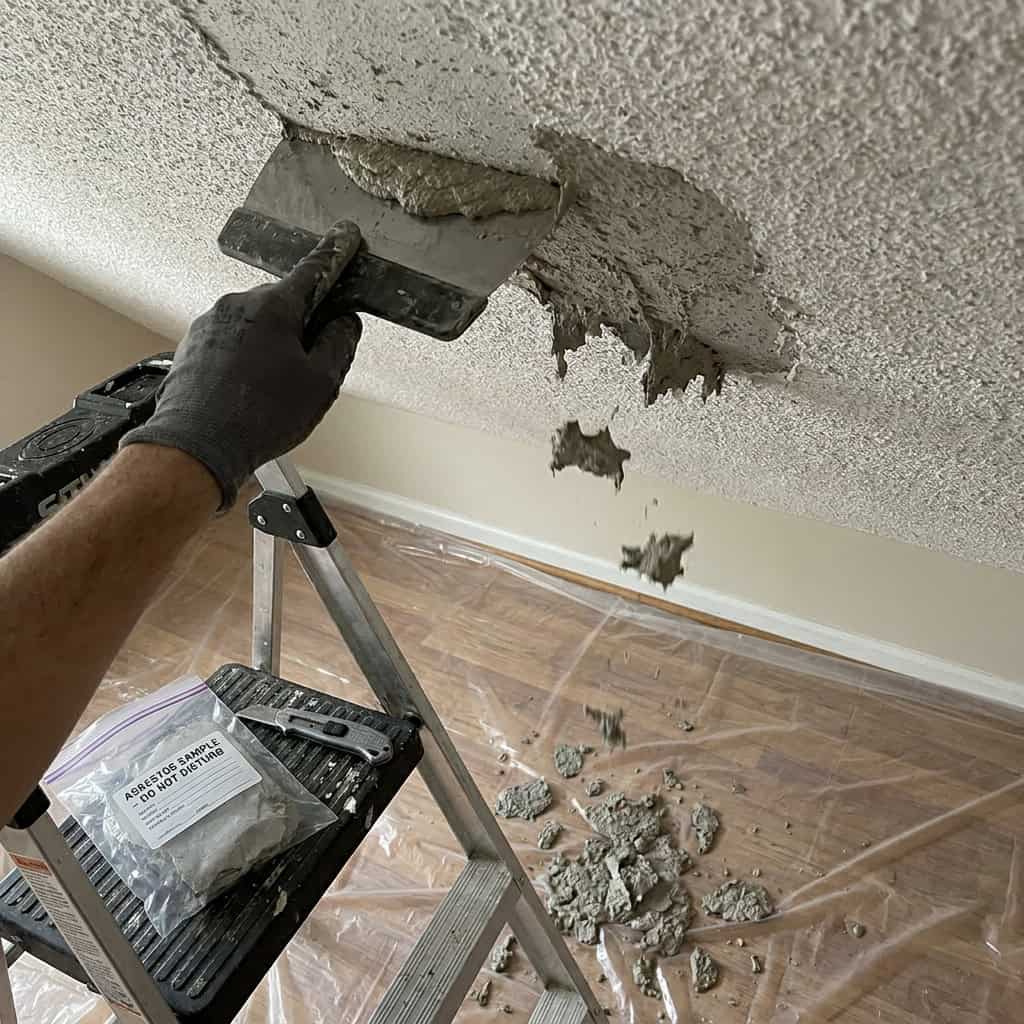
Few things date a room like a bumpy, shadow-catching popcorn ceiling. Scraping it off instantly modernizes the space and adds resale value.
But stop before you grab the scraper. This is the one entry on the list where a mistake can hurt you.
Test for asbestos before you scrape. Popcorn ceilings were common in homes built from the 1950s through the mid-1980s, and many of those textures contain asbestos fibers that become dangerous only when disturbed and sent airborne.
Buy a cheap test kit or, better, send a small sample to a certified lab. Do not sand, scrape, or spray a ceiling from that era until you know what’s in it.
If the test comes back positive, put the tools down and call a licensed abatement pro. This is not a corner to cut, and it’s not a DIY job under any circumstances.
If it comes back clean, the work is honestly satisfying. Mist the ceiling with water, let it soak, and the texture peels away in wet sheets with a wide putty knife.
Skim, sand, prime, and paint, and a room that felt stuck in 1979 suddenly reads current. Twin Cities Habitat ReStore lists it among the inexpensive upgrades that meaningfully move value — as long as you handle the asbestos question first.
23. Paint (or Replace) the Front Door
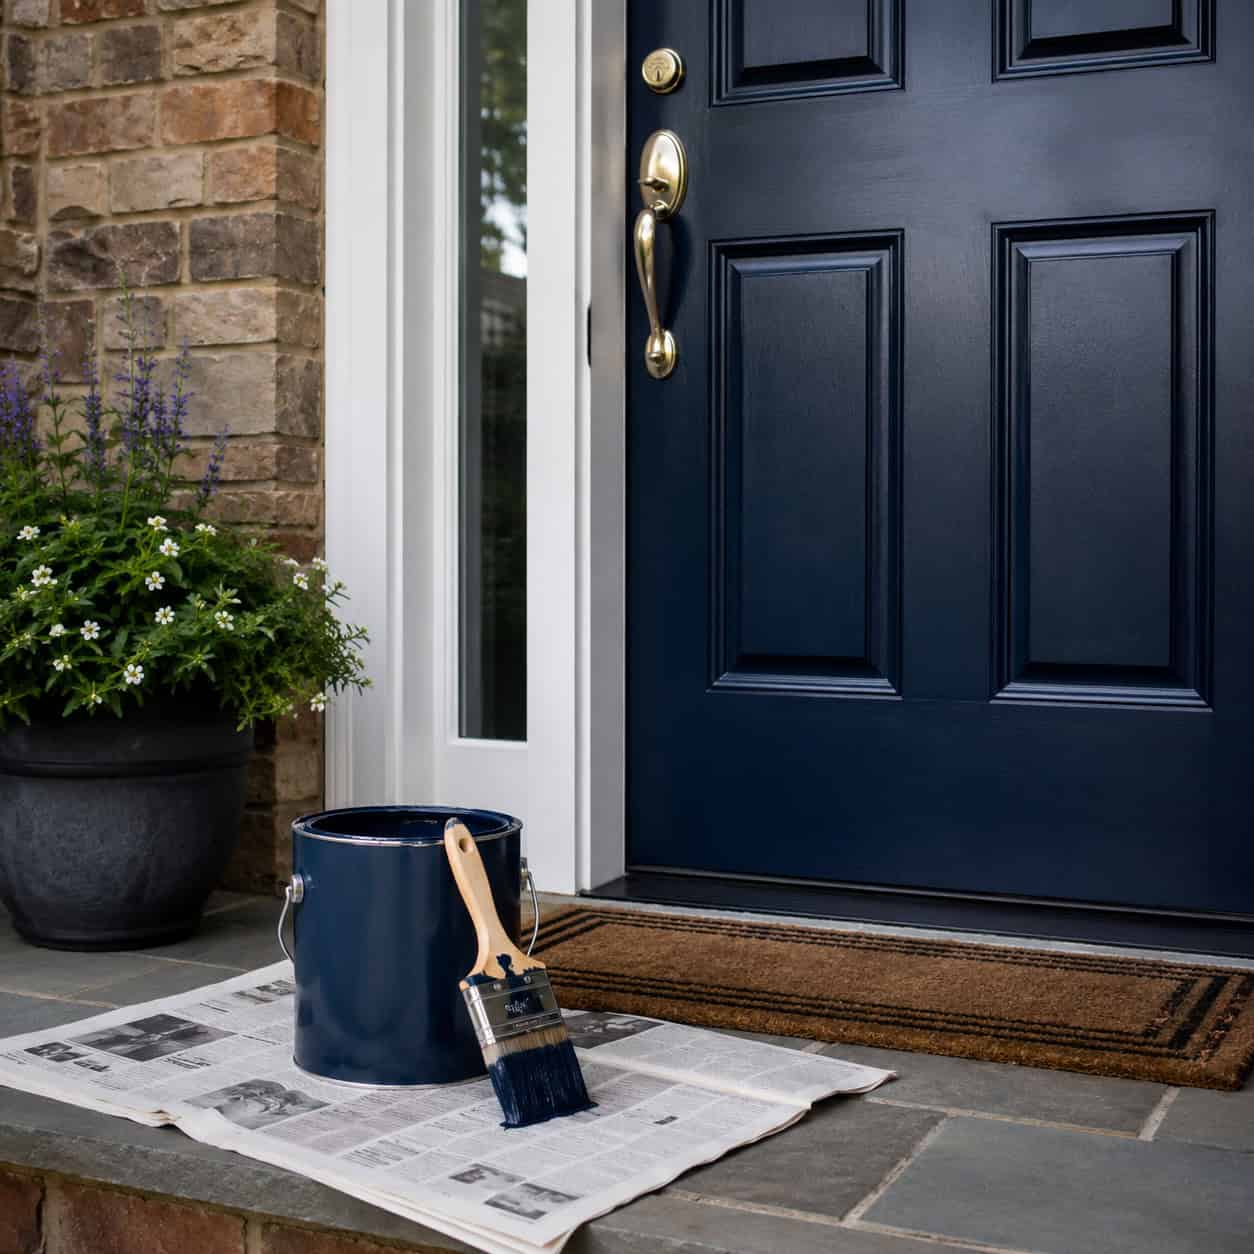
The front door is the star of every exterior photo and the first thing a visitor studies up close.
A bold color — deep navy, forest green, a confident black — signals a house that’s been cared for. Painting one runs under $100.
If the door itself is beat, a steel replacement adds real energy efficiency and one of the strongest returns in curb appeal.
Small surface, enormous first impression. HomeGPT puts the door at the center of every entry makeover.
24. Upgrade to Modern House Numbers
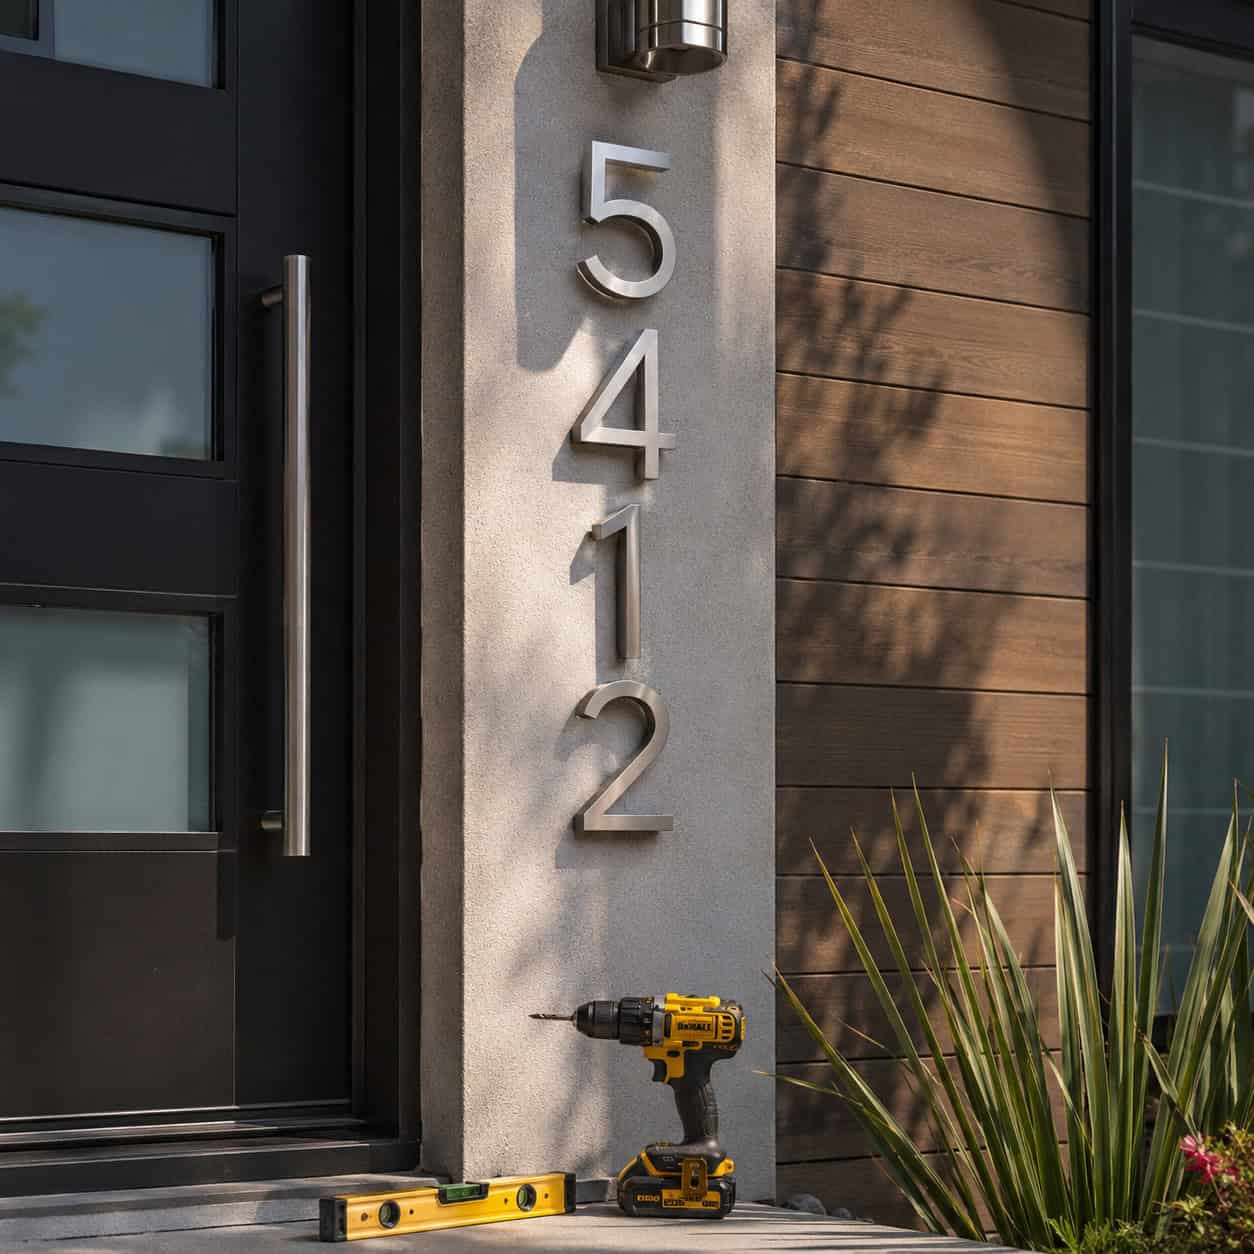
Tiny detail. Visible payoff.
Large, legible house numbers in a finish that matches your door hardware polish an entry immediately — and they actually help people find you.
Figure $20 to $50 and a weekend afternoon with a level and a drill.
Skip the faded stick-on ones by the mailbox. Mount bold numerals where the street can read them.
25. Hang a Statement Entry Light
Builder-grade brass porch lanterns date a house the second you pull in the driveway.
A generously sized sconce or a porch pendant swaps in with a screwdriver and the breaker off.
Here’s the tip designers repeat: most porch lights are hung too high and sized too small. Go bigger and drop it to eye level.
A properly scaled fixture makes an entry feel finished. HomeGPT makes the case for sizing up.
26. Replace the Garage Door
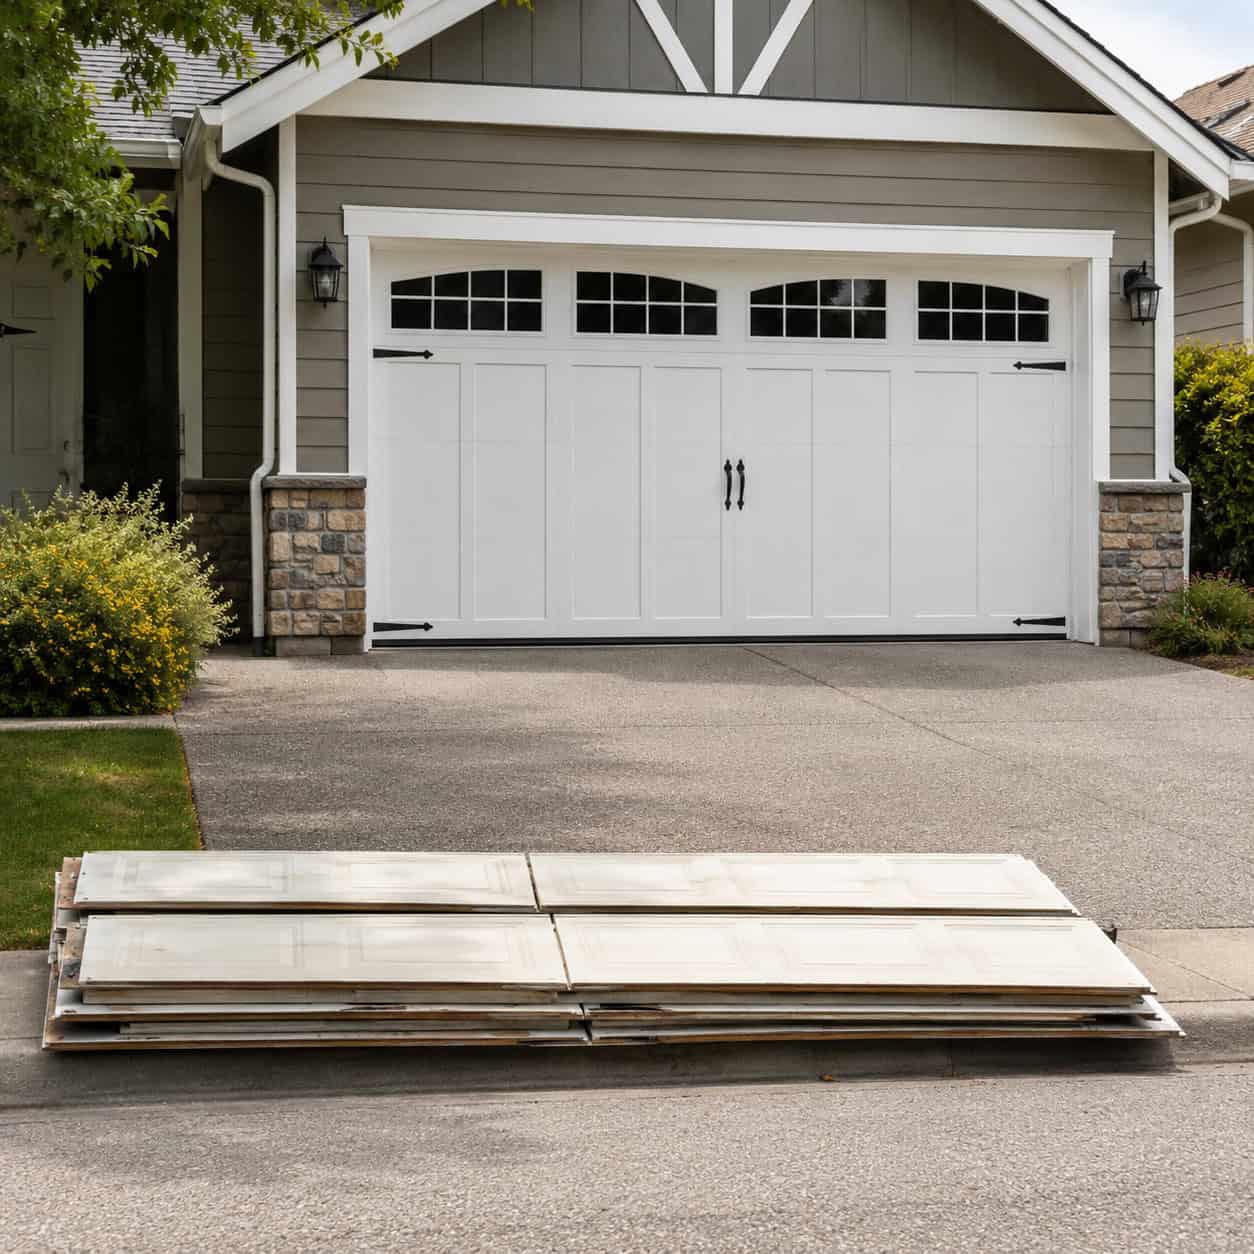
This isn’t the cheapest entry on the list. It might be the smartest.
A new garage door averages around $4,300 installed — and it consistently tops the national Cost vs. Value report, recouping roughly 90 to 100 percent or more of what you spend. Almost nothing else in home improvement performs like that.
Part of it is simple math. On most house fronts, the garage door is the single largest visual element, so replacing a faded, dented one changes the entire facade in an afternoon.
The other part is energy. An insulated door with a solid weather seal keeps the garage — and any room above or beside it — closer to comfortable, which takes load off your heating and cooling.
You get curb appeal and efficiency in the same purchase, backed by resale numbers that read like a misprint. Zillow keeps it near the very top of its value rankings year after year.
If a full replacement is out of budget, a new set of decorative hardware and a good repaint buys you a fraction of the effect for a fraction of the cost.
27. Fresh Mulch and Crisp Bed Edges
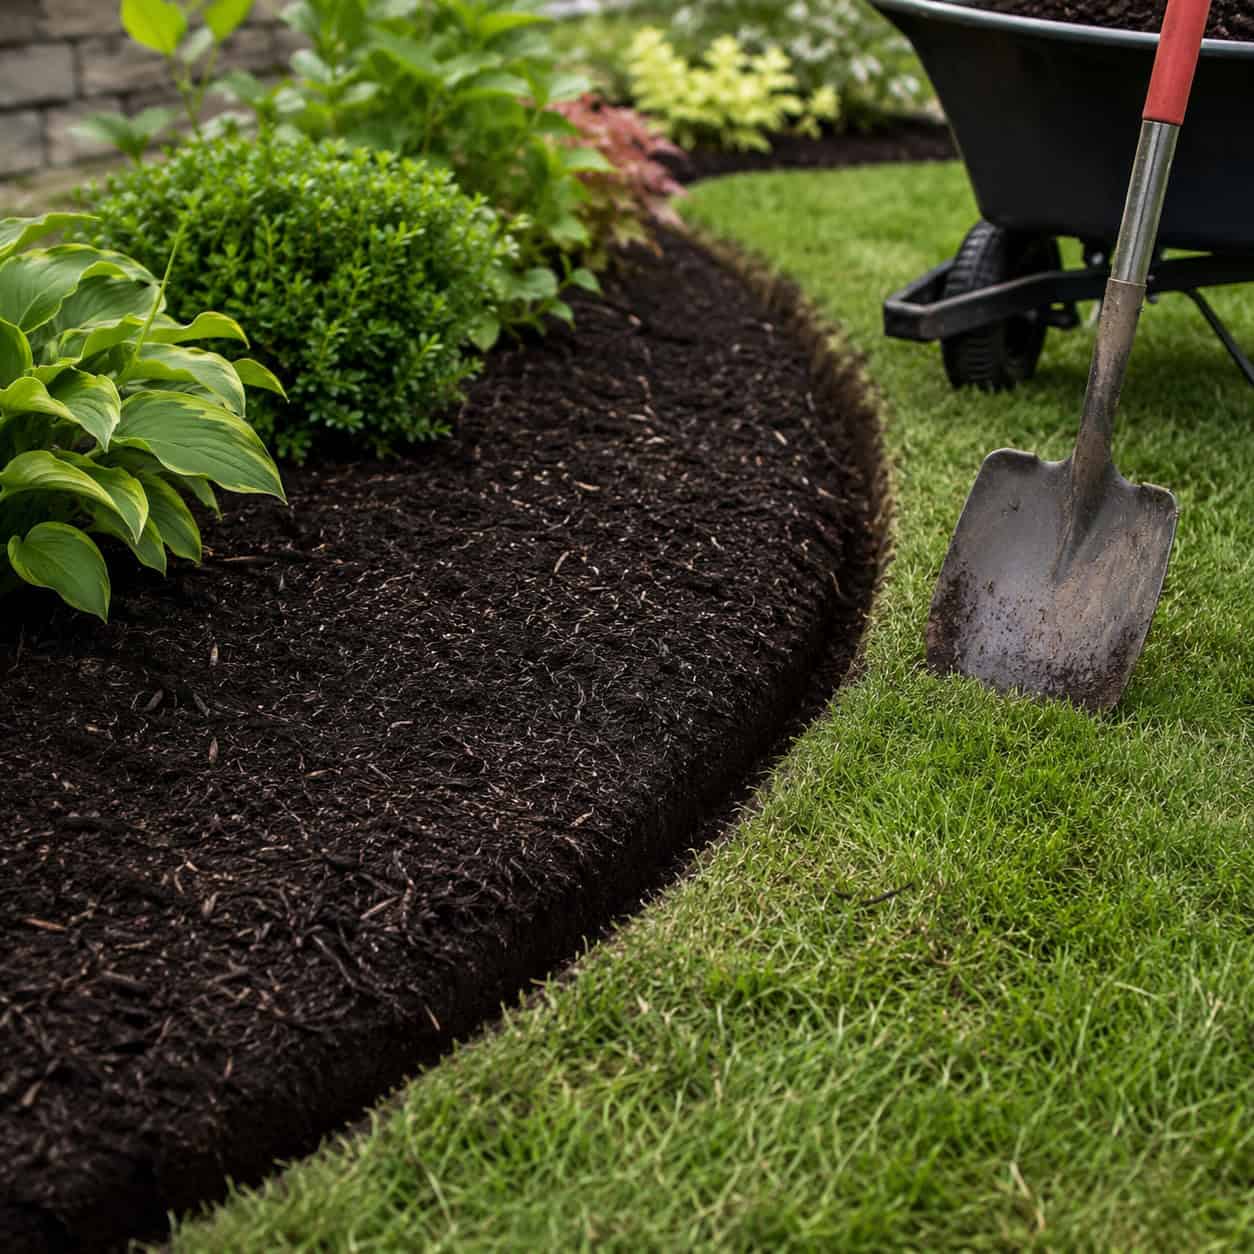
A landscape can look maintained before you plant a single flower.
Two cubic yards of dark mulch plus cleanly cut bed edges reads as “well-kept” the instant someone pulls up. Figure $60 to $100 and a few hours of work.
Cut a sharp trench edge between lawn and bed. Spread the mulch even and dark.
It’s one of the fastest, cheapest signals of care you can buy. HomeGPT ranks it among the top low-cost curb-appeal moves.
28. Pressure Wash the Exterior
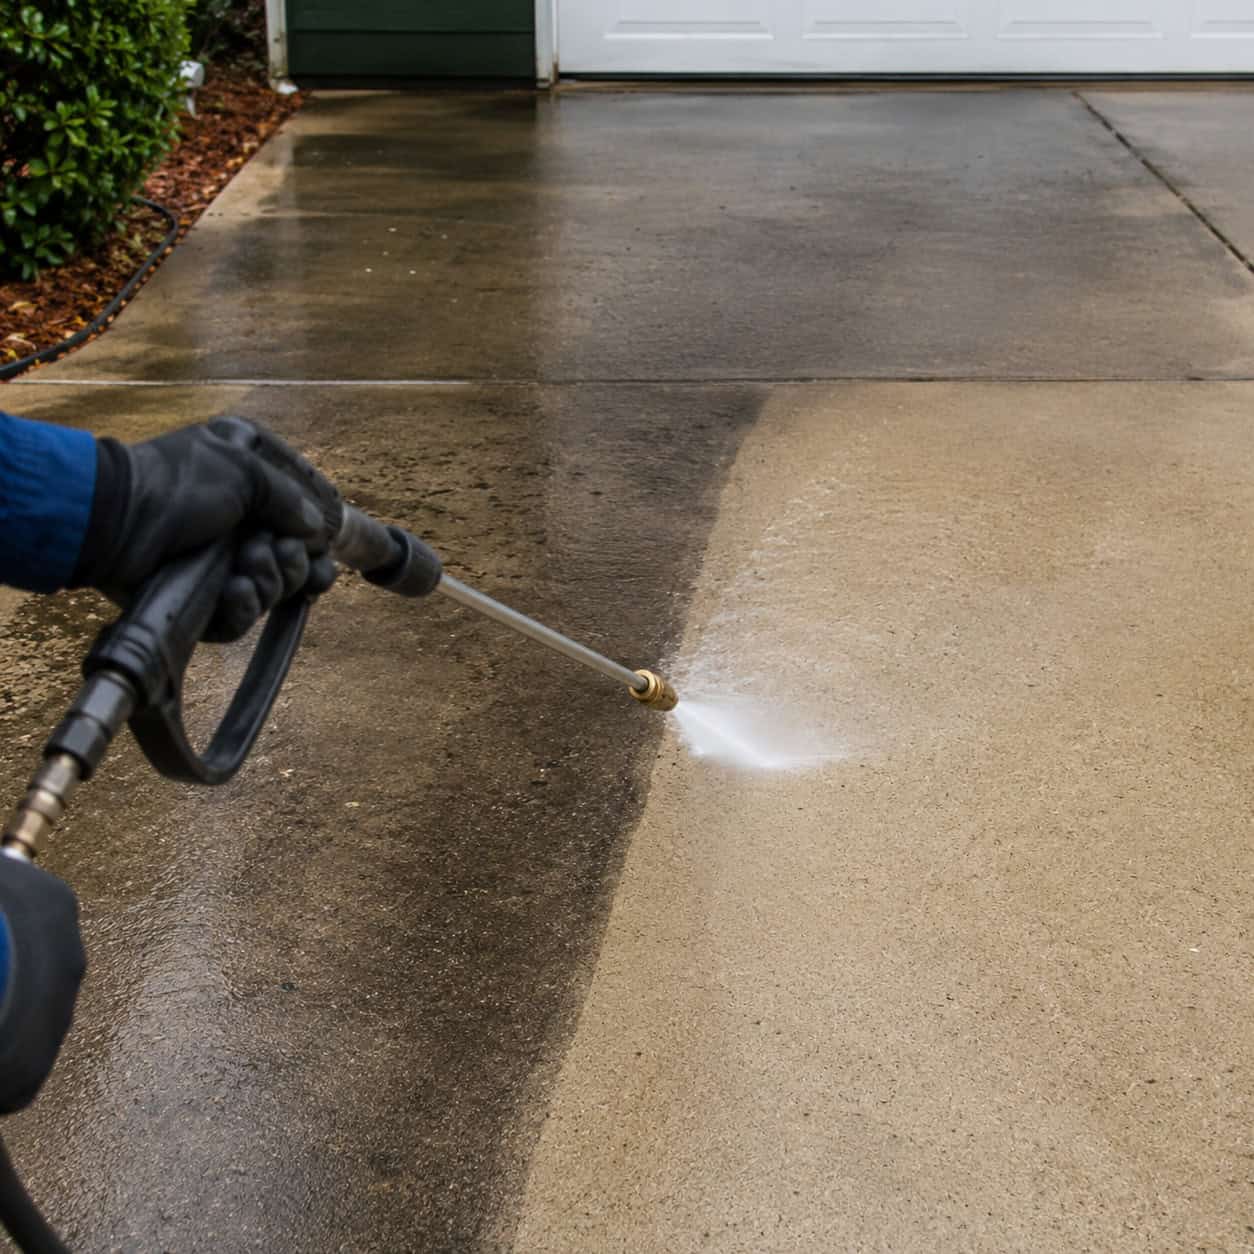
Grime makes everything look decades older than it is.
Blast the siding, the driveway, the walkway, and the front steps, and you’ll watch years peel off in real time.
A rental runs $40 to $100 for the day. The before-and-after is the most dramatic one an afternoon can buy.
No new materials. No skills. Just water at pressure and a lot of gray sludge running off into the yard. The Bernardi Group calls it the lowest-cost, highest-return move outside.
29. Add Landscape and Path Lighting

Most homeowners never think about how the house looks at dusk. That’s the opening.
Low-voltage path lights along the walkway and a couple of uplights on a tree change the entire property after dark. It stops looking like a house and starts looking like a home someone’s proud of.
Solar is the plug-and-play route; low-voltage wired kits give steadier, brighter light.
Aim the beams downward to avoid glare that stabs at the eyes. The Bernardi Group counts it among the most underused value adds outside.
30. Install a Smart Thermostat

A smart thermostat learns when you’re home and when you’re not, then trims heating and cooling on its own.
The EPA estimates homeowners save an average of about 8 percent on utility bills after the switch. That adds up fast on a full year of heating and AC.
It runs $50 to $200 and installs with a screwdriver and a phone app. The upgrade also reads as move-in-ready to any future buyer.
Comfort and savings in one small box on the wall.
31. Switch to the Right LED Bulbs
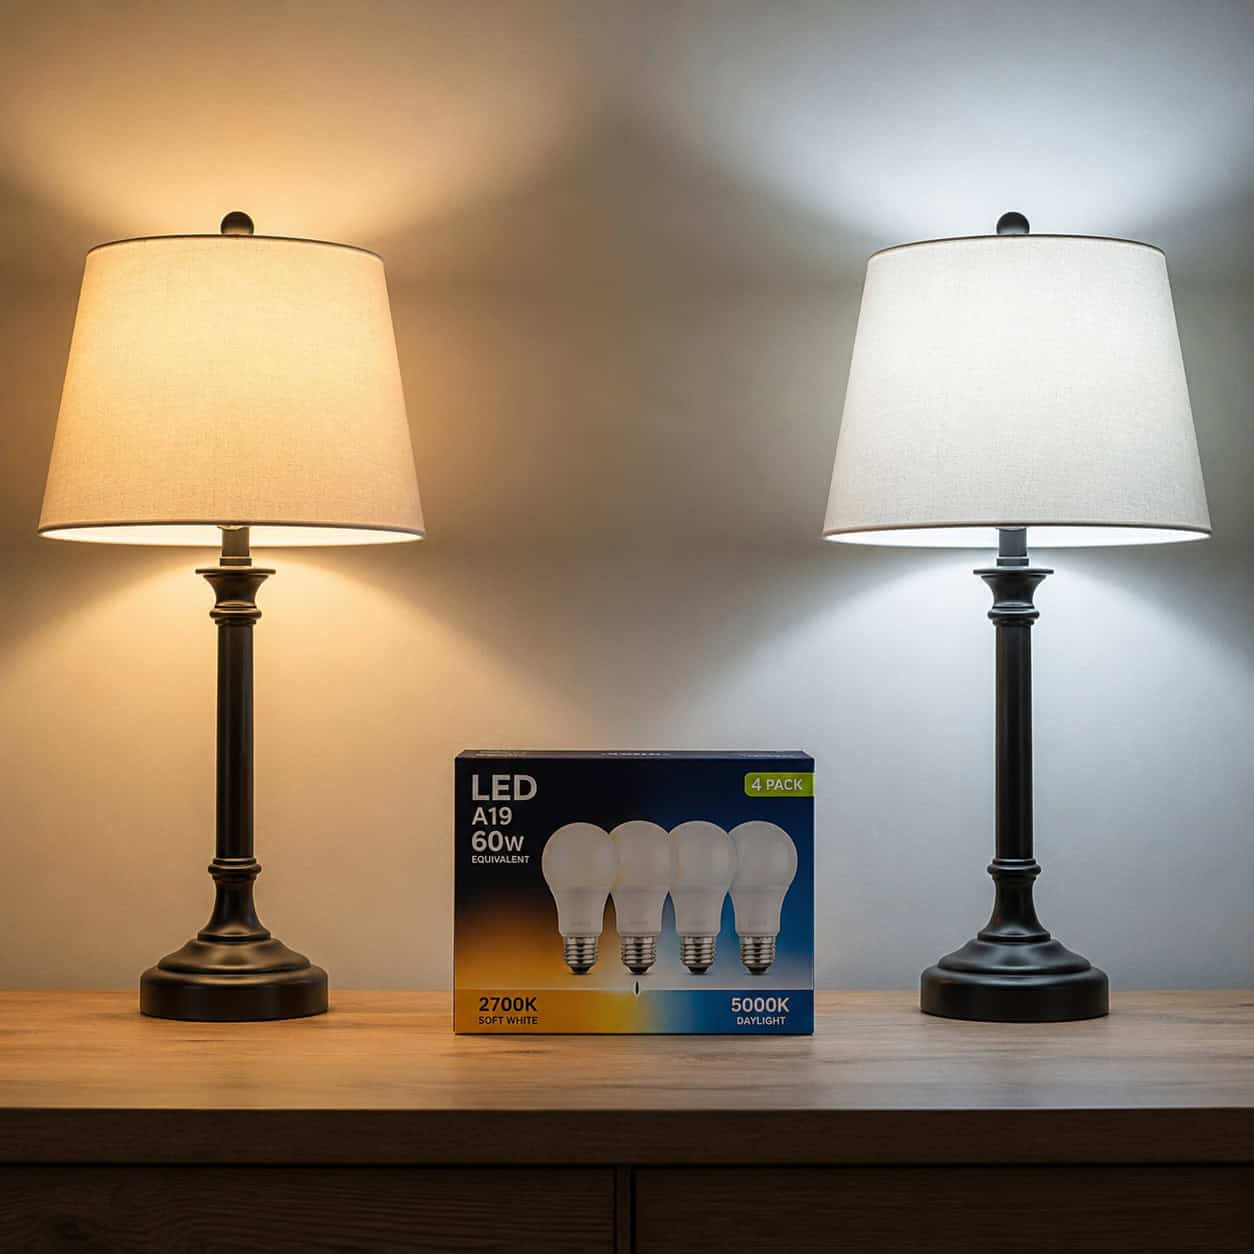
LEDs cut energy use and last for years. That part everyone knows.
The part most people miss is color temperature. Soft-white bulbs (around 2700K) glow warm and cozy; daylight bulbs (5000K and up) feel crisp and clinical.
Mix them in one room and every other upgrade you made looks slightly off. Match the temperature throughout a space and the whole room finally reads intentional.
Pick your temperature, buy in bulk, and swap the mismatched ones out. Federal energy-efficiency programs like ENERGY STAR lay out the ratings if you want to go deeper.
32. Weatherstrip and Seal Air Leaks
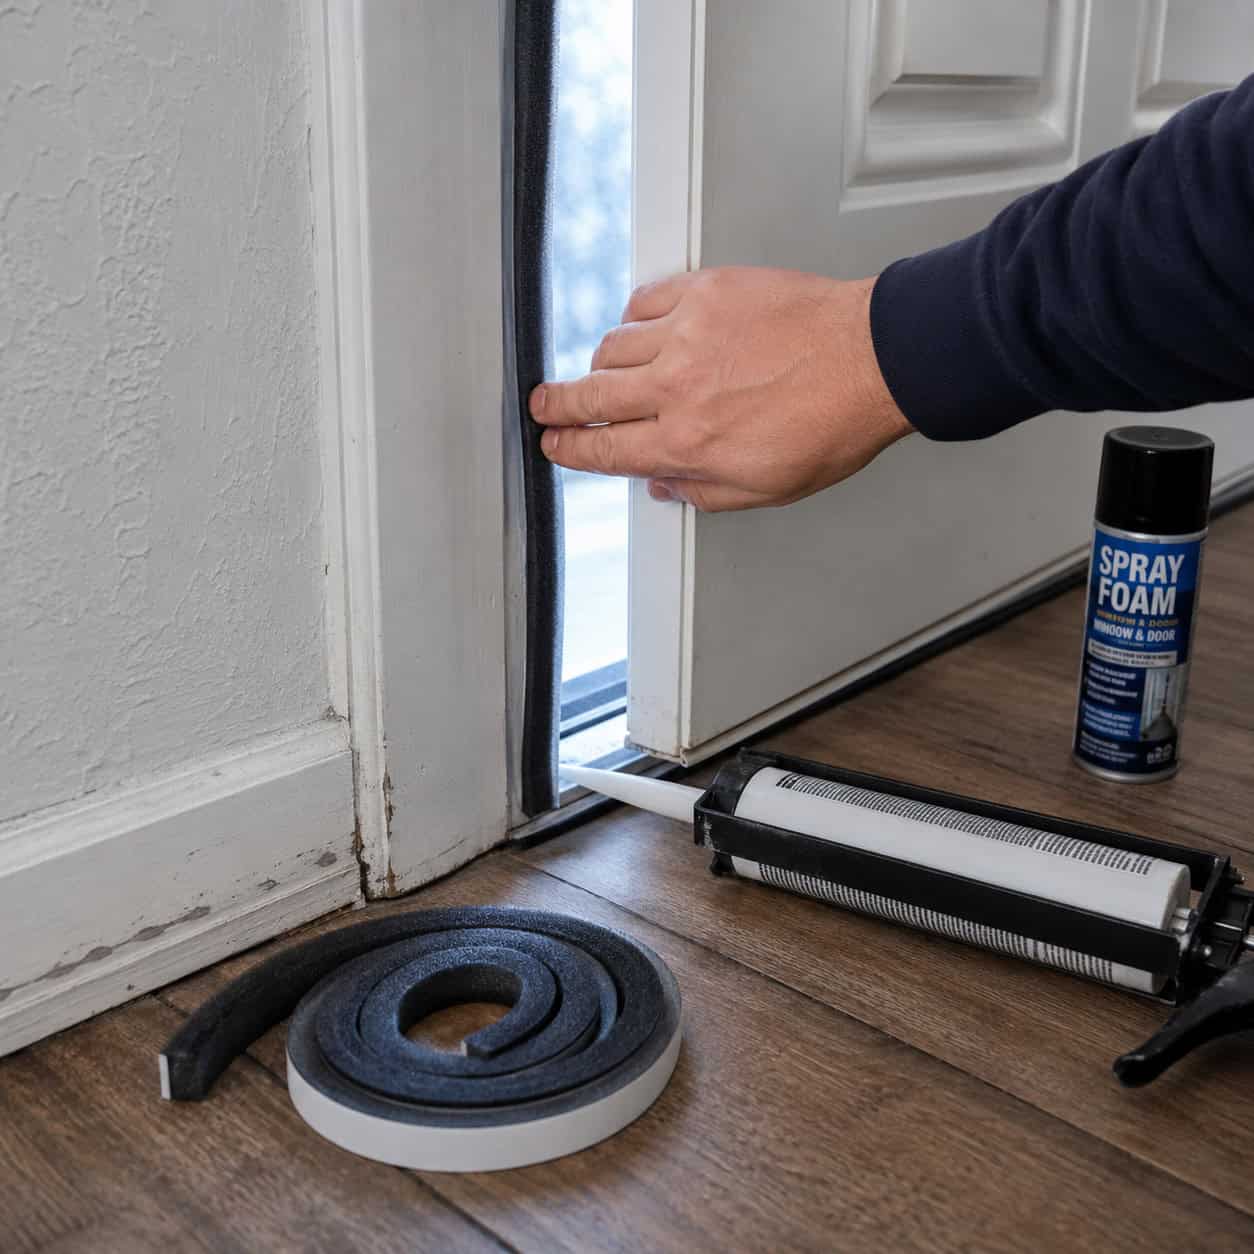
This is the cheapest comfort fix in the entire house, and it hides in plain sight.
Drafts sneak in around doors, windows, outlets, and the sill plate down in the basement. Sealing those gaps stops the cold air, cuts the bills, and keeps the bugs out at the same time.
The number is the hook. Sealing air leaks and adding weatherstripping can trim up to roughly 20 percent off your annual heating and cooling costs.
A tube of caulk, a roll of weatherstripping, and a few cans of spray foam cost less than a single power bill. Run your hand along the edge of an exterior door on a windy day and you’ll find the leaks yourself.
Before you tackle it, compare the two easiest weekend versions of this job.
| Weatherstripping | Caulk & Foam | |
|---|---|---|
| Best for | Doors, windows | Gaps, cracks, sills |
| Cost | $10–30 | $15–40 |
| Skill needed | Almost none | Steady hand |
| Moving parts? | Yes | No |
Use weatherstripping where things open and close, and caulk or foam where nothing moves. The U.S. Department of Energy ranks air sealing among the fastest-paying efficiency projects there is — and some of this work may even qualify under the IRS Energy Efficient Home Improvement Credit, so keep your receipts.
Where to Start
You don’t do all 32 in a weekend. You do three.
Paint a room. Swap the cabinet knobs. Seal the drafts around the front door.
Each one is cheap. Each one is finished by Sunday night. And stacked together over a few months, they turn a builder-grade box into a house that feels like somebody actually loves it.
The best upgrades were never the expensive ones. They were the small ones nobody skipped.