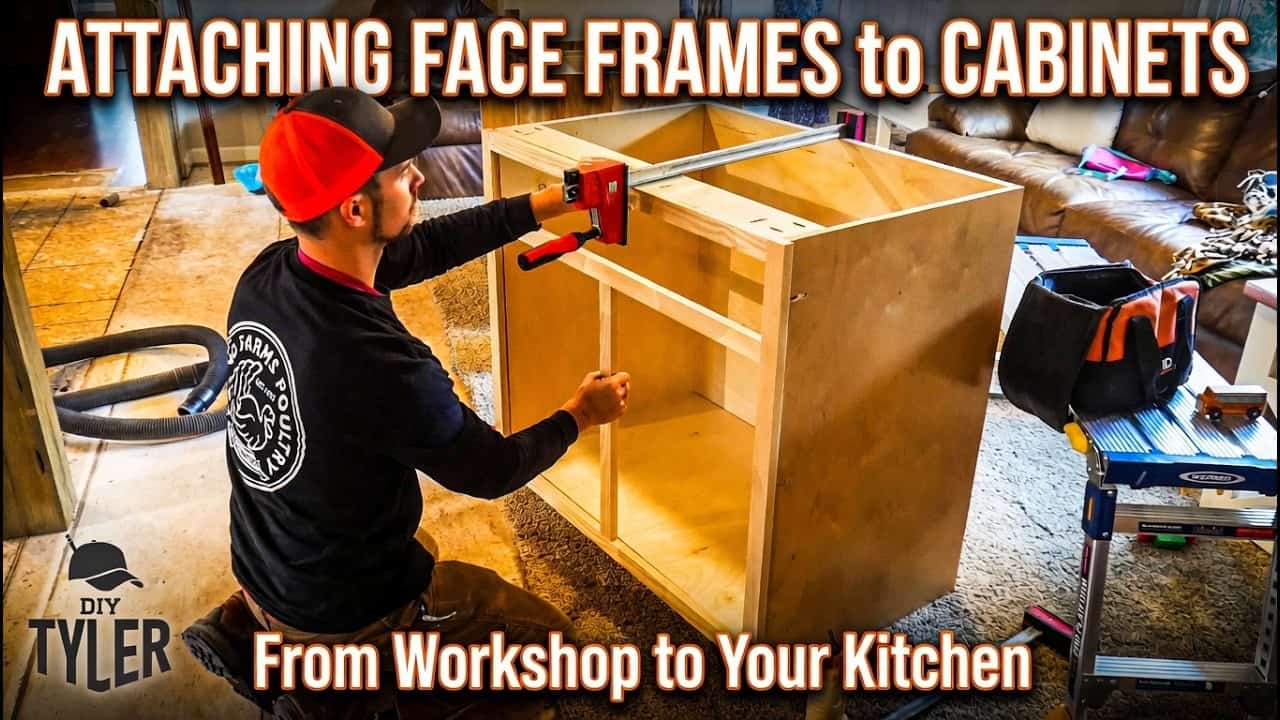
This project was built and designed by Tyler from DIYTyler.
Tyler demonstrates how to create professional-quality cabinet face frames using raw ash lumber, showing the complete process from rough lumber to finished frames ready for installation.
Watch the full video and subscribe to DIYTyler:

Lumber Selection and Preparation
Tyler starts with a stack of rough ash lumber, carefully selecting boards that will maximize the yield for face frame pieces. He inspects each board for potential hazards like staples or nails that could damage carbide cutting tips.
The lumber preparation begins with planing to achieve consistent thickness across all boards. Tyler moves his planer to accommodate the long boards without cutting them to shorter lengths first, preserving material efficiency.
After planing, the boards receive a quick pass over the jointer to establish one straight edge before moving to the table saw for final width cuts.
Milling to Size
At the table saw, Tyler rips all the face frame material to the required width. He uses a Harvey fence positioned on its side to allow better access with push sticks during the cutting process.
The milling process reveals minimal tension in the lumber, which Tyler notes as fortunate since internal stress often causes boards to warp or twist during cutting. He cuts extra pieces to account for potential losses from wood movement.
Cutting Components to Length
Tyler moves to his miter station to cut all pieces to their final lengths. He establishes a square cut on one end first, then rotates each board before making the final cut to prevent tear-out from interfering with the finished dimensions.
Each cut piece gets organized on a rolling cart according to a detailed schematic. Tyler separates pieces that will receive pocket holes from those that won’t, with vertical pieces remaining untouched and horizontal pieces getting the joinery treatment.
Pocket Hole Strategy
Using a Kreg Foreman, Tyler cuts pocket holes in the horizontal frame members. He modifies the setup with a custom clamp and stopper after experiencing cracking issues with the standard plastic stoppers.
Tyler opts for single pocket holes rather than double holes to reduce the risk of splitting near the edges of the hardwood. He emphasizes that glue will provide the primary strength, with pocket screws serving mainly to hold pieces during assembly.
Assembly Process
Assembly takes place on Tyler’s flat outfeed table, which provides the square reference surface necessary for accurate face frames. He uses wood glue on all joints and secures them with coarse pocket screws.
Tyler uses a drill rather than an impact driver for the pocket screws, taking advantage of the clutch settings to prevent overdriving and stripping. A quick check with a mallet ensures all boards remain properly aligned without rotation.
Finishing and Installation Prep
After assembly, Tyler sands the face frames starting with coarse grit and progressing to finer grits. He shares a technique for filling small gaps using wood glue mixed with sanding dust to create an instant wood filler.
For installation, Tyler uses a Kreg Rebel to add pocket holes directly to the cabinet boxes after the face frames are complete. This approach prevents the mistakes he encountered in previous projects where pocket holes were cut prematurely.
Creating professional-quality face frames at home requires attention to lumber selection, careful setup, and systematic organization throughout the process. Tyler’s methodical approach and willingness to adapt techniques based on experience produces results that rival commercial cabinet work. The key lies in maintaining accuracy at each step and using quality tools appropriately for the specific challenges of hardwood joinery.
Watch the full video and subscribe to DIYTyler:

Matt’s Take
These are my personal thoughts and tips based on my own experience in the shop. This section is not written, reviewed, or endorsed by the original creator of this project.
Face frame construction is one of those skills that separates casual woodworkers from serious cabinet makers. Tyler’s approach here really showcases the importance of thinking through your lumber selection upfront – taking time to inspect for metal and plan your cuts before you start milling saves both money and frustration down the line.
The single pocket hole strategy is smart for hardwood face frames. I’ve seen plenty of rails split when people get aggressive with double pocket holes, especially near the edges. The glue joint does the real work anyway – those screws are just holding things together during assembly. Using a drill instead of an impact driver for pocket screws is another detail that makes a difference when you’re working with harder species like ash.
That wood glue and sanding dust trick for filling small gaps is gold. It matches the wood perfectly and sands flush without the color mismatch you often get with commercial fillers. Just make sure you’re working with fresh dust from the actual project pieces.
The flat assembly surface can’t be overstated – trying to assemble face frames on a wavy workbench will drive you crazy. If you don’t have a dedicated outfeed table, even a piece of melamine on sawhorses works well as long as it’s dead flat.