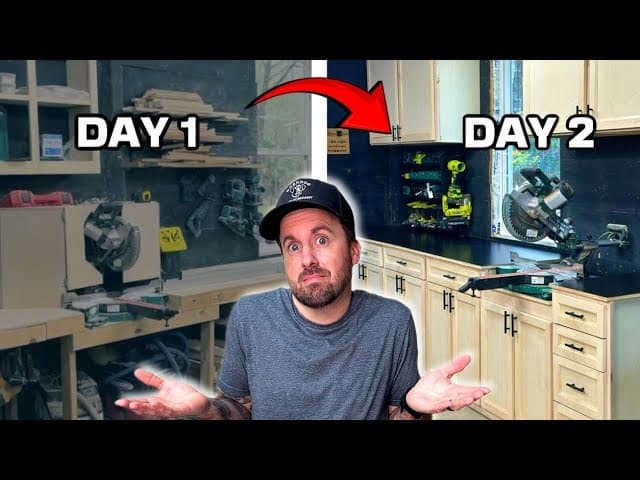
Nick Starrett demonstrated a complete miter saw station rebuild workflow on his channel.
The project starts with a simple problem: an old miter saw setup that wastes space and slows everything down, forcing major rework under a tight deadline.
Instead of changing tools, Nick repurposes the existing work flow by rebuilding a more efficient cabinet station while keeping the miter saw and workbench usable throughout.
Watch the full video and subscribe to Nick Starrett:

Design: Organize the Station Around Real Work
The redesigned station is built around a practical layout that separates “grab-and-go” storage from “machining-adjacent” storage. The layout divides the base into equal sections, with drawers and door-and-drawer combinations arranged for how a shop actually gets used.
Rather than demolishing everything at once, the plan preserves the miter saw and nearby work surface during the transition. The old unit is removed only after the new station structure and framework are ready, which reduces chaos and prevents delays caused by missing workspace.
Speed Through Planning: Prep Before Assembly
With only two days available, the rebuild leans heavily on preparation and batching. Pieces for the carcasses and upper sections are cut, stacked, and organized so assembly can move quickly once the clock is running.
Material choices also reflect the time pressure and shop reality. Shop furniture decisions focus on usable durability while avoiding unnecessary weight and handling effort, which helps keep the build moving without sacrificing stability.
Lumber Prep: Making Shop Furniture Decisions That Pay Off
To keep the build efficient and manageable, thinner-than-usual plywood is used for the carcass work. The reasoning is practical: this is shop furniture, and saving time and back strain can matter as much as the final finish.
While the outer look is handled later with face frames, doors, and tops, the carcass stage still needs to be accurate. The project emphasizes checking measurements early so the later “pretty parts” can drop in without fighting for alignment.
Dust Collection Integration: Don’t Treat It as an Afterthought
A key improvement in the rebuild is adding a dedicated path for dust collection through the cabinet sidewalls. By planning the line routing during carcass preparation, the station stays cleaner and reduces the need to retrofit later.
The work also shows how to think around constraints, like avoiding an awkward hole-cutting situation. Using a simple tracer method makes repeatable openings easier, especially when matching the dust line to multiple cabinet sections.
Joinery and Assembly: “Strong Enough” for Shop Use
Because this is shop-built cabinetry, the build favors efficient joinery over overly complex hidden techniques. Fast mechanical fastening is combined with glue where needed, and since the parts are mostly concealed, cosmetic perfection is not the priority at the carcass stage.
Carcass assembly is structured so components can be joined into larger units before moving them to the wall. This improves squareness and reduces frustration when the mounting surface is uneven.
Face Frame: A Custom Look With Fewer Visible Joints
The face frame is designed to present as a smooth, continuous element, aiming for a more custom look with fewer visible seams. Building it in a way that minimizes junctions makes the whole station feel more “finished,” even if the shop portion is built quickly.
This is also where alignment matters most. Once the frame and the cabinet carcasses are squared and connected off the wall, installation becomes less about correcting mistakes and more about tightening everything into place.
Shaping and Cleanup: Managing Dust and Workflow
Tool limitations influence workflow decisions, and sanding dust becomes a major factor. With one sander failing and another producing heavy dust, the build changes tactics to keep sanding workload under control.
The approach delays certain finishing steps and batches components intelligently, so sanding and cleanup don’t become a bottleneck. It’s a reminder that “finishing” is not just about the final coat—it’s also about controlling what slows down progress in the shop.
Time-Saving Strategy: Outsourcing the Door and Drawer Front Work
Doors and drawer fronts are singled out as the hardest time sink in a cabinet workflow, especially when deadlines are tight. To protect the schedule, the rebuild uses professionally prepared fronts so hinge holes and fit-related steps are largely pre-handled.
This demonstrates a production principle: when deadlines are real, speed comes from shifting effort to where it matters and removing repeatable labor from the critical path. It also allows the station to reach completion without cutting corners on the most visible cabinet components.
Installation and Finishing: Make It Look Built, Not Last-Minute
Once the base cabinets are installed, the workflow focuses on final fit and mounting visible hardware. The uppers are door-hung and checked, and higher storage areas are used to make tall ceilings feel intentional rather than wasted.
The top finish adds contrast and durability, using plywood tops capped with a black laminate appearance. The laminate application is treated like a finishing system: contact alignment, trimming cleanly, and using careful setup to reduce visible seams.
Overall Takeaways: How to Rebuild Without Losing Control
This rebuild is a masterclass in deadline-friendly woodworking: plan the layout, batch the prep, and protect the critical work path. By keeping the miter saw accessible during construction and solving dust collection early, the station becomes more efficient immediately—not just on paper.
It also highlights a realistic mindset for shops: use different strategies for “hidden structure” versus “visible quality.” The carcasses prioritize speed and squareness, while the faces, tops, and lighting focus on the final impression that makes the station feel like a designed system.
Watch and Learn More
Watch the full video and subscribe to Nick Starrett:

Matt’s Take
These are my personal thoughts and tips based on my own experience in the shop. This section is not written, reviewed, or endorsed by the original creator of this project.
This rebuild really showcases smart project management under pressure. When you’re facing a tight deadline, batching your prep work like Nick does here can make or break the schedule. Getting all your pieces cut, organized, and ready before assembly day means you’re not stopping to measure and cut every few minutes when the clock is ticking.
The dust collection planning early in the build is brilliant. I see too many shop builds where dust collection gets added as an afterthought, which usually means awkward retrofitting and compromised airflow. Routing those lines during the carcass stage keeps everything clean and professional-looking. That tracer method for consistent openings is a nice touch for getting repeatable results across multiple cabinets.
The decision to outsource doors and drawer fronts is a smart production move. Those are the most finicky, time-consuming parts of any cabinet build, especially when you need perfect hinge boring and consistent reveals. Sometimes the best woodworking decision is knowing when to let someone else handle the tedious stuff so you can focus on assembly and installation.
One thing I really appreciate about this approach is keeping the existing miter saw operational throughout the build. Nothing kills productivity like losing your primary cutting station mid-project. The phased approach here—building the new structure first, then swapping everything over—keeps the shop functional when deadlines are real.