Jon Peters from Longview Woodworking shared the veneering woodworking tip featured in this video.
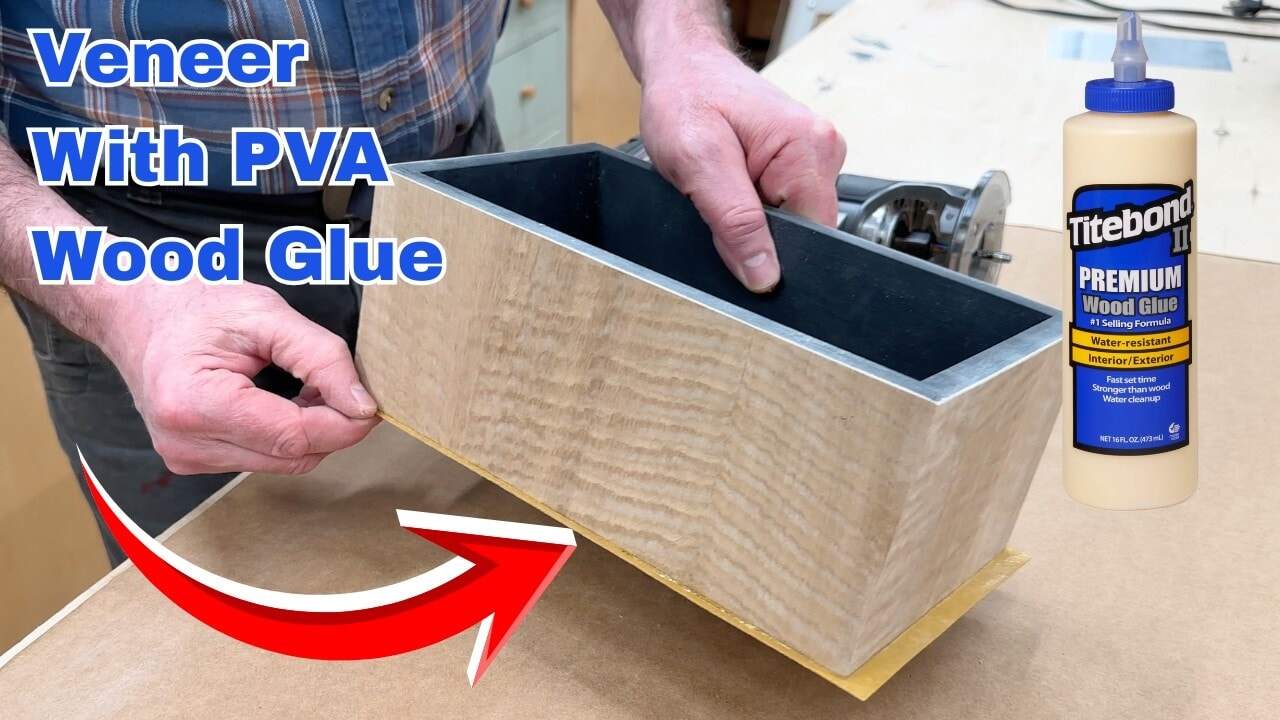
Veneer opens up high-end looks without the complexity of full solid-wood joinery, and it can make small furniture parts feel truly special. This article breaks down a beginner-friendly way to apply veneer using common PVA wood glue and a household clothes iron.
Watch the full video and subscribe to Jon’s channel:
Why Veneer Makes “Real-World” Woodworking Easier
Veneer can reduce many of the headaches tied to working with large, expensive boards. It also makes it practical to get beautiful figure and color variation without needing advanced layout or heavy-duty lumber.
Even when the underlying structure uses simpler wood, veneer can carry the visual “wow” factor. Done well, the result looks crisp at the edges and shows consistent grain across panels and transitions.
The Key Idea: Use PVA Instead of Contact Cement
Many woodworkers use contact cement for veneer because it grabs quickly, but it can be unpleasant to work with. PVA wood glue offers a lower-odor approach and is easier to handle during positioning.
The tradeoff is control: PVA has working time and the veneer can drift slightly while pressure is applied. That means care during alignment and even pressure matters more than with a traditional instant-grab system.
Preparing Veneer: Cutting and Removing Curl
Veneer often arrives slightly curled, and that curl can fight the iron-on bond. The practical fix is to cut veneer oversize and then relax the curl so the sheet lays flatter before glue goes on.
Applying gentle moisture to encourage the veneer to relax is a common approach, followed by careful pressing so it becomes easier to position. This helps reduce edge gaps and makes the next steps more predictable.
Glue Application: Thin Coats on Both Surfaces
The iron-on method relies on spreading a thin layer of PVA on the substrate and on the back of the veneer. Thin glue matters because thick glue increases the risk of squeeze-out, uneven transfer, and minor bumps that show through later.
After spreading the first coat, the glue is allowed to set briefly so it becomes tacky rather than wet. Then a second coat is applied, and the veneer is bonded while that second coat is still in the ideal “ready” state.
Iron-On Bonding: Position, Protect the Veneer, Add Even Pressure
A household clothes iron provides enough heat and pressure to activate and bond the veneer without specialized machinery. The critical move is positioning before heat, because the veneer can shift while pressure builds.
Using a protective barrier (like paper) prevents scorching or discoloration from direct heat contact. During pressing, it helps to check the edges for a consistent reveal and make small adjustments before committing to full contact.
Trimming and Flattening: Router Flush-Trim and Light Sanding
After bonding, trimming brings veneer flush and removes any excess at the perimeter. A router with a flush-trim approach is effective, but any slight high spots can be cleaned up first to prevent chatter or uneven edges.
Light sanding with appropriate grit is used to level the surface when minor ridges show up. The goal is to stay just shy of “through-veneering,” since sanding through is the main avoidable mistake in this stage.
Shaping the Finished Look: Clean Edges and Careful Reveal
Once the veneer is trimmed, the visible quality comes down to edge alignment and a consistent reveal all around. Small alignment imperfections may be less noticeable on compact projects, but they become more obvious on larger surfaces.
Keeping pressure even during bonding and trimming carefully reduces the chance of gaps, bubbles, or weak adhesion areas. When the veneer lies flat, the grain reads as continuous and intentional instead of pasted on.
Finishing: Grain Pop Without Over-Sanding
A good finish emphasizes veneer figure and creates a uniform sheen across the project. Wiping on finish in thin coats can be enough, especially when the veneer surface is already smooth from careful trimming and sanding.
Extra coats build depth and make grain movement stand out, but the sanding schedule needs to be gentle. The finish stage is also where durability matters most, since veneer edges can be more vulnerable than solid wood.
Overall Takeaways
Veneering with PVA using an iron-on method can produce clean, stable results while avoiding the harsh smell and mess of contact cement. The method works best when glue layers are thin, waiting times are respected, and pressure is applied evenly.
Most importantly, success comes from preparation and control: flatten the veneer, protect it from heat marks, align carefully, and trim in a way that keeps the veneer intact. With those habits, veneering becomes a repeatable skill that upgrades even simple projects.
Why This Veneer Approach Matters for Beginners
This glue-and-iron method is approachable because it uses common materials and a familiar tool. It also encourages good fundamentals—surface readiness, thin glue application, and controlled trimming—that carry over to other veneer techniques.
Once confidence is gained on a compact project, the same principles can be adapted to other veneered parts like drawer fronts, box lids, and speaker-style enclosures. The result is a cleaner path to professional-looking surfaces without needing specialized veneering equipment.
Watch the full video and subscribe to Jon’s channel:

Matt’s Take
These are my personal thoughts and tips based on my own experience in the shop. This section is not written, reviewed, or endorsed by the original creator of this project.
I really like this iron-on approach because it sidesteps two of the biggest barriers to veneering: the smell and mess of contact cement, and the cost of vacuum bags or presses. Most of us already have PVA glue and a clothes iron, so the entry point is pretty low. The key insight here is that PVA’s longer open time actually becomes an advantage when you’re learning — you can make small positioning adjustments that would be impossible with contact cement.
One thing that really stands out is the emphasis on thin glue coats. This is where a lot of folks run into trouble with any glue-up, but it’s especially critical with veneer. Thick glue creates telegraphing issues where you can see and feel every little bump through the thin veneer surface. A foam roller or old credit card can help spread that glue evenly without going overboard.
The protective paper barrier during ironing is crucial — I’ve seen too many pieces where someone skipped this step and ended up with scorch marks or shiny spots from direct iron contact. Parchment paper works great, or even brown kraft paper in a pinch. And don’t rush the trimming phase. That flush-trim bit wants to be sharp, and taking light passes prevents tear-out that can ruin an otherwise perfect veneer job.