This project was built and designed by Steve from JKM Woodworking.
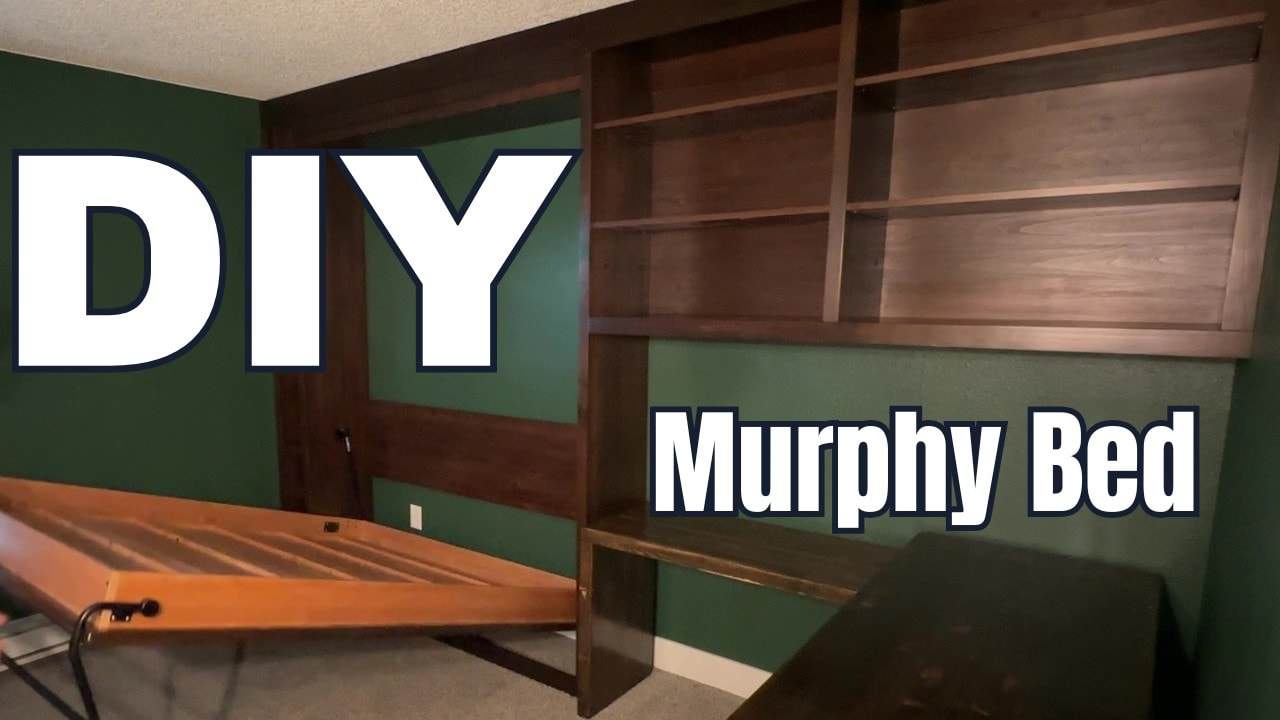
A Murphy bed can turn an office into a guest-ready room without sacrificing day-to-day living space, and this build goes further by adding custom side shelving for a wall-to-wall, floor-to-ceiling look.
Steve’s approach balances practicality and finish quality, showing how a DIY kit can be treated like a serious woodworking project—complete with careful layout, disciplined cutting, and finishing choices that hold up over time.
Watch the full video and subscribe to Steve’s channel:
Design: Turning a Kit into a Built-In Feature
The biggest “upgrade” in this project isn’t the bed hardware—it’s the way the surrounding storage is planned so the whole unit reads as furniture, not an appliance. Side shelving is custom fit to the available width and height, allowing the finished piece to look integrated into the wall.
Because shelf positioning affects the entire layout, Steve mapped the side components before cutting any final parts. That planning step prevents the common DIY issue of building pieces that fit “in theory,” but not in the real space where baseboards, clearances, and mounting points matter.
Lumber Prep: Breaking Down Plywood Without Rushing
One of the most intimidating parts of kit builds is handling large sheet material, especially when cutting alone. Steve focused on safety and accuracy during the plywood breakdown stage, using more controlled tools for the first cuts and then refining with more precise cutting afterward.
The key mindset here is patience—every cut was checked for both dimension and squareness before moving forward. That approach matters because plywood accuracy is the foundation for every later step, including edge banding, drilling, and final alignment.
Edge Banding and Layout: Small Details, Clean Visual Lines
To keep the plywood from looking “manufactured,” exposed edges were treated with edge banding in the areas that would be visible after assembly. The kit instructions clearly indicate which edges need banding, which helps keep decisions consistent across all panels.
Steve used an iron to apply banding and then trimmed it flush for a crisp transition. For many DIYers, the usefulness of this stage is psychological as much as visual—once edges are clean, the build starts to look like the finished furniture it’s meant to be.
Shelf Pin Holes and Hardware Mounting: Precision Drilling
Adjustable shelving was made possible by drilling repeatable shelf pin holes using a simple jig-based workflow. The process reduces cumulative error and speeds up alignment once the first reference hole is dialed in.
Hardware mounting required careful drilling too, with special attention paid to clean exits and correct depth. Steve used a two-direction drilling approach to minimize splintering when holes went through, and later learned how easy it is to over-drill when depth calls for accuracy.
Hardwood Components: Keeping Structural Parts Strong and Refined
Not everything in the build was plywood, and that’s a design-driven choice. Frame members and trim pieces were made from solid hardwood to add strength where needed and improve the overall look around the bed opening.
Steve sized the hardwood pieces using standard shop cutting tools, then prepared scrap wood that already matched the desired appearance. This is a practical way to keep the visual theme consistent while reducing waste.
Stain and Lacquer: Controlling Blotchiness and Achieving Even Finish
Finishing was treated as its own workflow, with many parts stained and sealed before assembly. That sequencing reduces access problems later and helps keep the surface quality consistent across the whole unit.
To manage blotchiness on difficult grain, a pre-stain conditioner was used before applying a gel stain. A sprayed clear lacquer provided faster coverage, and light sanding between coats helped the finish build up smoothly without losing crisp edges.
Assembling the Mattress Box: Straightness, Square, and Protection
The mattress box assembly required careful pre-drilling and consistent fastener placement. Although the number of fasteners can feel excessive at first, it spreads loads and supports a rigid structure that won’t loosen over repeated opening and closing.
Because finished surfaces were involved, Steve took time to protect the underside and avoid scratches during assembly. Clamping and squareness checks during the cleat and stiffener installation helped ensure the moving mechanism would align correctly later.
Finishing Around the Mechanism: Practical Coverage in Hidden Areas
Even in areas that aren’t always visible, the wood still needed protection. Steve avoided fully staining tight recesses, but still applied clear finish to reduce raw-wood wear and improve durability.
This is useful for readers because it reframes finishing as “coverage and protection” first, aesthetics second. With a kit, the best-looking results often come from treating every surface the hardware and structure will expose during real use.
Installation and Wall Attachment: The Moment Everything Becomes Real
Once the bed hardware was installed, the build transitioned from woodwork to mechanical assembly. Steve highlighted that the kit hardware provided everything needed and that the pivot and piston connections are designed to be straightforward—provided components are mounted on the correct sides.
A key lesson from the install phase was about avoiding rework: pivot post placement errors can force backtracking. Still, the design proved forgiving enough to correct without compromising the overall project outcome.
Completing the Built-In Look: Custom Shelving Alignment
With the standard bed portion assembled, the side shelving became the final “furniture” layer. Shelves were attached to the bed side panels, then the surrounding trim and wall-mounted sections were installed so everything met cleanly and stayed level.
Steve used a laser to mount the wall shelving accurately and ensured fastening into studs for stability. Once trim lengths were finalized, careful final fitting helped the unit visually disappear into the wall instead of looking like separate modules.
Overall Takeaways: What Makes This Kit Build Worth Studying
This project shows how a Murphy bed kit can produce a truly built-in result when planning and finishing discipline are treated as core woodworking skills. The real value lies in the workflow: plan the space, control the cuts, manage drilling cleanly, then finish early enough to prevent access problems.
Steve’s willingness to slow down during high-risk steps—like plywood breakdown and depth-controlled drilling—turns a potentially stressful build into a repeatable process. For readers adapting this idea, the same principles apply to other wall furniture builds: accurate layout, protected assembly, and finish quality that accounts for real-world use.
Watch, Then Apply the Workflow
Watch the full video and subscribe to Steve’s channel:

Matt’s Take
These are my personal thoughts and tips based on my own experience in the shop. This section is not written, reviewed, or endorsed by the original creator of this project.
The thing that really stands out about this build is how Steve treated a kit project like serious furniture making. Too often, DIYers rush through kit builds thinking the pre-cut parts eliminate the need for careful workflow. But those clean edges, consistent drilling, and proper finishing sequence are what separate a professional-looking result from something that screams “kit build.”
That plywood breakdown phase deserves special attention from anyone working alone. Large sheets can be dangerous and frustrating, but Steve’s methodical approach—making rough cuts first, then refining with better tools—is the smart way to handle material that wants to bind, tip, or splinter. The patience pays off because every subsequent step depends on those initial cuts being square and accurate.
The finishing workflow here is textbook smart. Staining and sealing parts before assembly eliminates the nightmare of trying to get even coverage in tight corners later. Pre-stain conditioner on that plywood was crucial too—nothing kills a project’s appearance faster than blotchy stain that you can’t fix after the fact. Gel stain over conditioner gives you much more control than liquid stain on challenging grain.
What really makes this successful is the built-in approach with those custom side shelves. A Murphy bed by itself can look like an appliance bolted to the wall, but extending the design wall-to-wall creates actual furniture. The laser level for mounting those wall shelves was a smart investment—trying to eyeball level across an 8-foot span is a recipe for obvious mistakes.