This project was built and designed by Brett from Brett’s Basement Woodshop.
The project repurposes a poker table by adding a custom oval tabletop and integrated apron to turn a gaming surface into a usable conference table, and it highlights techniques for working with complex curves, laminated aprons, and a hand-applied finish.
The build mixes practical shop-made jigs, unusual materials like bendy MDF, and finishing strategies to achieve a professional look while working within a small shop footprint.
Watch the full video and subscribe to Brett’s Basement Woodshop:
Design
The design goal was simple: cover an existing poker table with a clean oval top that reads like a conference table while keeping the installation reversible. Brett prioritized proportion and a seamless appearance, so the apron needed to read as solid wood even though it was laminated and bent to shape.
Rather than reinventing a classic form, the project focused on repeatable techniques that can be adapted to other irregular shapes and covers. The emphasis on templates and layout makes it straightforward to reproduce the same profile if another cover is needed later.
Prep & Templates
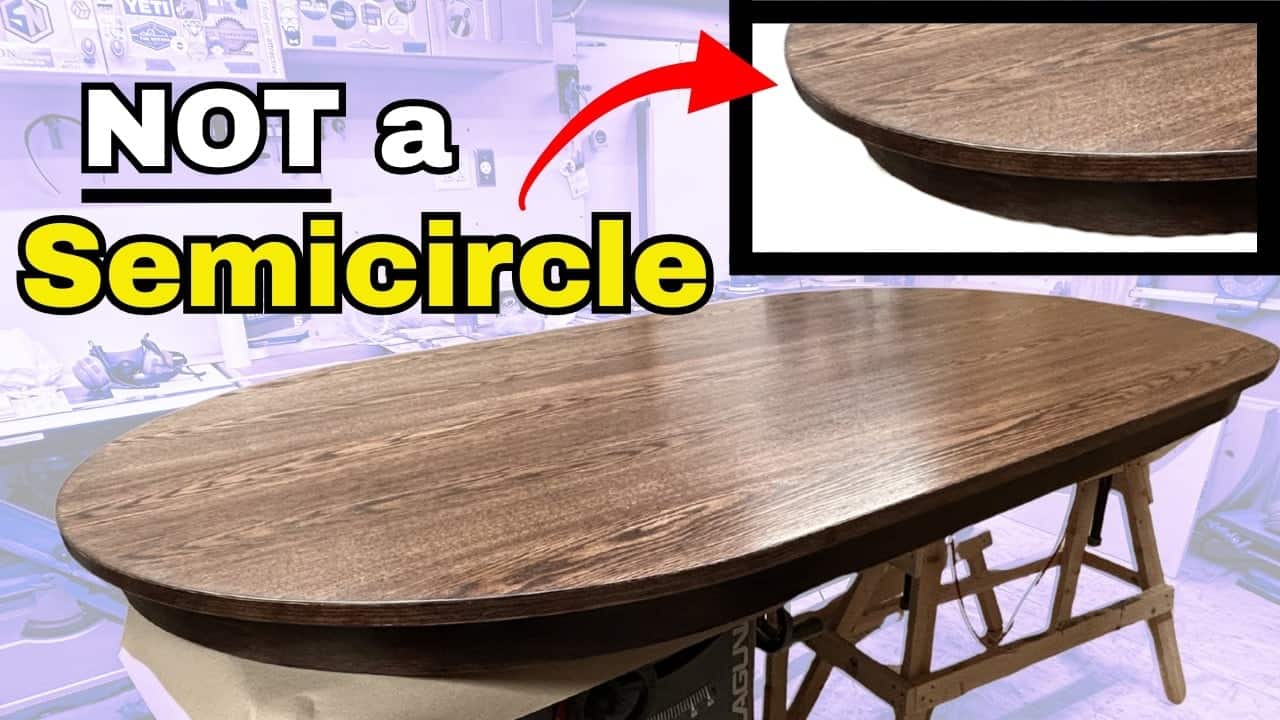
Layout started with tracing the poker table to make an accurate template, then offsetting it slightly to create the final profile to trim to. During the layout process Brett discovered the ends were elliptical rather than true semicircles, which led to a simple tracing method to get matching curves instead of struggling with complex geometry.
From that template, four layers of MDF were used to make bending forms while thinly resawn poplar provided the face material for the apron. Bendy MDF proved a practical alternative when flexible plywood was hard to source, and lining the forms with packing tape kept glue from sticking to the mold.
Joinery & Apron Lamination
To join the long curved apron segments, Brett used floating tenons and a homemade mortising jig that lets a plunge router cut repeatable mortises without expensive specialty tools. The approach functions much like a budget Domino and makes consistent joinery possible in a modest shop.
Threaded inserts were installed to attach the apron to the tabletop, with careful countersinking and a thin CA glue to lock the inserts in place so they do not spin. Attention to these details keeps the assembly secure and serviceable without visible fasteners.
Veneering & Edge Work
All visible surfaces were covered with thin red oak veneer that has a pressure-activated adhesive on the back, which was rolled on and trimmed square for clean joints. Edge banding with a heat-activated adhesive finished the visible edges, and a trim tool removed the excess cleanly to avoid gouges.
Sanding was kept conservative because the veneer is thin; careful progression through grits and raising the grain with water helped produce an even surface. A light adhesive cleanup and precise trimming techniques reduced the risk of over-sanding through the veneer.
Stain & Finish
Brett chose a gel stain for better control on vertical surfaces and to achieve a deep Java tone, applying it generously and wiping it off before it became tacky. Because satin oil-based finishes dry faster and can cloud on large surfaces, a layering strategy of multiple gloss coats followed by satin coats provided working time and clarity while still delivering the desired sheen.
Sanding between coats was done with fine abrasives and a light touch, finishing with a brown paper bag rub to approach a very smooth final surface. The piece received several thin coats, with a day of drying between applications and a final cure period before use.
Lessons Learned
This build includes practical problem-solving examples worth noting: a flush-trim bit seized and gouged the edge, which Brett repaired with a putty-style two-part epoxy rather than standard wood filler to avoid future failure. Choosing a repair material that matches the forces of the situation kept the repair durable and sandable.
Sanding issues also proved instructive — raised grain, fuzzies from rolled veneer, and uneven sanding led to a rework before staining. The takeaway is to test sanding sequences on scraps and prep thoroughly; patience up front avoids hours of extra work later.
Why This Build Matters
The project demonstrates how thoughtful layout, modest jigs, and material flexibility can yield a high-end looking tabletop without needing a large shop or exotic supplies. Techniques like laminated curved aprons, floating tenons with a DIY jig, and a careful finish sequence are broadly applicable to many custom furniture projects.
For anyone looking to repurpose or cover an irregular surface, the methods here offer a practical roadmap for reliable results and a strategy for handling mistakes without scrapping the workpiece.
Please support Brett by visiting his website: https://www.brettsbasementwoodshop.com/.

Matt’s Take
These are my personal thoughts and tips based on my own experience in the shop. This section is not written, reviewed, or endorsed by the original creator of this project.
Brett’s approach to laminating the curved apron is spot-on — using bendy MDF as a substitute for flexible plywood is a great example of adapting when materials aren’t readily available. That packing tape trick on the bending forms is genius for preventing glue stick, and it’s one of those simple solutions that saves hours of cleanup later. The floating tenon jig he made essentially creates a budget version of expensive joinery systems, proving you don’t need high-end tools to achieve professional results.
The veneer work here highlights something crucial that often gets overlooked — paper-thin veneers require a completely different sanding approach than solid wood. Going too aggressive or skipping grits will burn right through to the substrate. Brett’s conservative progression and grain-raising technique with water is textbook stuff that prevents those heartbreaking sand-throughs that can kill a project.
His gel stain strategy makes perfect sense for vertical surfaces like that curved apron. Regular liquid stains want to run and create streaks on anything that isn’t horizontal, but gel stains give you the working time to get even coverage. The finish layering approach — building with gloss coats then topcoating with satin — is a smart way to maintain clarity while getting the sheen you want. That brown paper bag final rub is an old-school technique that really does create an incredibly smooth surface.