Clinton from Specific Love Creations shared the woodworking tip featured in this video.
Clinton walks through practical steps to get consistent stain color, avoid blotchiness, and protect finished projects for long-term durability.
Watch the full video and subscribe to Specific Love Creations:
Preparation & Sanding
Clinton stresses that most staining problems start with poor prep, so identifying and following the wood grain is essential when sanding. Sanding across the grain creates micro-scratches that will telegraph through the finish and ruin the final look.
Grit choice matters: smaller numbers mean coarser grit, so start rough and finish finer up to about 120 for most staining work. Going to 220 is acceptable in some cases, but avoid sanding finer than that because overly smooth wood can reject stain by closing the pores.
For end grain, which naturally takes stain darker, Clinton suggests testing a very fine grit like 400 on scrap end grain to lighten the appearance and better match side grain when needed. Always test on scrap to confirm how that species of wood will respond.
Removing Dust & Raised Grain
After sanding, a thorough clean-up is non-negotiable: vacuum large particles and follow with a tack cloth to pick up fine dust that a vacuum misses. Store leftover tack cloths sealed in plastic; otherwise they become dust magnets and will contaminate the next project.
Some stains cause the wood fibers to raise and feel gritty once dry, so Clinton recommends a controlled dampening: lightly blot the surface with a moist rag, let it dry, then lightly sand to knock down the raised fibers. This pre-raising step reduces roughness after staining and improves the final finish.
Safety & Pre-Conditioning
Stains and finishes contain chemicals, so good ventilation, gloves, and eye protection are practical safeguards that keep shop work safe and comfortable. Protecting clothing is also important because stain is difficult to remove once it soaks in.
Soft woods like pine often stain unevenly; a pre-stain conditioner helps achieve a more uniform color by evening out absorption. Follow the conditioner’s directions for dry time before applying stain to ensure consistent results.
Mixing, Testing & Application
Clinton advises stirring stain gently with a wooden stick instead of shaking the can to avoid introducing excess air and separation. Testing on scrap boards is crucial because liquid stain color, dried color, and how it reacts with different species can vary dramatically.
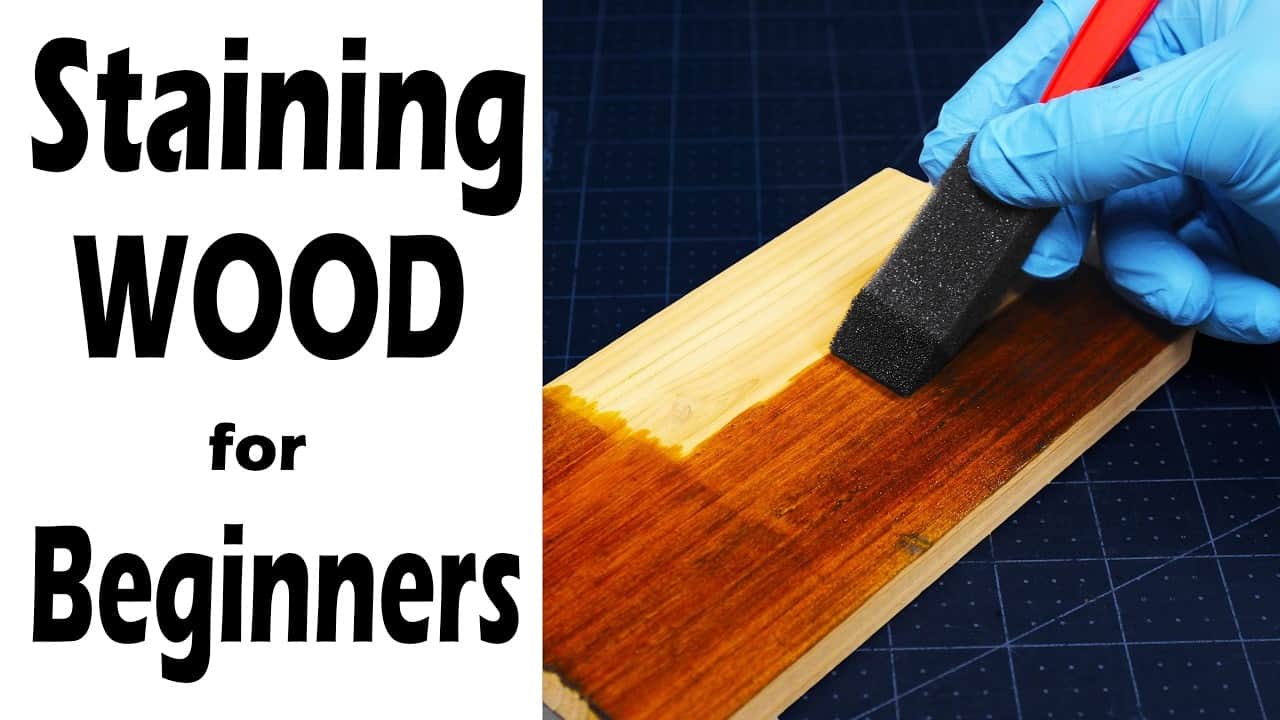
Application can be done with a rag or brush—either method should follow the grain and use smooth, steady strokes to avoid lap marks. Wiping off excess immediately helps prevent blotchiness in many cases, but always follow the product directions since some stains call for a short dwell time before wiping.
Water-Based vs Oil-Based Stains
Water-based stains dry faster, have lower odor, and clean up with soap and water, making them convenient for many shop situations. Oil-based stains often provide richer tones and can be more durable, which appeals on furniture or work that sees heavy use.
Mixing water- and oil-based products can cause drying and adhesion problems, so avoid combining them whenever possible. If a mismatch happens, allowing extra cure time—Clinton cited waiting up to three days in one case—may let an oil-based stain dry enough to accept a water-based top coat, but matching systems is the safer path.
Top Coats & Between-Coat Prep
Choose a top coat that’s compatible with the stain type and expect to apply multiple thin coats for protection, as most manufacturers recommend about three coats. Thin coats build durability without looking heavy and allow easier sanding between layers.
For the finish itself, use 400-grit sandpaper to lightly knock down any raised fibers or dust nibs between coats and then wipe with a tack cloth before applying the next layer. Light, hand-sanding preserves the clarity of the finish while smoothing the surface for a professional feel.
Practical Shop Tips
For small touch-ups, test color on an inconspicuous surface or the underside of a part to ensure a good match before committing to a visible area. When staining framed panels or floating centers, stain components separately to avoid missed spots at movement gaps once assembled.
Dispose of rags and brushes safely by spreading them outside on a flat surface to dry completely before discarding, as oil- and solvent-soaked materials can spontaneously combust if bunched and stored warm. Good shop habits protect both projects and the workspace.
Conclusion
These staining fundamentals help beginners avoid common pitfalls and produce richer, longer-lasting finishes that highlight the wood’s natural beauty. Clinton’s practical, test-first approach makes the techniques adaptable to different woods and project needs.
Watch the full video and subscribe to Specific Love Creations:

Matt’s Take
These are my personal thoughts and tips based on my own experience in the shop. This section is not written, reviewed, or endorsed by the original creator of this project.
Clinton really nails the fundamentals here, and that sanding advice is spot-on. I see a lot of folks rush through prep thinking they can fix issues with the stain, but those cross-grain scratches will haunt you through every coat. That tip about not sanding finer than 220 for staining is crucial — I’ve watched perfectly good wood reject stain because someone went overboard with fine grits thinking smoother was always better.
The raised grain technique Clinton mentions is a game-changer for getting smooth results. It feels counterintuitive to dampen wood you just spent time drying and sanding, but dealing with those fibers before staining saves so much frustration later. And that safety point about disposing of oily rags properly — I keep a metal can with a tight lid specifically for this. Spontaneous combustion isn’t just a scary story; it’s a real fire hazard.
Testing on scrap really can’t be overstated. Wood from the same board can react differently depending on grain orientation, and species variations are huge. I keep a scrap bin organized by wood type for exactly this reason. The worst feeling is watching expensive lumber take stain in a completely unexpected way because you skipped that five-minute test.
That compatibility point between water and oil-based products is critical too. When in doubt, stick with one system throughout — mixing them is asking for adhesion problems that might not show up until months later when your finish starts failing.