These projects were built and designed by Clinton from Specific Love Creations.
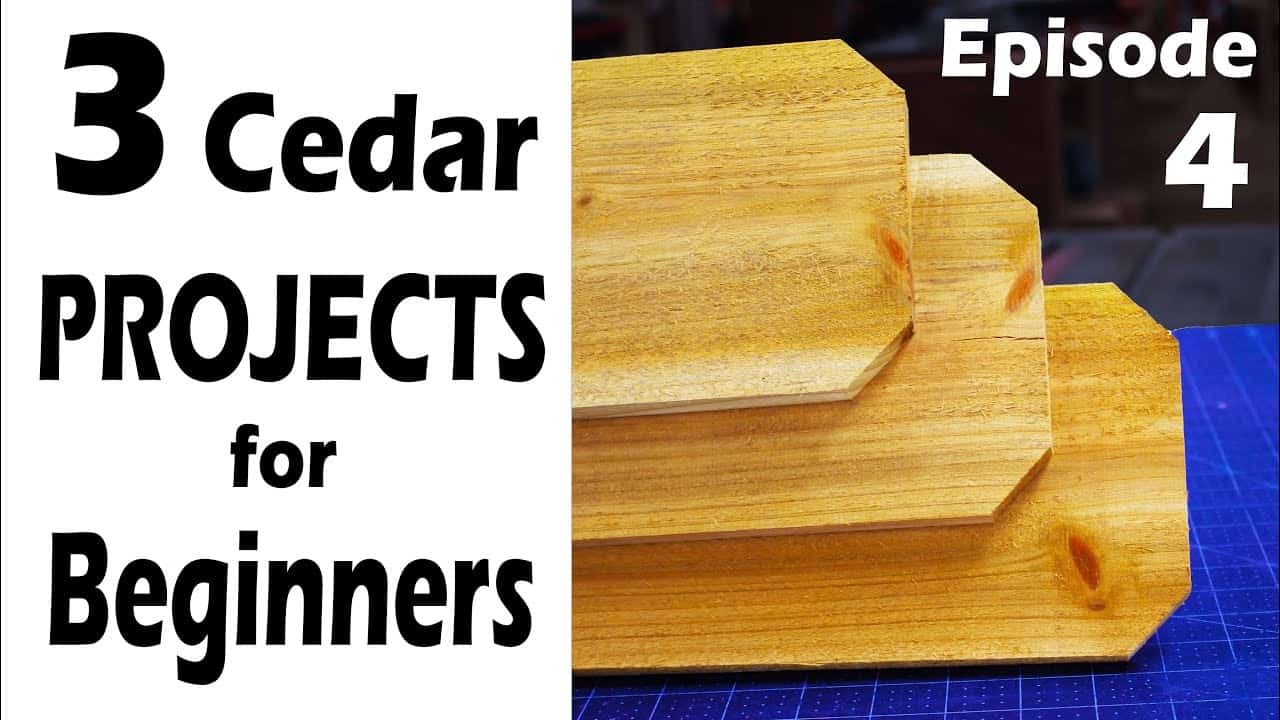
Three simple cedar fence-picket projects that look far more professional than their materials suggest are presented here, each emphasizing clean cuts, repeatable layout, and approachable joinery for beginners.
Watch the full video and subscribe to Clinton’s channel:


Corner Display Shelf
This compact corner shelf is made from a single cedar picket with mitered ends and a simple overlapping assembly to form a shallow triangular shelf that fits neatly into a corner.
The design leaves a small gap at the back so cables or an LED strip can be tucked away, and the assembly is forgiving—use glue, nails, or screws depending on available tools and preference.
Because the shelf is intended for lightweight displays, making several and arranging them vertically or staggered in a corner creates an attractive repeated visual element.
Sliding Bin Organizer
This rack uses multiple pickets arranged as outer rails with evenly spaced thin strips to create runners for small plastic bins to slide into and out of the frame.
The slight intentional overhang at the front makes contents easy to see and lets a bit of light in, improving accessibility without complicating the build.
Consistent layout and spacing are the main considerations, and the concept adapts easily—change the number of rows, runner width, or bin size to suit different storage needs.
Sunburst Wall Art
This decorative piece is built from repeated angled segments cut from pickets and assembled into a radiant star or sun pattern that plays on alternating tones and grain for impact.
Joinery options include glue with a thin backing, pocket screws, or small screws—each delivers a slightly different look and level of durability, and choosing among them depends on available tools and desired finish.
Color placement and tight layout make a big difference visually, and the concept scales well so builders can experiment with size or the number of rays for different wall effects.
Overall Takeaways
All three projects highlight how thoughtful layout, simple angled cuts, and repetition turn inexpensive cedar pickets into polished, shop-friendly builds that suit beginners.
The techniques—mitering, consistent spacing, and straightforward fastening—are broadly useful and easy to adapt to other small furniture or decor pieces, making these ideal practice builds or gift ideas.
These cedar projects show that accessible materials and a few basic shop skills can produce stylish, functional pieces that are easy to adapt and personalize.
Watch the full video and subscribe to Clinton’s channel:

Matt’s Take
These are my personal thoughts and tips based on my own experience in the shop. This section is not written, reviewed, or endorsed by the original creator of this project.
Cedar fence pickets are one of my favorite materials for quick projects like these. They’re already dimensioned, relatively straight, and that natural cedar smell makes the shop feel great while you’re working. The key with any fence picket project is picking through the stack at the lumber yard—grab the straightest ones you can find and check for loose knots that might fall out later.
Clinton’s emphasis on consistent layout really shows in these builds. That sliding bin organizer is particularly smart because getting those runner spacings even is what makes the whole thing look professional. A simple story stick or spacer block saves tons of time and prevents the frustration of bins that don’t slide smoothly. For the sunburst piece, I’d definitely recommend doing a dry fit before any glue-up—those angled pieces can shift on you if you’re not careful.
Safety-wise, remember that cedar can be pretty splitty, especially near the ends. Pre-drilling for screws is usually worth the extra minute, and if you’re using a miter saw for those angled cuts, take your time and let the blade come to full speed. These are exactly the kind of projects that build confidence—simple enough to succeed on the first try, but with enough technique involved that you’re actually learning useful skills for bigger builds down the road.