This project was built and designed by Nick from Rocky River Woodworks.
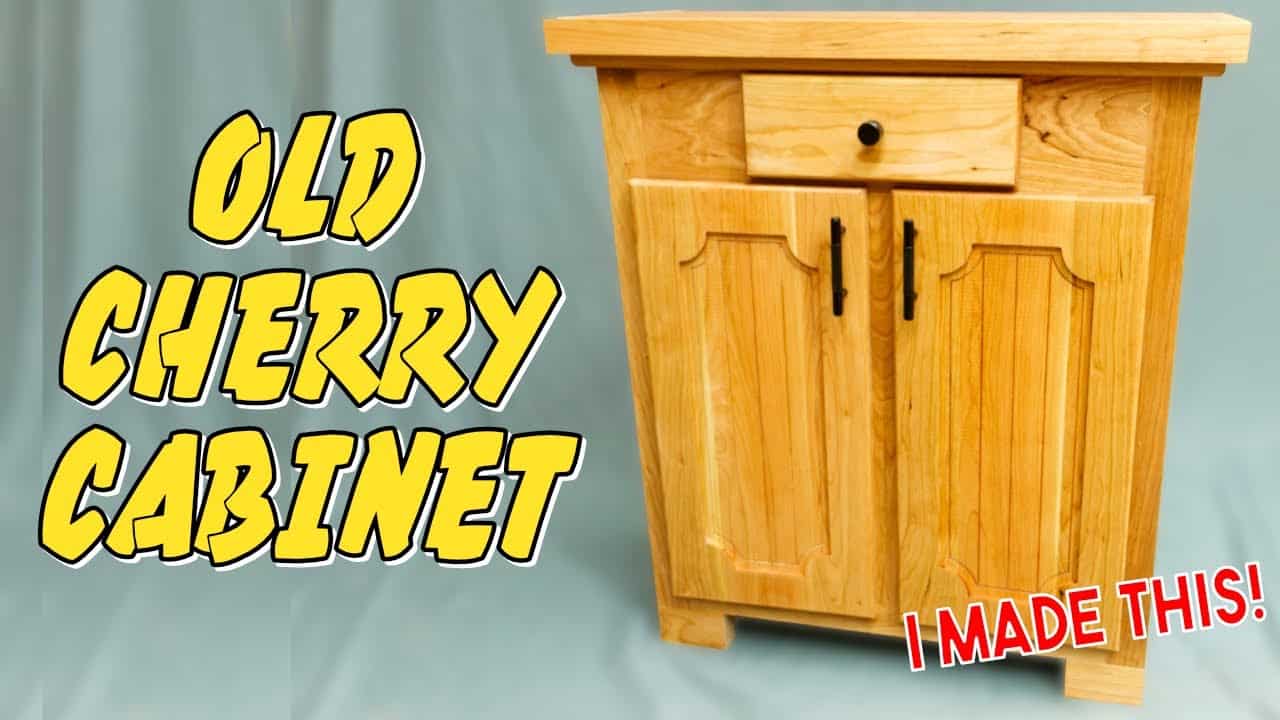
Nick builds a brand-new cabinet that intentionally reads like an older piece by using vintage design cues and cherry as the primary material.
The cabinet blends classic proportions, aged details, and modern workshop methods to arrive at a convincing antique look without the headaches of actual restoration.
Watch the full video and subscribe to Rocky River Woodworks:
Design
The cabinet’s design borrows from classic, furniture-era details to make a new piece look like an heirloom. Subtle choices—like proportions, panel profiles, and hardware style—are used to suggest age without resorting to heavy distressing.
Nick balances ornament and restraint so the cabinet reads as authentic rather than theatrical. This approach emphasizes long sightlines and warm cherry grain to sell the vintage appearance.
Lumber Preparation
Preparing stock for a showpiece begins with careful selection and milling to highlight the cherry’s color and grain. Matching boards and planning the layout up front ensures grain flow across faces and doors, which is critical for a convincing, furniture-quality result.
Allowing boards to stabilize after milling reduces surprises during assembly and finishing. Nick stresses taking the time to sequence parts so adjacent surfaces read as if they came from the same original board.
Joinery
The build uses joinery that’s strong but also sympathetic to wood movement, favoring techniques that lock assemblies without overstressing panels. Loose tenons or dowels are used where they provide alignment and strength while allowing seasonal movement in large panels.
Attention to tidy joinery details—clean shoulders, tight-fitting rails, and consistent reveal widths—helps a new cabinet feel like a well-made older piece. These small investments in fit and layout pay off in both durability and appearance.
Clamping and Assembly
Clamping strategies are adapted to the cabinet’s shapes and glue-up sequence to avoid gaps and twist. Simple shop tricks, like sacrificial cauls or temporary wedges, help maintain alignment on awkward joints without marring finished surfaces.
Nick sequences assemblies to minimize handling and to permit easy cleanup before sanding and finishing. Taking time here prevents the need for corrective sanding or patching later in the process.
Shaping and Surface Work
Edge profiles, slight rounding, and carefully tuned panel surfaces give the cabinet its aged character without artificial distressing. Nick prefers subtle shaping that suggests long-term wear instead of exaggerated gouges or scratches.
Sanding and smoothing are done to preserve the wood’s natural warmth while preparing a consistent surface for finishing. Small decisions—like softening inner corners or matching profile transitions—make the piece feel cohesive and intentional.
Finishing
The finish aims to deepen cherry’s tone and simulate an older patina without concealing the grain. Thin, buildable finishes and selective staining or toning are used to enhance contrast and give the cabinet that lived-in glow.
Nick applies multiple light coats with careful sanding between layers to achieve a durable, furniture-grade finish. The end result reads as a cherished piece that was lovingly made years ago rather than newly manufactured.
Why This Build Matters
Building a cabinet that looks vintage is a study in restraint, proportion, and attention to finish more than in gimmicks. The project demonstrates how design choices, careful milling, and finishing technique combine to evoke history without sacrificing modern stability.
These lessons are adaptable across many furniture projects, whether the goal is subtle aging or simply achieving a refined, furniture-quality result. Applying the same principles can help makers produce pieces that fit into traditional interiors while standing up to daily use.
Please support Nick by visiting his website here: https://www.rockyriverwoodworks.com/.

Matt’s Take
These are my personal thoughts and tips based on my own experience in the shop. This section is not written, reviewed, or endorsed by the original creator of this project.
Cherry is such a rewarding wood for this type of build because it naturally ages beautifully over time. Even a brand-new piece will start developing that warm, honeyed patina within months of being exposed to light. Nick’s approach of letting the wood do most of the talking rather than forcing an aged look with heavy distressing really shows an understanding of the material.
The emphasis on grain matching and sequencing parts is spot-on for furniture work. It’s one of those details that separates hobby projects from heirloom pieces. When you take time at the lumber prep stage to think about how adjacent surfaces will read together, you’re setting yourself up for success later. That extra hour of planning can save you from having a door that looks like it came from a completely different tree.
I appreciate the focus on proportions and restraint in the design approach. It’s tempting to overdo vintage details, but the most convincing aged pieces often have subtle wear patterns and gentle curves rather than dramatic distressing. Real antiques earned their character through decades of use, not from someone going at them with chains and screws.
The finishing strategy here is really where the magic happens. Cherry responds beautifully to thin, building coats, and the patience to apply multiple light layers always pays dividends in the final appearance. It’s one of those woods where rushing the finish will show, but taking your time creates that deep, rich glow that makes people assume the piece has been around for generations.