This project was built and designed by Billy from Newton Makes.
The video shows how a weathered wood pallet becomes a practical storage bin with framed sides and fabric inlays.
The build focuses on simple frame-and-panel construction, removable fabric panels, and a graceful leg profile for a finished look.
Watch the full video and subscribe to Newton Makes:
Design
The storage bin is a framed box with rails and stiles surrounding a removable fabric panel inlay. A subtle curved leg detail at each corner elevates the piece and hides fasteners for a cleaner appearance.
The design emphasizes repeatable parts and visual grain flow where possible, even when working with imperfect pallet boards. The fabric panels give an opportunity to change the aesthetic without rebuilding the bin, so the same frame can suit different rooms or occasions.
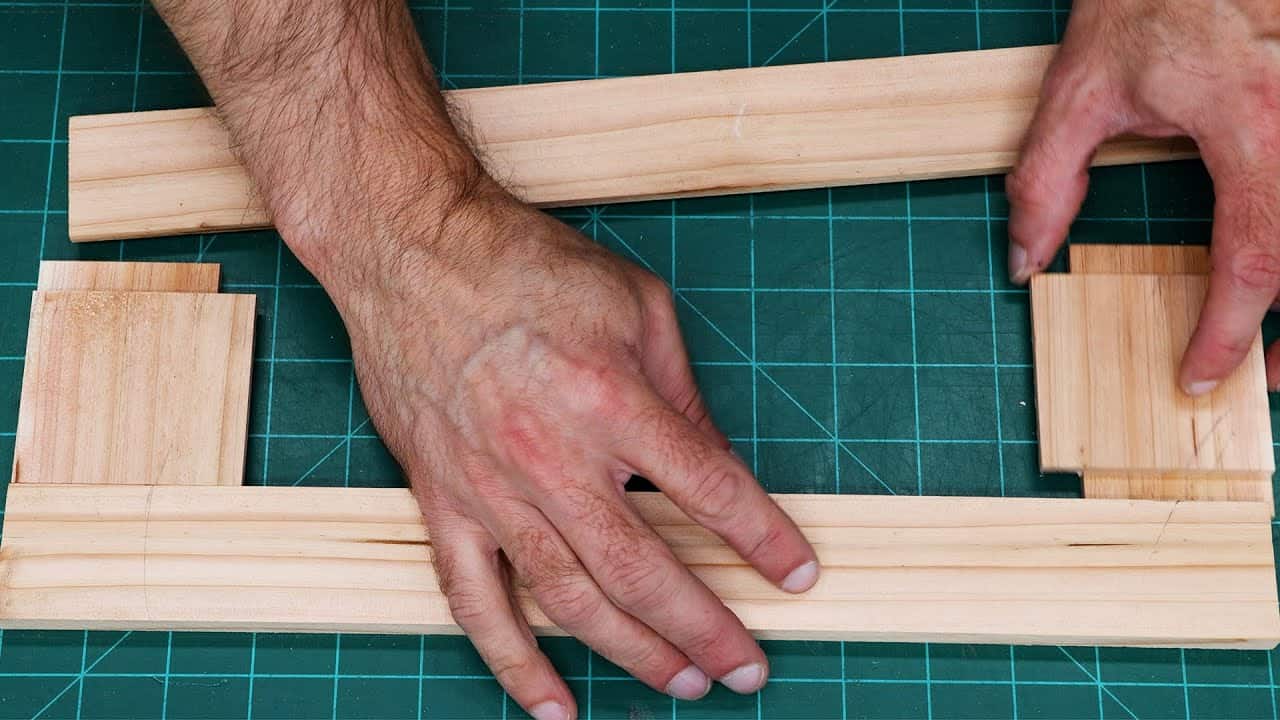
Lumber Prep
Boards were selected from a pallet by choosing the straightest-grained faces for visible parts and the roughest boards for hidden components like the bottom panel. Pieces were cleaned, flattened, and ripped to provide consistent rails and stiles for the frame.
Hardboard panels were cut to fit the framed openings and were paired with burlap as the chosen fabric inlay. The fabric was adhered to the hardboard so the panels could be press-fit into the frame, allowing them to be swapped later if a different look is desired.
Joinery and Assembly
A dado channel on the back face of the rails and stiles accepts the inset panels and adds a subtle reveal to the frame. The frame pieces are glued up and pinned with a nailer to hold square during assembly, then reinforced with dowel joinery for long-term strength.
Dowels were located using a jig and glued to make the corners solid, while the nailer provided temporary clamping and alignment. The result is a sturdy box that still retains the option to remove panels without permanent adhesion.
Shaping and Details
Templates were used to lay out a graceful, swooped leg profile that complements the simple box form. Small leg parts were cut on the bandsaw, stacked for sanding with a spindle sander, and glued into L-shaped corner blocks that conceal fasteners and finish the corners.
Using templates and stacking during sanding keeps parts consistent and speeds up production when making multiple matching elements. This approach also makes it easier to adapt the profile later if a different silhouette is preferred.
Finishing
The builder chose a wipe-on polyurethane to add a protective film finish to the relatively soft pallet wood and diluted the finish for smoother application and even coats. Multiple thin coats were applied with a folded paper towel to avoid runs and build a durable surface suitable for everyday use.
The burlap panels contrast with the whitewashed film finish, but those panels can be swapped for brighter fabric to create a very different look. Small finishing choices like panel material and finish sheen have a big impact on the final style and feel.
Lessons and Adaptability
Repurposing pallet wood emphasizes resourcefulness: selectively use the best faces for visible parts and reserve rougher boards for hidden elements. Designing removable inlays gives flexibility and lets the piece evolve over time without major rework.
The techniques shown—frame-and-panel with inset boards, dowel reinforcement, template-based shaping, and wipe-on finishes—are adaptable to other small furniture builds. Swapping materials, changing the leg profile, or using higher-grade lumber will produce noticeably different results while relying on the same core methods.
The build demonstrates how simple joinery and careful layout can turn free or low-grade materials into something both useful and attractive.
The approach is approachable for makers looking to practice joinery, panel work, and finishing without complex joinery or specialized tools.
Please support Billy by visiting his website here: https://www.newtonmakes.com/shop.

Matt’s Take
These are my personal thoughts and tips based on my own experience in the shop. This section is not written, reviewed, or endorsed by the original creator of this project.
Working with pallet wood can be tricky since the boards are often twisted, cupped, or have inconsistent thickness. Billy’s approach of being selective about which faces go where is spot-on — save your best-looking boards for the visible frame pieces and don’t worry about the rough stuff on parts that won’t be seen. I’d recommend checking each board carefully for embedded nails or staples before running them through any machinery, since even small metal fragments can seriously damage blades.
The removable fabric panel system is clever and opens up a lot of possibilities. You could easily swap in thin plywood, cane webbing, or even perforated metal depending on what you’re storing. When working with fabric-backed panels like this, make sure your adhesive is appropriate for both materials — spray adhesive usually works well for fabric to hardboard, but test it first on scraps to avoid any surprises.
That wipe-on polyurethane choice makes sense for pallet wood, which tends to be pretty soft and absorbent. Thinning the finish helps it penetrate better and levels out more smoothly than full-strength poly. Just remember to work in thin coats and maintain good ventilation — even water-based finishes need proper airflow. The key is building up protection gradually rather than trying to get full coverage in one or two heavy coats.