Jodee from Inspire Woodcraft shared the woodworking tip featured in this video.
This video covers how to add color and protection to burnt wood, comparing dyes, stains, brushes, and topcoats while demonstrating techniques that change the final look.
Watch the full video and subscribe to Inspire Woodcraft:
Materials and products overview
The video breaks the supplies into clear categories: dyes, stains, top coats, brushes, and miscellaneous shop gear like syringes and paper towels.
Jodee points out water-based products are easier to clean and have less odor, while oil/solvent products tend to be thicker and smell stronger, and require different disposal care.
Dyes vs. stains — how they behave
Dyes are very liquid and soak deep into the wood like colored water, which makes them less forgiving to manipulate once they penetrate the grain.
Stains tend to carry more pigment and can sit on the surface longer, allowing wiping and more surface manipulation to control how much color remains.
Application techniques and visual effects
How the color is applied — wiping immediately, letting it soak, or brushing — dramatically changes the result, from subtle tinting to vivid, paint-like coverage.
Leaving a stain to penetrate and begin drying will produce richer, deeper color; wiping quickly yields a lighter, more transparent effect.
Brushes, tools, and shop hacks
Cheap foam brushes are recommended for water-based dyes and stains; they are disposable, inexpensive, and versatile for quick work or mixing little batches.
Small syringes and disposable dishes help measure and mix custom washes, and paper towels or fingers can be used to pull pigment from textured areas for added visual interest.
Surface burn vs full char — choosing the right look
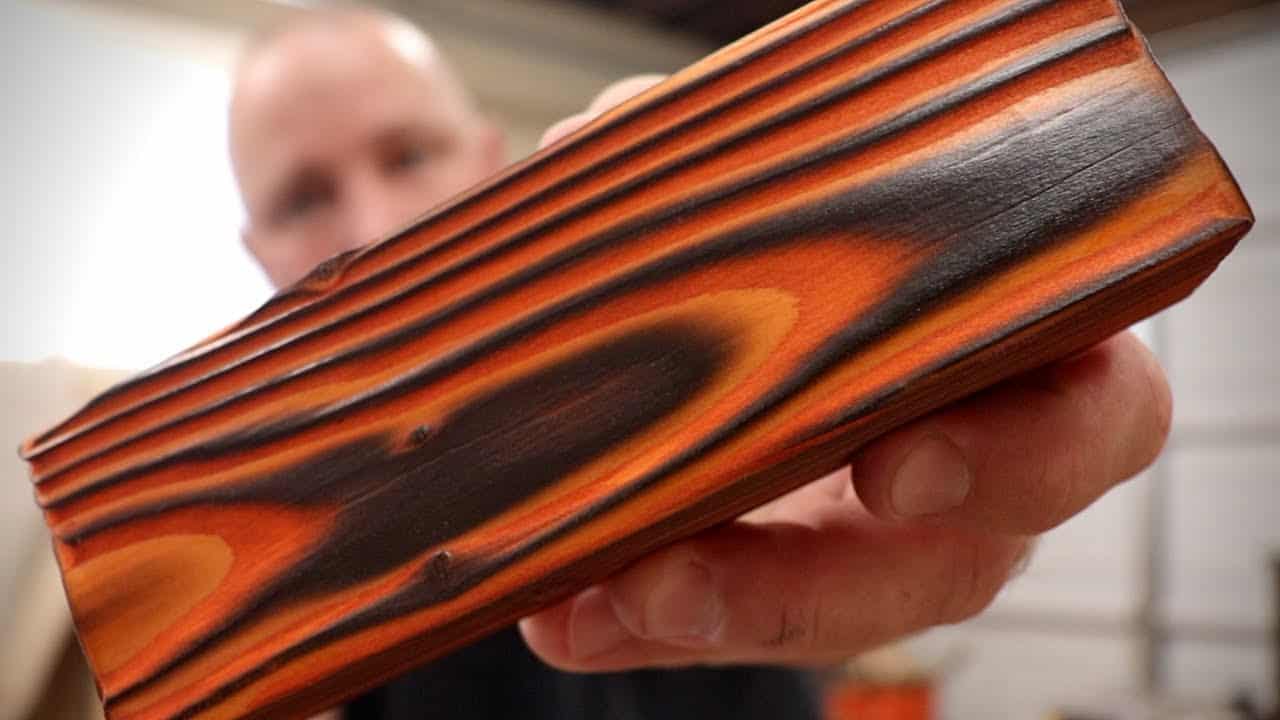
A surface burn targets the softer grain and preserves more three-dimensional texture after brushing, giving a dramatic interplay of light and dark that shows grain ridges.
Fully charred boards are flatter visually once brushed but can look striking when sealed clear, especially for pieces where a smoother surface is desirable, such as a desktop.
Topcoats: protection and finishing choices
Water-based polycrylic sprays and brush-on topcoats are both useful, but spray finishes struggle on deeply textured, full-char surfaces unless you apply many thin coats.
For full-char pieces Jodee demonstrates working a brush or sponge-applied clear into the grooves so the charred material is stabilized and the topcoat can adhere without flaking.
Practical tips and safety notes
Reuse foam brushes with water-based finishes and repurpose old ones as glue brushes once they begin to break down; discard solvent-soaked rags properly due to spontaneous combustion risk.
Experimentation is essential: small test pieces will reveal how a particular wood, burn level, and product interact so choices can be adapted for furniture versus art pieces.
Why these techniques matter
Understanding the difference between penetration and surface pigment, and matching application technique to the desired final texture, is what creates vibrant, repeatable results.
These approaches let builders balance drama and subtlety, choosing whether a project needs a three-dimensional, textured look or a smooth, refined finish.
Support Jodee by visiting his online store here: https://inspirewoodcraft.com/collections/all.

Matt’s Take
These are my personal thoughts and tips based on my own experience in the shop. This section is not written, reviewed, or endorsed by the original creator of this project.
Shou sugi ban has become really popular lately, and for good reason — the contrast between charred wood and color can be absolutely stunning. What I appreciate about Jodee’s approach is how methodical he is about testing different products and techniques. That kind of systematic testing saves you from expensive mistakes on actual project pieces.
The distinction between dyes and stains is crucial here. With regular wood finishing, you often get a second chance to adjust things, but burnt wood is so absorbent that dyes will soak in immediately. I always keep a damp rag handy when working with dyes because you have maybe 30 seconds to blend or adjust before it’s permanent. The pigment-heavy stains give you more working time, which is why they’re often better for beginners.
One thing that really stands out is the texture consideration. Surface burns preserve those beautiful grain ridges that catch light, while full char creates a more uniform canvas. Think about how your piece will be used — a coffee table top might benefit from the smoother full char approach, while accent panels can really showcase that dramatic texture from a surface burn.
Safety-wise, always have proper ventilation when working with any finish, and be extra careful with those solvent-soaked rags. I keep a metal can with a tight lid specifically for disposing of oily rags — spontaneous combustion is a real risk that’s not worth taking chances with.