This project was built and designed by Billy from Newton Makes.
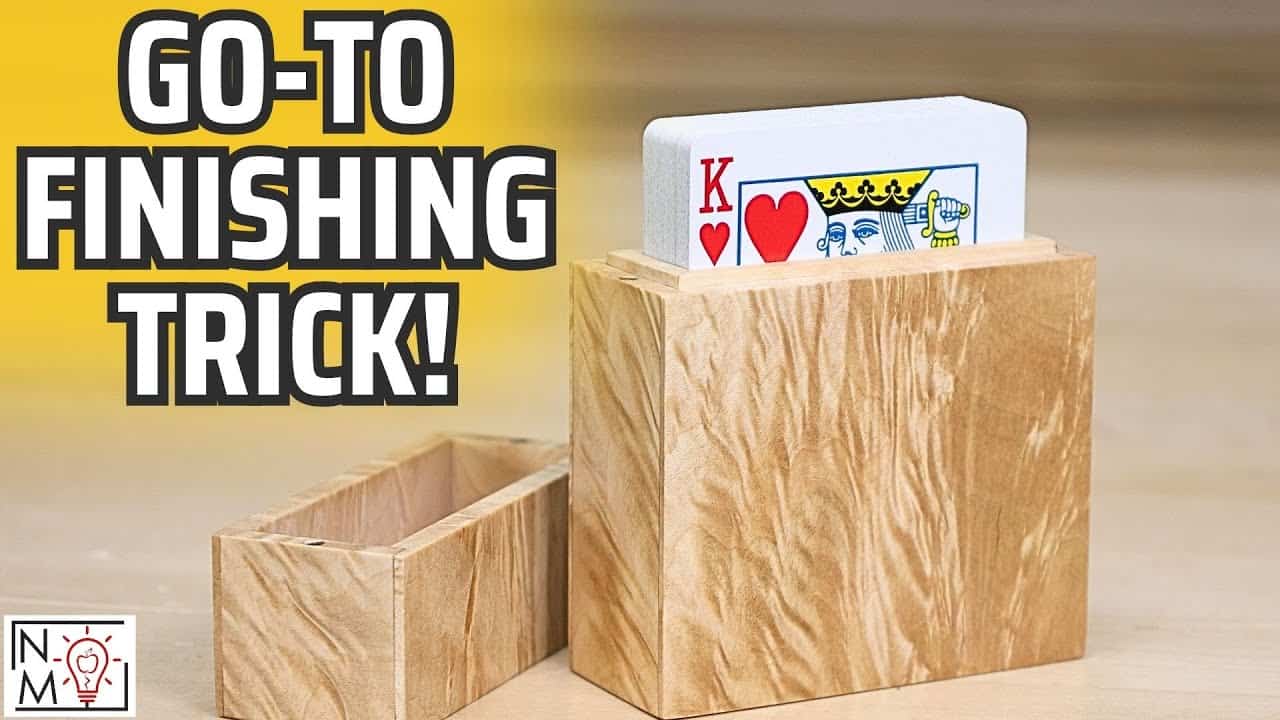
It’s a compact wooden box made specifically to hold a standard deck of playing cards—complete with a sliding lid, magnetic closure, and a finishing method that brings the grain to life.
While simple in appearance, the build combines precision joinery and thoughtful details that make it both functional and visually impressive.
It’s a great way to use figured wood, refine your techniques, and walk away with a satisfying end result.
Watch the full video and subscribe to Billy’s channel:
A Small Project with Big Impact
Billy revisits the idea of making small projects that deliver outsized satisfaction.
This card box project is compact, useful, and beautifully executed, designed to fit a deck of Bicycle playing cards with a smooth sliding lid.
Rather than gluing the lid or using hinges, Billy crafts a friction-fit top with the option to add hidden magnets.
The result is a sleek box that opens cleanly, closes securely, and feels great in the hand.
Milling Down the Maple
The project starts with a striking piece of maple—full of unique figure and visual depth.
Billy rips and planes the maple into thin strips, keeping the walls of the box light and refined without sacrificing strength.
Because the box doesn’t need to handle heavy loads, thinner stock works well and highlights the natural grain.
The front, back, and side panels are cut down to size with special attention to maintaining grain flow and matching patterns.
Cutting Clean Joinery
Rabbets are cut into the edges of the panels to create strong joints and keep the profile clean.
These joints help align the panels during glue-up and provide surface area for the adhesive to hold.
Once glued, the box takes shape as a solid “brick.” This step is intentional—the full block allows Billy to later slice the lid cleanly from the body, ensuring a perfect fit.
Slicing the Lid
After letting the glue set, the next step is to divide the brick into two parts: the base and the lid.
To minimize tear-out, Billy uses painter’s tape along the cut line, giving the saw blade a cleaner edge to work against.
The key to this cut is precision. The lid must slide easily yet remain snug enough to stay in place—especially important if magnets aren’t used.
Lining the Inside
Billy adds a thin wood liner to the interior of the box.
This liner serves a dual purpose: it hides the rabbet joints and provides a smooth surface that won’t scuff the playing cards.
The liner is carefully milled and dry-fitted before gluing, and sanded flush once in place. It’s a subtle detail that elevates the build and adds polish.
Installing the Magnets
To create a more secure closure, Billy adds small rare-earth magnets to both the lid and the body.
This gives the lid a satisfying snap when closed and keeps the cards secure without latches or hardware.
Each magnet is embedded into shallow holes drilled with precision. Epoxy ensures a strong bond, and alignment is checked before final setting to keep the lid perfectly centered.
A Unique Finishing Technique
With the build complete, Billy moves on to one of the most important steps: enhancing the maple’s figure using a dye technique.
Instead of staining the surface heavily, he uses diluted dye as a wash that penetrates the grain.
Once dry, the surface is sanded back to remove excess color, leaving the dye in the deeper parts of the grain.
This approach creates depth and contrast, making the figured maple appear more three-dimensional.
It’s a simple but underused trick that can transform the look of figured hardwoods, making the pattern more vibrant without overpowering the natural tone of the wood.
Final Finish and Assembly
Billy applies a satin wipe-on finish to seal the box and protect the surface.
He uses quick, repeated coats with light wiping to build a smooth, even finish that doesn’t cloud the grain.
The result is a rich, low-sheen surface that highlights the dyed maple while keeping the feel of natural wood.
It also provides durability, making the box suitable for regular use or gift-giving.
Designed for a Perfect Fit
The internal dimensions are tailored to fit a standard deck of Bicycle playing cards. Billy explains the importance of measuring your specific brand, as small differences between card decks can affect the final fit.
If there’s extra space, he suggests using blank cards with matching backs to take up the gap.
This not only improves the look inside the box but also protects the deck from movement during storage.
Why This Project Stands Out
Though small in size, this project covers a lot of ground: joinery, glue-up, precision fitting, decorative touches, and finishing techniques.
It’s the kind of build that doesn’t take much material but teaches a lot along the way.
Billy’s process highlights how fine details and good design choices can turn a simple wooden box into a showpiece.
It’s a rewarding project for beginners and a perfect use of high-quality scrap for more advanced woodworkers.
Please support Billy by visiting his website here: https://www.newtonmakes.com/shop.

Matt’s Take
These are my personal thoughts and tips based on my own experience in the shop. This section is not written, reviewed, or endorsed by the original creator of this project.
That dye-and-sand-back technique Billy uses here is one of my favorite ways to pop figured maple. The trick is getting the dilution right—too strong and you’ll have a mess when you sand back, too weak and the effect gets lost. I like to test on scraps first, especially with maple since the figure can be unpredictable. Some areas will take the dye deeper than others, which actually adds to the three-dimensional effect once you sand it back.
The magnetic closure is such a clean solution for a box like this. Those rare-earth magnets are incredibly strong for their size, so a little goes a long way. When drilling the recesses, I always use a depth stop on my bit—it’s easy to go too deep and have the magnet sink below the surface or worse, break through entirely. A piece of tape wrapped around the bit works as a quick depth gauge if you don’t have a proper stop.
Building the box as a solid block and then slicing the lid is brilliant for getting that perfect fit. The painter’s tape trick helps, but I’d also suggest using a fine-tooth blade and taking your time with the cut. Any wobble or drift will show up as a gap when the lid slides on. If you’re using a table saw, make sure your fence is dead parallel and consider using a crosscut sled for better control.