This project was built and designed by Clinton from Specific Love Creations. It’s a smart, space-saving spray paint can rack that keeps your workspace tidy while making it easy to find the exact color you need.
Ideal for garages, workshops, or sheds, this rack uses basic joinery and repurposed wood to turn a cluttered pile of cans into an organized and functional display. It’s a great project for weekend builders looking to create order out of chaos.
Watch the full video and subscribe to Clinton’s channel:
Why Organize Spray Paint?
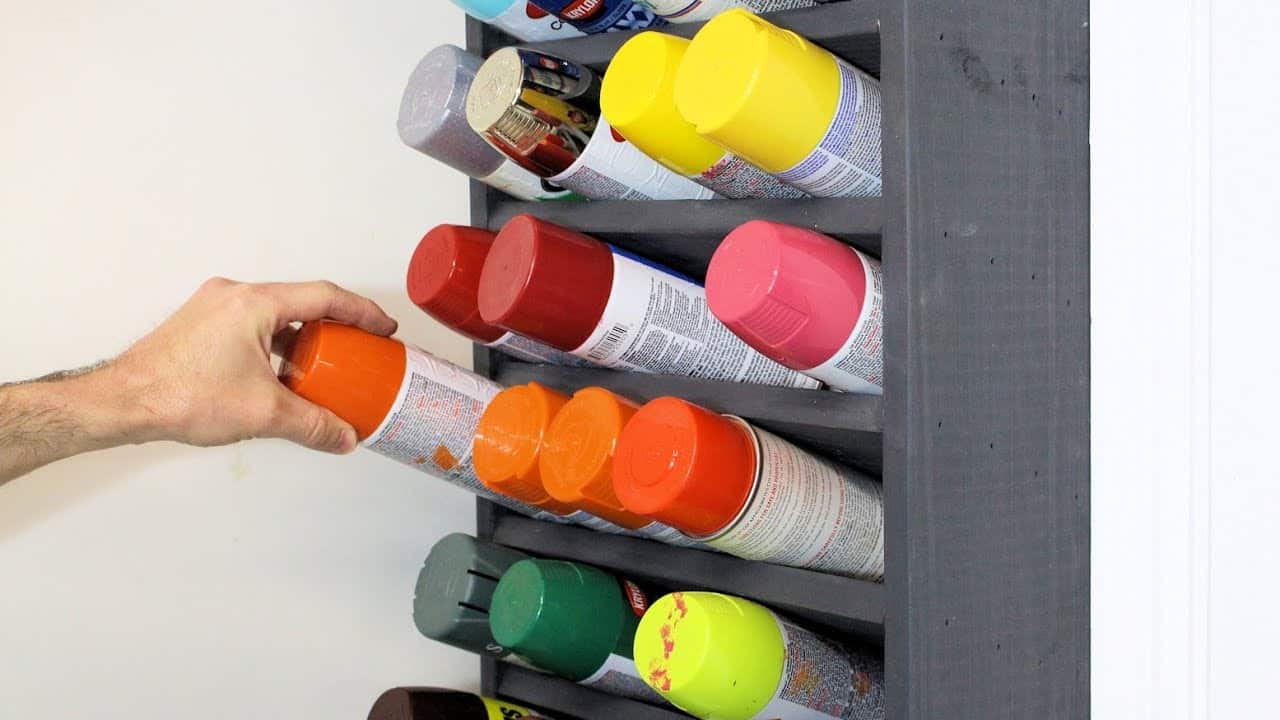
Spray paint cans often end up scattered across benches, stuffed into bins, or hidden in corners. Clinton’s simple rack addresses that problem with an upright, wall-mounted holder that elevates the cans for better visibility and access.
Not only does it declutter your floor and workbench, but it also prevents accidents from tipping cans or wasting valuable workspace. With just a few boards and some careful planning, it’s a major upgrade in shop efficiency.
Starting with Scrap Wood
This build makes excellent use of leftover scrap wood, which many woodworkers have lying around. If you don’t have enough scraps on hand, standard pine or plywood from a local store will work just as well.
The frame is constructed from vertical sides and horizontal shelf pieces. Clinton sizes his rack to fit the available space on his wall and the number of cans he wants to store, showing how flexible the design can be.
Cutting and Preparing the Parts
Once the lumber is selected, the next step is cutting each piece to length. Clinton focuses on getting clean, square cuts to make assembly easier later on.
Edges are sanded to remove splinters, sharp corners, and any uneven surfaces. This not only improves safety but also helps paint or stain adhere more evenly during finishing.
Assembling the Frame
Pocket screws are used to attach the top and bottom boards to the vertical side panels. This joinery method provides solid structure and a clean look.
To keep the joints square during assembly, Clinton uses a corner clamp to hold parts in place while driving screws. This makes solo assembly easier and keeps the frame aligned properly.
Installing the Shelves
To install shelves at equal distances, spacers made from scrap wood are used between each level. This ensures consistent spacing, making the finished rack look neat and symmetrical.
Each shelf is attached with wood glue and brad nails, providing enough support to hold standard spray paint cans without sagging or shifting. The layout can be adjusted to accommodate different can sizes if needed.
Hiding the Pocket Holes
Once the structure is complete, Clinton plugs the exposed pocket holes for a cleaner appearance. This step also prevents dust and debris from collecting inside the joints.
Filling and sanding these plugs smooths out the surface, especially useful if you plan to stain the project. It’s a small detail that gives the piece a more polished look.
Choosing a Finish
Clinton applies a gray wood stain to help the rack blend into the shop while allowing the colorful can lids to pop visually. A neutral tone works well because it doesn’t compete with the paint labels or workshop walls.
After staining, the entire piece is wiped clean and allowed to dry before final mounting. The result is a professional-looking finish that elevates the function and visual appeal of the rack.
Adding a Pegboard Backing
For extra utility, a pegboard panel is added to the back of the frame. This not only reinforces the structure but also allows for hanging additional tools or supplies behind the paint cans.
The pegboard is secured with brad nails and fits snugly inside the frame. It’s both a functional and aesthetic addition that expands the use of the storage space without requiring more floor area.
Wall Mounting Tips
Before mounting the rack, Clinton carefully measures the wall space and identifies nearby studs. Screwing into studs ensures the rack stays securely anchored and can handle the full weight of loaded shelves.
A level is used to align the rack before attaching it, guaranteeing that the finished piece hangs straight and functions properly. Once mounted, it’s ready to store spray paint cans of all shapes and sizes.
A Shop Upgrade That Pays Off
This spray paint can holder is more than just a shelf—it’s a productivity booster. By organizing your colors and clearing floor space, it simplifies the way you work and keeps your shop cleaner.
Whether you follow Clinton’s exact design or adjust the dimensions to fit your own space, the result is a functional, stylish addition to any workspace. It’s an easy build with big returns.
Watch the full video and subscribe to Clinton’s channel:

Matt’s Take
These are my personal thoughts and tips based on my own experience in the shop. This section is not written, reviewed, or endorsed by the original creator of this project.
Wall-mounted storage like this is one of those shop upgrades that seems small but makes a huge difference in daily workflow. When paint cans are visible and accessible, you’re way more likely to actually use them instead of buying duplicates because you can’t find what you already have.
The pocket screw approach here is spot-on for this type of utility project. It’s fast, strong, and perfect for shop storage that needs to handle real weight. If you don’t have a pocket hole jig yet, this kind of project makes a great case for picking one up – they’re incredibly useful for shop storage builds where you want solid joints without complicated joinery.
That pegboard backing is a smart move that adds both structure and functionality. The extra hanging space behind the cans is perfect for brushes, rags, or small touch-up supplies. When you’re mounting something like this, definitely hit those studs – spray paint cans add up fast in weight, and drywall anchors alone won’t cut it for long-term reliability.
The beauty of builds like this is how adaptable they are. You can easily adjust shelf spacing for different can sizes or add compartments for brushes and accessories. It’s the kind of project that solves a real problem while putting scrap wood to good use.