This project was built and designed by Brett from Brett’s Basement Woodshop. It’s a refined version of a classic nesting chair, built using exotic hardwoods for a durable and beautiful result that stands out in any setting.
Inspired by Jay Bates’ original design, Brett adds his own touches with luxurious materials and subtle modifications. The final product is a functional yet stunning pair of chairs that nest neatly together, ideal for both storage and travel.
Watch the full video and subscribe to Brett’s channel:
What Makes Nesting Chairs Special
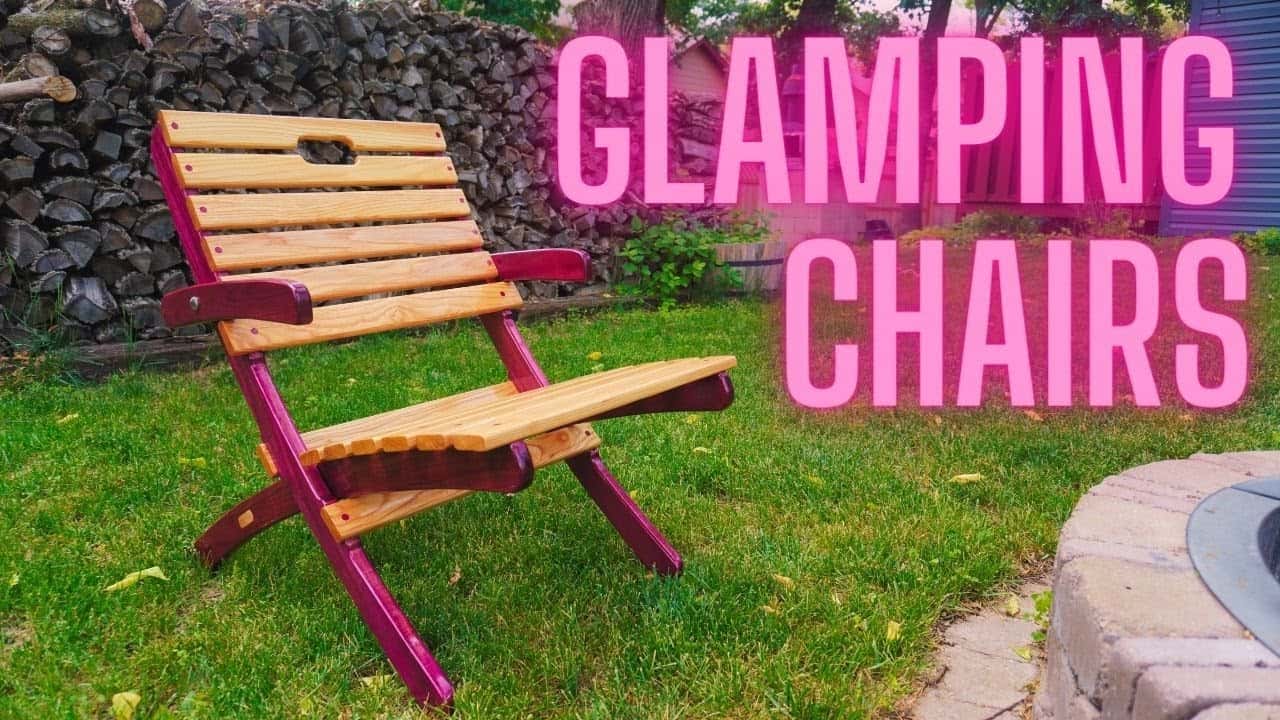
Nesting chairs are known for their space-saving design. The seat of one chair fits inside the back of another, making them ideal for camping, patios, or small spaces.
While most nesting chairs are built from softwoods like pine or cedar, Brett elevates the concept by using premium hardwoods. The result is a more robust, long-lasting chair with visual appeal that sets it apart from standard folding furniture.
Selecting Unique Wood Species
For the slats, Brett uses ash, chosen for its strength and subtle grain. African mahogany forms the legs, offering a stable base with rich coloring and resistance to wear.
The standout element is the use of Purple Heart for structural and visual highlights. Known for its vivid hue and extreme density, Purple Heart adds bold contrast and a high-end feel to an otherwise practical project.
Milling and Acclimating the Lumber
Before any assembly begins, the hardwoods are milled flat and cut to rough length. A thickness planer ensures consistency in thickness across all boards, which is key to maintaining alignment during the build.
The boards are left to acclimate for a day or two before final cuts are made. This step is especially important when working with exotic woods, as sudden changes in moisture can lead to warping or cracking later on.
Cutting and Shaping the Frame
Each chair leg is shaped on a bandsaw following a carefully marked template. The curves are both structural and aesthetic, giving the chair a more modern silhouette.
For efficiency and material conservation, Brett lays out the templates to minimize waste—especially when working with Purple Heart. Every cut is considered to get the most from each board.
Tailoring the Design for Comfort
One notable modification to the original plan involves the armrests. After family feedback, Brett adjusts their length for added comfort and support during extended use.
This type of hands-on iteration is a great example of woodworking as a dynamic process. Real-world use informs subtle design changes that make a big difference in comfort.
Routing and Joinery Details
A flush trim bit is used with a router to create clean grooves that hold the chair slats in place. Routing with the grain helps reduce tear-out, especially with dense woods like mahogany.
Relief cuts are added before final shaping on the bandsaw, a smart move to make curved cuts smoother and more accurate. These small steps help the components fit together seamlessly during assembly.
Putting It All Together
Once all the parts are prepped, Brett begins assembly. The back support connects to the legs first, followed by evenly spaced slats.
Pilot holes are pre-drilled to avoid splitting the hardwood, especially in the Purple Heart sections. The arms are attached using carriage bolts, and the pivot points are carefully positioned for smooth operation.
Before gluing any parts, Brett wipes down oily surfaces with acetone. This is a crucial step when working with dense tropical woods to ensure glue adhesion isn’t compromised.
Applying the Finish
To highlight the grain and protect the chairs outdoors, a spar urethane finish is applied. Brett prefers wiping it on for better control, especially when working around tight joints and layered surfaces.
Multiple coats are applied with light sanding in between to create a smooth, even surface. The goal is to protect the wood without obscuring its natural beauty.
Final Thoughts on Function and Flair
These chairs don’t just nest neatly—they stand out as carefully crafted pieces of functional art. The combination of exotic hardwoods, thoughtful joinery, and subtle design changes elevates them far beyond the typical camp chair.
Whether used on a deck, at a campsite, or around a backyard fire pit, these nesting chairs are built to last and built to impress. Brett’s attention to detail and smart material choices make this a project worth replicating.
Please support Brett by visiting his website: https://www.brettsbasementwoodshop.com/.

Matt’s Take
These are my personal thoughts and tips based on my own experience in the shop. This section is not written, reviewed, or endorsed by the original creator of this project.
Working with exotic hardwoods like Purple Heart and African mahogany brings both rewards and challenges that every woodworker should understand. These dense species can be tough on router bits and saw blades, so keeping your tools sharp becomes even more critical. The payoff is worth it though – the natural oils in these woods often provide built-in resistance to moisture and insects, making them excellent choices for outdoor furniture.
Brett’s approach to acclimating the lumber is spot-on, especially with exotics. These woods often travel long distances and can hold different moisture levels than your local climate. Rushing into cuts without letting them stabilize can lead to frustrating gaps or binding joints later. I also appreciate his attention to wiping down oily surfaces with acetone before gluing – tropical hardwoods can be notoriously finicky when it comes to glue adhesion.
The iterative design process shown here is something every woodworker can learn from. Making that armrest adjustment based on actual use shows the value of building prototypes or being willing to modify plans mid-project. Sometimes the best improvements come from simply sitting in the chair and paying attention to what your body tells you about comfort and ergonomics.
For anyone considering this build, remember that exotic hardwoods typically cost significantly more than domestic species – often $15-30 per board foot compared to $3-8 for common hardwoods. Planning your cuts carefully and having sharp tools ready will help you make the most of every piece.