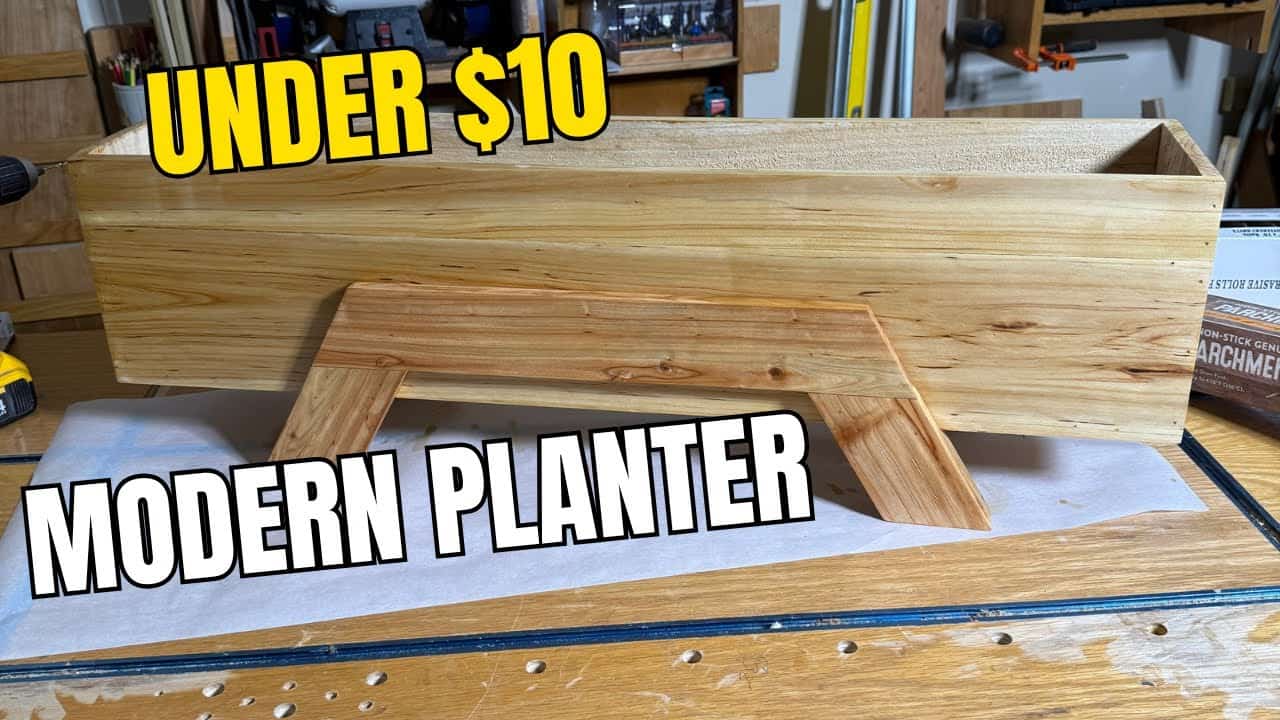
This project was built and designed by Joe Heide from Woodworkers DiyLemma. It’s a simple, low-cost planter box made from cedar pickets, offering a clean and modern look for patios, porches, or gardens.
Designed for affordability and visual appeal, this planter is ideal for new woodworkers or anyone looking for a fast project with a polished result. With just a few tools and a careful assembly process, Joe shows how to create a great-looking planter for under $10.
Watch the full video and subscribe to Joe’s channel:
Why Cedar Works Great for Planters
Cedar is a go-to choice for outdoor projects due to its natural resistance to rot and moisture. It weathers beautifully over time and requires minimal upkeep compared to treated or composite materials.
Joe’s approach uses inexpensive cedar fence pickets, which are widely available at home centers. These pickets provide a lightweight yet durable option for small builds like this planter box.
Breaking Down the Pickets
The first step is cutting down the cedar pickets into usable parts for the base, side panels, and legs. Joe uses a miter saw to make quick and accurate cuts, especially helpful if you want to include modern angles in the design.
All pieces are cut before assembly begins, which helps keep the process smooth. Laying them out in advance also allows you to visualize how the box will come together and make any adjustments if needed.
Building the Sidewalls
To form the sidewalls, Joe flushes up the edges of each board before gluing and nailing. A thin layer of wood glue is applied, with care taken to avoid squeeze-out that could affect the finish.
Brad nails are used to hold the panels together while the glue dries. This makes the assembly quick and helps avoid the need for clamps on such a compact project.
Creating the Base Panel
The base is built next, sized to match the width and depth of the sidewalls. Joe cuts additional cedar pieces to fit snugly and attaches them with glue and brads for strength.
Thicker material could be used here for extra durability, especially if you plan to move the planter frequently. That said, the picket-style base keeps the weight down and maintains the budget-friendly goal of the project.
Attaching the Legs
Once the main box is built, legs are added to each corner. These are aligned carefully with the lower edge of the box and glued before being secured with nails.
To avoid splitting the cedar, Joe pre-drills pilot holes. He also uses a punch to sink the nail heads slightly below the surface, leaving a clean finish that’s easy to sand smooth.
Sanding for a Smooth Finish
Sanding is a key part of the process. Joe uses a fine-grit sander to smooth out all surfaces, removing any sharp edges and evening out transitions between boards.
Extra care is taken around corners and joints to create a uniform look. Since cedar is soft, light sanding goes a long way without taking off too much material.
Sealing for Outdoor Use
After sanding, a weather-resistant outdoor finish is applied to protect the planter from sun, rain, and temperature changes. Joe recommends choosing a product that enhances the cedar’s natural color while adding protection.
While cedar can go unfinished and still last outdoors, sealing it ensures a longer life and a more consistent look. This step also helps prevent water damage or mildew in more humid climates.
Drainage and Personalization Options
To keep plants healthy, it’s important to drill drainage holes in the bottom. This prevents standing water from building up and damaging roots or the planter itself.
Joe encourages viewers to personalize the build—whether that’s changing the dimensions, adding decorative touches, or applying a custom stain or paint. Small details like these can tie the planter in with existing outdoor décor.
A Simple Project with Strong Results
This project is a great reminder that you don’t need a big shop or expensive materials to create something beautiful and functional. With just a few cedar pickets and some basic tools, you can build a planter box that elevates your outdoor space.
Joe’s clear, step-by-step process makes this an approachable project for weekend woodworkers. The modern angles and smooth finish give the planter a professional look, even though it’s built from scrap-priced material.
Watch the full video and subscribe to Joe’s channel:

Matt’s Take
These are my personal thoughts and tips based on my own experience in the shop. This section is not written, reviewed, or endorsed by the original creator of this project.
Cedar pickets are one of my favorite “hidden gems” at the lumber yard — you get quality cedar at a fraction of the price of premium boards. The key is picking through them carefully since fence pickets can vary quite a bit in straightness and grain quality. I always bring a straight edge to check for bows and warping before I buy.
Pre-drilling those nail holes is absolutely critical with cedar. It’s a softer wood that splits easily, especially near the ends. I’ve learned to drill slightly smaller than the nail diameter — just enough to guide it without removing holding power. When you’re working with budget materials, taking that extra minute to pre-drill can save you from having to replace a split piece.
The drainage aspect really matters for plant health. I typically drill 3/8″ holes every 6-8 inches across the bottom, and sometimes add a layer of landscape fabric inside to prevent soil from washing out while still allowing water to drain. Without proper drainage, even the most rot-resistant cedar will eventually fail from constant moisture exposure.
For the finish, I’d lean toward a penetrating oil rather than a film-forming sealer on cedar. The wood naturally wants to expand and contract with weather changes, and oils move with it better than hard finishes that can crack and peel over time.