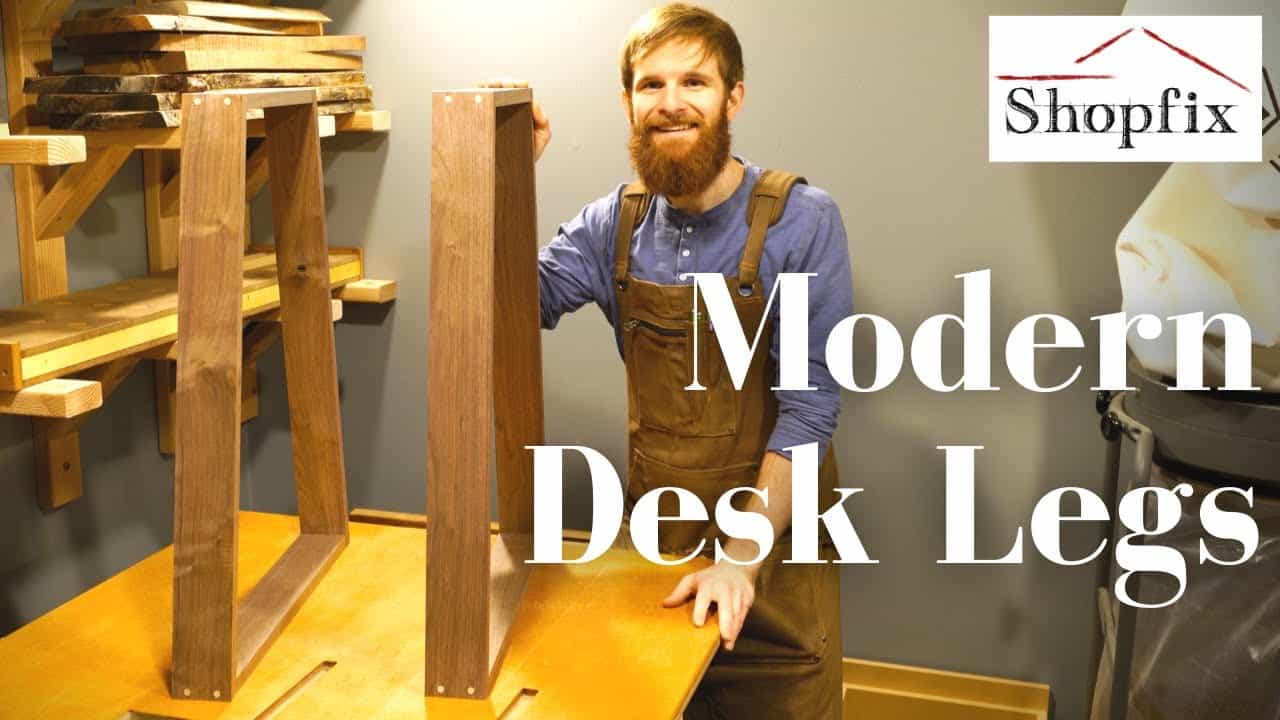
This project was built and designed by Connor from Shopfix. It features a sleek set of modern desk legs made from rough sawn walnut, shaped into a stylish trapezoid form perfect for contemporary tabletops and live edge surfaces.
The build highlights how precision milling, angle cutting, and solid joinery can elevate a basic concept into something refined and functional. With downloadable plans included in the original video, this project is a great opportunity to sharpen your skills while producing something beautiful and practical.
Watch the full video and subscribe to Connor’s channel:
Milling the Rough Walnut Boards
The project begins by flattening rough sawn walnut boards using a planer sled. This method allows for safe and controlled milling, giving you a perfectly flat reference face to work from.
Gaps between the board and the sled are filled with shims to prevent rocking. Once the first side is milled flat, the board is flipped and planed again for a consistent thickness throughout.
Creating Straight and Square Edges
After planing, Connor uses a jointer jig to straighten one edge of each board. Clean, square edges are critical for this build since all angles must align precisely when forming the trapezoid shape.
The boards are then ripped to final width, ensuring uniform sizing across all components. For this build, a width of around three inches is selected—plenty of strength for a desk base while maintaining a streamlined profile.
Trapezoid Shape and Design Layout
The modern look of the desk legs comes from the trapezoid form, where the top is narrower than the base. Connor lays out the shape using a ten-degree angle and creates a template to ensure repeatable cuts.
Using a miter saw, each leg piece is trimmed to match the ten-degree angle. The overall leg height is set between 28 and 30 inches, which is ideal for ergonomic desk use and matches standard desk heights.
Cutting Joinery Pieces
To complete each trapezoid frame, top and bottom connecting pieces are cut to length. These are responsible for tying the angled legs together while providing mounting surfaces for the desk or table top.
Connor sets up a stop block on the miter saw to ensure both legs are cut to the same height. This step guarantees stability and a balanced frame once everything is assembled.
Test Fitting Before Glue-Up
Before committing to glue, all pieces are dry-fit to check alignment. This is a crucial checkpoint to catch any gaps or angles that may need slight adjustments.
Once satisfied with the fit, the parts are ready to be joined permanently. Connor sets the pieces aside on flat MDF sheets to begin the glue-up process.
Gluing and Clamping Techniques
The walnut components are glued on a flat surface to avoid twisting during assembly. Cut-off wedges from the original angled pieces are reused as clamping blocks, helping apply even pressure while keeping the joints from shifting.
Connor adds dowels to reinforce each joint. Two dowels are inserted per connection, providing added strength and helping align the pieces precisely during the glue-up.
Installing the Dowels
After marking dowel hole positions, Connor drills clean holes and applies wood glue to both the dowels and the mating surfaces. The dowels are tapped into place and clamped firmly until dry.
Once cured, any exposed ends are trimmed flush using a saw. A chisel is then used to remove excess glue and clean up the seam lines for a smooth finish.
Sanding and Finishing the Walnut
The legs are given a final sanding to blend the joints and smooth all surfaces. Any imperfections from the glue-up are corrected during this stage to prep the walnut for finish.
Connor leaves the finish choice open—stain or natural oil can both bring out the rich grain of the walnut. A matte or satin topcoat helps protect the legs while allowing the wood’s character to shine.
Versatile and Stylish Desk Support
The finished legs offer a modern and minimal look while providing robust support for desktops of many sizes. This set was built to hold a 2×4-foot top, but the plans can be scaled depending on the weight and dimensions of your final piece.
The ten-degree angle and trapezoid shape create a subtle yet impactful aesthetic. Whether paired with a live edge slab or a clean-cut desktop, the legs complement a wide range of styles.
A Skill-Building Project with a Clean Result
Connor’s video demonstrates how careful preparation, accurate angles, and thoughtful joinery result in a professional-quality build. It’s a great way to practice planing, angle cutting, clamping techniques, and dowel reinforcement.
The downloadable plans included with the video offer an easy entry point, making this an excellent weekend project that pays off with a striking finished product.
Please support Connor by visiting his website: https://www.shopfix.services/. You can get his plans here.

Matt’s Take
These are my personal thoughts and tips based on my own experience in the shop. This section is not written, reviewed, or endorsed by the original creator of this project.
Working with rough sawn walnut like Connor does here really shows off the wood’s character, but it does require patience during the milling process. That planer sled approach is spot-on for handling boards that aren’t perfectly flat yet — it’s one of those techniques that separates clean results from frustrating ones. The shimming step is crucial because any rocking during planing will give you inconsistent thickness.
The ten-degree angle Connor chose strikes a nice balance between visual interest and structural stability. Steeper angles can look dramatic but start compromising strength, while anything much shallower loses that modern geometric look. Using those cut-off wedges as clamping blocks is clever — they match the angle perfectly and help distribute pressure evenly during glue-up.
Dowel reinforcement makes sense for a project like this where the joints will see some stress from the desktop weight and daily use. Two dowels per connection gives good holding power without overdoing it. When you’re drilling for dowels in angled pieces, taking extra time to ensure they’re perpendicular to the joint line prevents weak spots that could open up later.
These legs would pair beautifully with a live edge slab, but they’re versatile enough to support more traditional tops too. The proportions Connor landed on create a substantial look without being chunky — exactly what you want in a modern desk base.