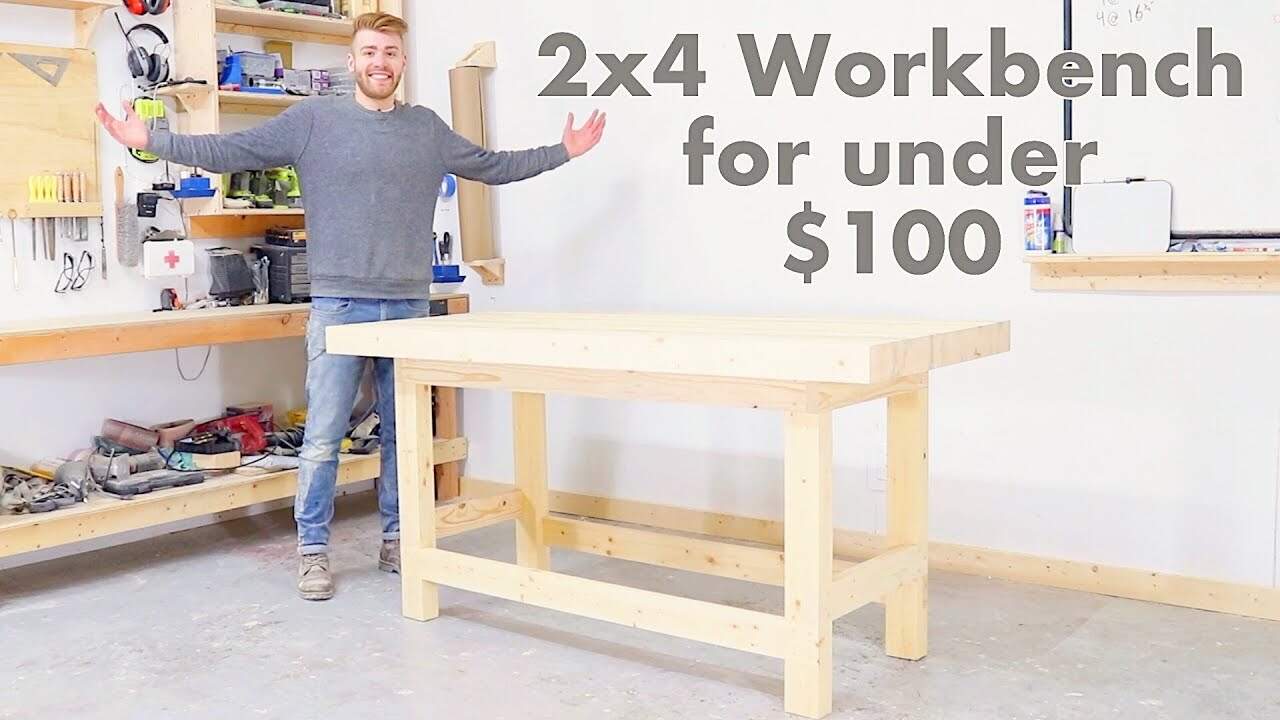
This project was built and designed by Mike Montgomery from Modern Builds. Using only 2×4 lumber and a few basic tools, he created a sturdy, reliable workbench that works for any skill level and shop size.
With a simple design and smart construction choices, this build offers a practical, cost-effective solution for those who want to add a strong and flat surface to their workshop—without spending a fortune.
Watch the full video and subscribe to Mike’s channel:
A Workbench That’s Built to Last
Mike’s goal with this build was to show that a dependable workbench doesn’t require expensive materials or advanced joinery. For under $100, this project delivers a solid structure that can take on almost any task in the shop.
By focusing on accessible tools and materials, the project is approachable for beginners while still providing value for experienced woodworkers.
Prepping the 2×4 Lumber
The build starts with prepping the 2x4s that will be used for the frame and tabletop. Mike runs the boards through a planer to achieve consistent thickness and remove the rounded edges typical of construction lumber.
This step is optional but helps create tighter joints and a more refined final result. Even if you skip the planer, the project can still come together using basic cuts and careful sanding.
Constructing the Legs with Lap Joints
The legs are built from two 2x4s glued face to face. This provides the strength of a 4×4 post while keeping material costs down and reducing the need for special lumber.
To join the legs to the rest of the frame, lap joints are cut to allow each piece to interlock. These joints require clean, accurate cuts—made with either a table saw or a circular saw—to remove material gradually until the fit is perfect.
Mike emphasizes planning the layout of the lap joints carefully. The top and bottom of each leg are cut differently to accommodate both the top and bottom stretchers.
Working Without a Table Saw
If a table saw isn’t available, Mike demonstrates how a circular saw can be used to make the same lap cuts. With the help of clamps and a speed square, accurate and repeatable cuts are still achievable.
This approach shows that even those with a limited tool setup can complete the project successfully. The key is to work slowly and double-check measurements along the way.
Assembling the Frame
With the legs cut and shaped, the next step is to assemble the base frame. Mike uses both glue and screws for strength and adjustability. The screws allow for minor corrections during clamping, while the glue locks everything in place for long-term stability.
For those who want a workbench that can be taken apart later, the joints can be secured with screws only. This allows for future disassembly and makes the design more portable.
Building the Tabletop
The tabletop is made by arranging and gluing together multiple 2x4s. Mike glues them in sections before combining them into one large slab, which makes clamping more manageable and helps reduce gaps between boards.
To keep the tabletop flat during glue-up, he uses a flat surface as a reference and clamps each section evenly. This step helps avoid warping and creates a sturdy, level top.
Sanding and Flattening
Once the glue has dried, Mike sands the top with a belt sander to smooth out any uneven areas. For larger inconsistencies, he suggests using a router sled to flatten the surface.
A flat, level top is essential for accurate woodworking, especially when using clamps, jigs, or layout tools. Taking the time to refine the surface makes a big difference in the long run.
Finishing and Protective Coating
To protect the surface, Mike applies a clear water-based finish. This helps seal the wood, prevents glue from sticking during future projects, and gives the top a clean, matte look.
A water-based product also dries quickly, making it easy to apply multiple coats in a single day. While the finish is subtle, it adds long-term durability to the bench.
Answering Common Questions
Mike takes time to address questions from viewers, including one about the unique blue-gray streaks in the wood. This is known as blue pine or beetle kill pine, which comes from a fungus carried by beetles. It’s still structurally sound and gives the wood a one-of-a-kind appearance.
Another common question involves customization. While this version of the workbench is kept simple, it’s easy to add features like vises, drawers, or dog holes later on. Mike leaves his design open-ended so users can tailor it to their own needs over time.
A Smart, Accessible Shop Upgrade
This budget-friendly workbench proves that a solid, dependable workspace is within reach—even for those new to woodworking or working on a tight budget. With careful planning, simple joinery, and standard 2x4s, Mike builds a bench that’s practical, portable, and customizable.
It’s a project that serves as both a tool and a teaching experience—ideal for anyone looking to get more out of their shop setup.
Please support Mike by visiting his website: https://www.modernbuilds.com/.

Matt’s Take
These are my personal thoughts and tips based on my own experience in the shop. This section is not written, reviewed, or endorsed by the original creator of this project.
This kind of straightforward workbench build really highlights how much you can accomplish with basic materials and thoughtful design. The lap joint approach for connecting the legs is particularly smart – it creates a strong mechanical connection that doesn’t rely solely on fasteners, and those joints will actually get tighter over time as the wood moves.
One thing I always appreciate about 2×4 workbench builds is how forgiving they are for newer woodworkers. Construction lumber has some inherent inconsistencies, but that actually works in your favor here – small gaps and minor imperfections won’t hurt the overall strength or function. The key is getting that top reasonably flat, which Mike handles well with the sectional glue-up approach.
From a shop safety perspective, having a dedicated workbench – even a simple one like this – changes everything. It gives you a proper height for hand tool work, a solid surface for assembly, and most importantly, keeps you from trying to balance projects on sawhorses or your tablesaw. The investment in time and the modest material cost pays dividends in safer, more enjoyable shop time.
The modular thinking behind this design is worth noting too. Starting with a solid foundation like this gives you room to grow – you can always add a face vise later, drill dog holes, or even build matching storage underneath without starting over from scratch.