This project was built and designed by Sam Macy. It’s a useful and tidy solution for managing scrap wood in your shop and making the most of every corner.
By adding vertical storage space, this shelf clears up clutter while keeping materials easy to access. It’s a straightforward build that delivers a noticeable upgrade to your workflow.
Watch the full video and subscribe to Sam’s channel:
Starting the Project
Sam begins by evaluating the available space and clearing out the designated area. This clean-up phase helps visualize where the organizer will sit and how it will function.
Once the corner is clear, he outlines the overall size and shape of the organizer. A quick sketch or mental plan goes a long way before diving into cuts.
Creating a Stable Base
The first step in construction is building a toe kick to elevate and stabilize the shelf. This small feature provides a finished look while adding strength to the base.
Sam also accounts for existing obstacles like outlets or cords by trimming away part of the base. This ensures the organizer fits flush without compromising the structure.
Cutting and Assembling the Parts
Using Baltic birch plywood, Sam cuts the panels and edge pieces for the structure. The material is durable, clean-looking, and easy to work with.
Once the panels are cut, they’re joined together to form the main body of the shelf. Strong joints and tight edges make the organizer sturdy from the ground up.
Adding Trim and Details
To finish the piece, Sam applies trim around the outer edges. This step gives the shelf a clean, intentional look and adds a bit of extra support.
The trim also helps protect the plywood edges from wear during daily use. A few small cuts go a long way in giving the piece a polished appearance.
Final Assembly and Use
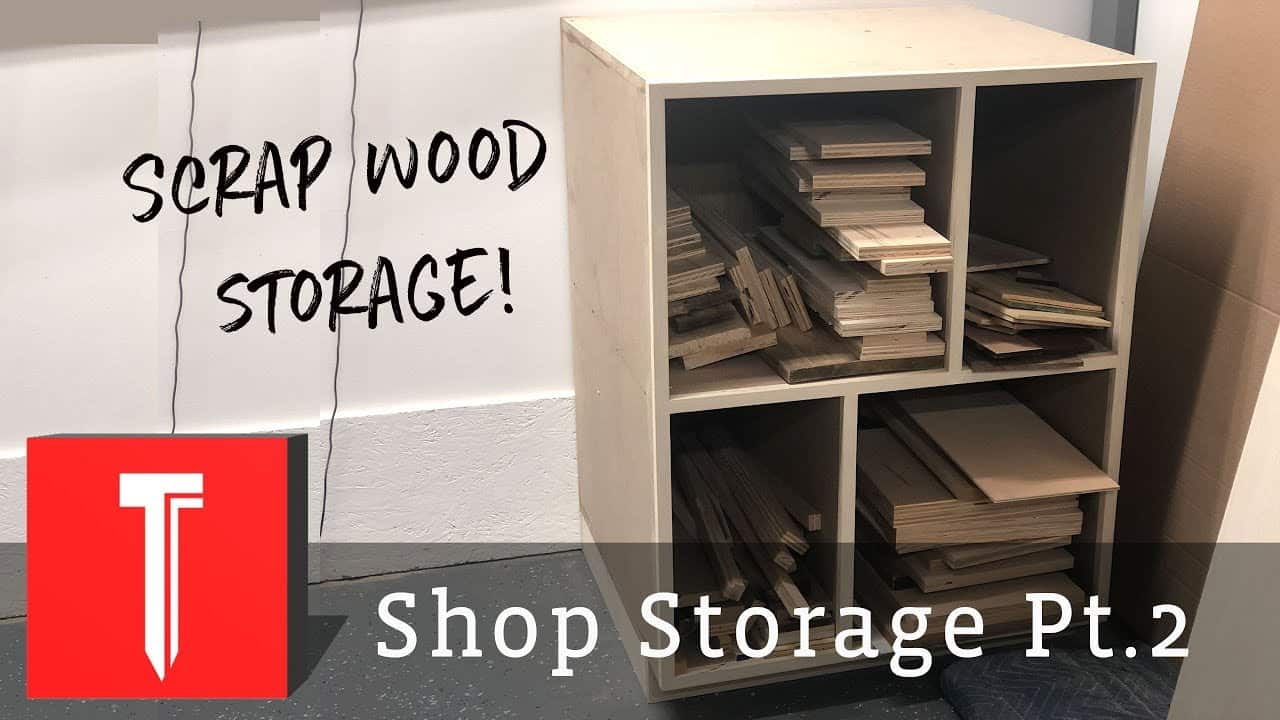
Once assembled, the shelf is ready to be loaded with scrap wood. The compartments keep everything upright and easy to sort.
Having a designated space for offcuts makes future projects easier and reduces waste. It also keeps the work area clear and more enjoyable to use.
Why This Project Is Worthwhile
This build shows how even simple shop upgrades can make a big difference. A scrap wood shelf helps turn leftover materials into ready-to-use stock for the next project.
It’s a low-cost, high-reward solution that makes your shop more organized and efficient. And the clean design blends right in with most workshop setups.
Want to See the Full Build?
Please support Sam by visiting his website here: https://sammacydesigns.com/

Matt’s Take
These are my personal thoughts and tips based on my own experience in the shop. This section is not written, reviewed, or endorsed by the original creator of this project.
Baltic birch is a smart choice for shop furniture like this. It’s got that clean, consistent look and holds up well to the daily bumps and dings that come with workshop use. The multiple plies make it less likely to split when you’re loading heavier pieces of scrap, and it takes a beating without looking worn out.
That toe kick detail is one of those small touches that makes a big difference. It protects the base from shop debris and gives you room to get your feet underneath when you’re digging through materials. Plus, it makes the whole piece look more intentional rather than just a box sitting on the floor.
One thing I always keep in mind with vertical storage is weight distribution. When you’re loading up compartments, try to keep heavier pieces toward the bottom and lighter stock up top. It keeps everything stable and makes the organizer safer to use when you’re pulling out that perfect piece of walnut you’ve been saving.
Projects like this are exactly why I love woodworking – you’re solving a real problem while building something that’ll serve you for years. Every shop needs good scrap storage, and having everything visible and sorted means you’ll actually use those offcuts instead of letting them pile up in a corner.