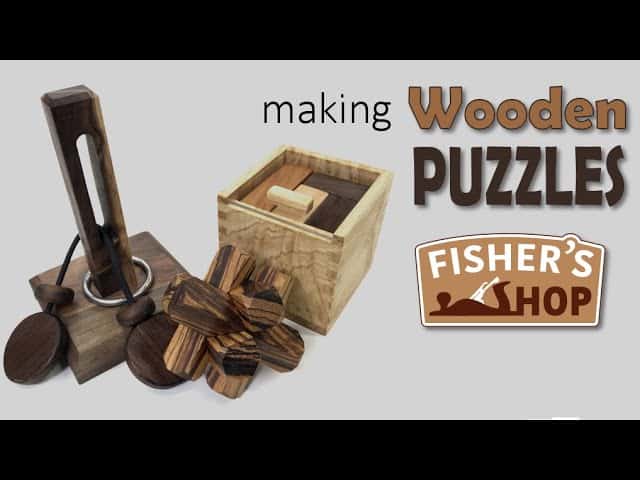
This project was built and designed by Drew Fisher from Fisher’s Shop. It features three wooden puzzles that add both creativity and playfulness to your workspace.
Whether you’re looking for a desk toy, a thoughtful gift, or a clever way to use up small offcuts, these puzzles offer a satisfying build with an engaging result. Each one is crafted with attention to detail and designed to challenge and entertain.
Watch the full video and subscribe to Drew’s channel:


Selecting and Preparing the Wood
Drew starts the project by choosing eye-catching hardwoods for each puzzle. At the lumber rack, he selects pieces with visual contrast and appealing grain to give each puzzle its own unique look.
Once back in the shop, the boards are milled flat and cut to size. This prep work helps ensure tight-fitting pieces and clean joinery throughout the builds.
The Puzzle Cube
The first puzzle Drew builds is the Puzzle Cube. It begins by squaring one face and edge of each board using a jointer, followed by planing them to final thickness.
Using a table saw, the boards are ripped into uniform strips and then crosscut into cubes with a sled. These small blocks—made from maple, cherry, and walnut—will be assembled into interlocking shapes that form the completed cube.
Assembly requires careful gluing to get the correct fit, often using temporary spacer blocks to hold the pieces in alignment. Drew uses a sprinkle of table salt between the glue surfaces to prevent slipping, a simple trick that keeps the setup steady under clamps.
To store the puzzle, Drew builds a small box using ash. He resaws the sides, cuts box joints using a jig, and finishes it with a sliding lid to keep everything organized.
The Oliver String Puzzle
Next is the Oliver String Puzzle, which involves less cutting but more creativity. Drew begins by milling down some walnut and cutting the boards into square puzzle pieces.
Holes are marked and drilled to allow a length of paracord to pass through, creating a fun and interactive puzzle design. Once assembled, the string is tied off and the puzzle becomes a clever challenge for anyone willing to give it a try.
This project is a great example of how simple materials and a few precise cuts can produce something interactive and rewarding. A finish of oil and wax protects the wood while bringing out the grain.
The Star Puzzle
The final puzzle in the set is the Star Puzzle, which requires more precision. Drew builds a custom jig to make the specific angled cuts needed for the star’s geometry.
Each piece is carefully chamfered to create a crisp look and smooth edges. Once complete, the puzzle assembles into a star shape, but if one piece is removed, the entire structure collapses.
This makes it a great icebreaker or display piece. The challenge of reassembling it gives it extra replay value and keeps it interesting long after the build is complete.
Final Finish and Display
All three puzzles are given a final finish of oil and wax. This step protects the wood and highlights the contrasting tones between the species.
The puzzles not only function well but also look great on a shelf or desk. They make thoughtful gifts, fun conversation starters, or even products to sell at craft fairs.
Want to See the Full Build?
Get Drew’s plans here: https://fishersshoponline.com/plans/p/fishers-wooden-puzzles.

Matt’s Take
These are my personal thoughts and tips based on my own experience in the shop. This section is not written, reviewed, or endorsed by the original creator of this project.
There’s something really satisfying about puzzle projects like these – they’re small enough to knock out in a weekend but engaging enough to keep your brain working long after you’ve left the shop. Drew’s approach of using contrasting wood species is spot-on. Those visual differences between maple, cherry, and walnut don’t just look good; they actually help when you’re trying to figure out how the pieces fit together.
That salt trick for preventing glue slippage is one of those old-school techniques that still works great today. Just a light sprinkle gives you enough grip to keep pieces from sliding around under clamp pressure. It’s especially handy on small projects like these where you’re working with precise tolerances and can’t afford any shifting during glue-up.
If you’re new to puzzle making, start with the Oliver String Puzzle – it’s the most forgiving and gives you a feel for the precision these projects require. The drilling needs to be accurate, but there’s room for small adjustments. Safety-wise, remember that small pieces can be tricky to handle safely on power tools. Keep your push sticks handy and consider hand tools for final fitting work.
These make excellent shop projects when you want something fun but don’t have a lot of time or material to invest. Plus, they’re great for using up those premium offcuts that are too nice to burn but too small for furniture projects.