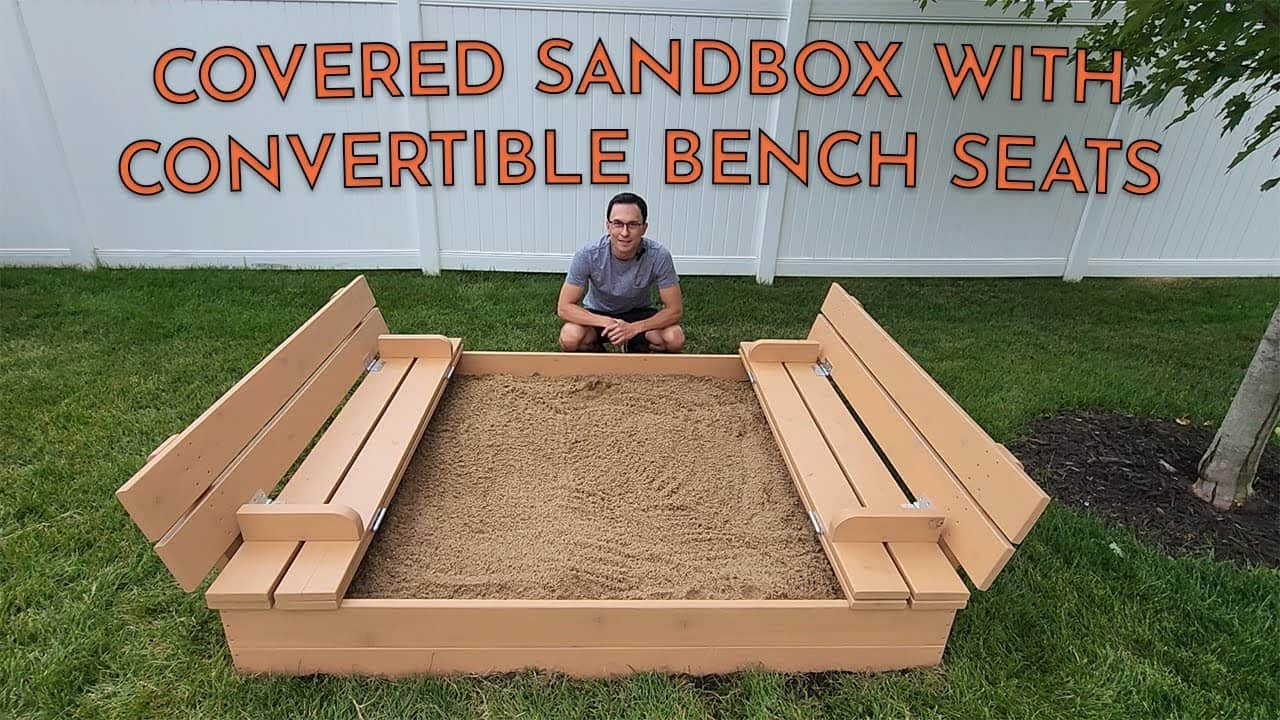
This project was built and designed by Andy from Third Stall Woodworking. It features a practical and sturdy sandbox with a lid that transforms into bench seating, making it both fun for kids and functional for your backyard.
If you’re looking for approachable outdoor builds with long-term use, Andy’s projects are a great place to start. His YouTube channel is filled with well-designed builds and clear explanations.
Watch the full video and subscribe to Andy’s channel:
Why Choose Cedar for a Sandbox?
Cedar decking boards are designed to hold up against outdoor conditions. They naturally resist rot and insects, making them a solid choice for a build that will sit out in the weather year-round.
Compared to standard lumber, cedar decking is cost-effective and ready for outdoor exposure. Its size and thickness make it easy to work with while still offering durability for everyday use.
Planning the Build
Before getting started, having a clear plan in place will save time and reduce waste. Andy provides detailed build plans on his site that include all dimensions, tools, and materials you’ll need.
From board sizes to screw types, the cut list and layout diagrams ensure you can work efficiently. Having everything mapped out ahead of time also helps you avoid mistakes during assembly.
Preparing and Assembling the Boards
Andy begins by edge joining the cedar boards to create tight seams between each piece. Clamping the boards with wood glue helps form solid, flush panels that create a smooth base for the sandbox.
Properly aligned boards create a strong, level structure and help prevent future warping. Taking the time to join and clamp the pieces properly gives the sandbox a clean and sturdy frame.
Smoothing the Edges and Corners
After gluing up the panels, Andy sands the surfaces to remove any rough edges. Rounding over the corners adds a level of safety for kids while also improving the overall look.
Spacers are used during assembly to maintain even gaps between boards. This technique allows for slight wood movement while giving the sandbox a professional appearance.
Building the Lid and Bench Combo
One of the standout features of Andy’s design is the collapsible lid. It folds open to create bench seating, turning the sandbox into a functional sitting area.
Andy installs support braces beneath the lid panels to keep everything secure when in use. While optional, this added structure helps the lid stay stable when children are climbing on it.
Putting It All Together
Assembly starts with aligning the base and working upward from the corners. Clamps and spacers are used to keep everything in place while securing the boards with screws.
Hinges and handles are added to make opening and closing the lid easy for kids. This also helps keep the sandbox covered when not in use, deterring animals and debris.
Sealing and Staining the Wood
To finish the build, Andy applies wood cleaner to prep the surface for staining. This step helps the finish adhere evenly and improves long-term protection against sun and rain.
A weather-resistant wood stain enhances the cedar’s natural beauty and protects the sandbox from moisture. Multiple coats ensure the wood stays sealed through seasonal changes.
Filling the Sandbox
Once the finish has fully cured, Andy lines the bottom of the sandbox with landscape fabric. This barrier keeps the sand clean and helps prevent weeds or unwanted plants from growing up through the base.
After installing the fabric, the sandbox is filled with high-quality play sand. The result is a clean, well-contained play space that’s ready for action.
A Backyard Project That Delivers
Andy’s cedar decking sandbox is more than just a play area. It offers a place for kids to dig, imagine, and explore, while also providing a clean and contained setup that’s easy to maintain.
The folding bench feature gives it added functionality and makes cleanup simple. Whether it’s in use or closed up, the sandbox looks great and holds up to daily wear.

Matt’s Take
These are my personal thoughts and tips based on my own experience in the shop. This section is not written, reviewed, or endorsed by the original creator of this project.
Cedar’s natural oils make it naturally resistant to decay and insects, which is exactly what you want for a project that’ll be sitting outside for years. The aromatic compounds that give cedar its distinctive smell are the same ones that help protect it from the elements. While it’s more expensive upfront than pressure-treated lumber, you won’t need to worry about chemical treatments around kids.
The convertible lid design is really clever – it solves the eternal sandbox problem of keeping rain, leaves, and neighborhood cats out while giving you extra seating when needed. When building hinged lids like this, pay attention to your hinge placement and make sure they’re rated for outdoor use. Stainless steel or galvanized hardware will save you headaches down the road.
That landscape fabric barrier at the bottom is worth its weight in gold. It keeps the sand from migrating into the ground while still allowing drainage. Without it, you’ll be adding fresh sand constantly as it works its way down. When installing fabric, leave a slight crown in the center so water doesn’t pool – even with good drainage, standing water can become a mosquito breeding ground.
For the finish, let the cedar weather for a few weeks before staining if you’re not in a rush. Fresh cedar can be a bit resinous and the stain will penetrate more evenly after it’s had time to stabilize. A good penetrating stain will last much longer than a surface coating in this application.