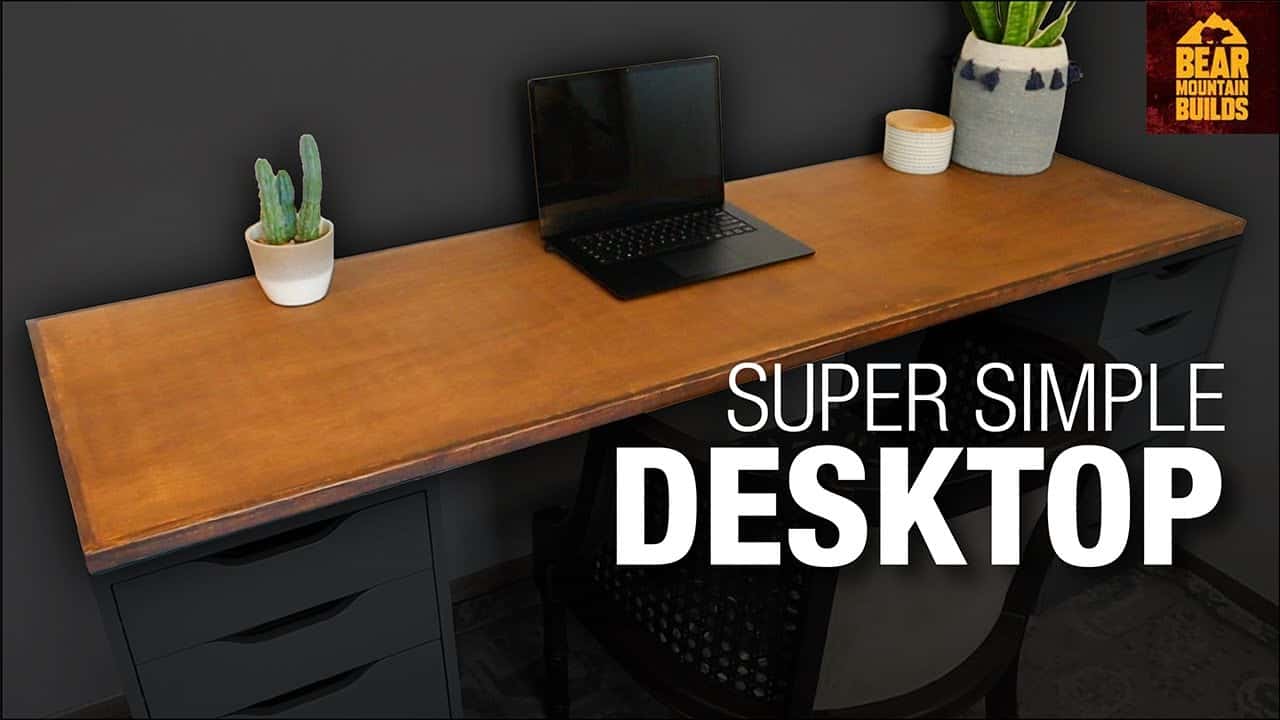
This project is by Zach from Bear Mountain Builds, who demonstrates how to create a sturdy and stylish plywood desktop with minimal tools and materials. Whether you need a new workspace or a budget-friendly upgrade, this build is an excellent starting point.
Watch the full video and subscribe to Bear Mountain Builds’ channel:
Choosing the Right Plywood
The foundation of this project is a single sheet of plywood. For an affordable yet durable surface, half-inch sanded plywood is a great option. If a thicker desktop is preferred, three-quarter-inch plywood provides additional strength and stability.
Many home improvement stores offer cutting services, which can help make transporting large sheets easier. Once the plywood is cut to a manageable size, the next step is to laminate two pieces together to create a solid surface.
Gluing and Laminating the Plywood
To assemble the desktop, wood glue is applied evenly to one sheet before pressing the two pieces together. Aligning the edges carefully ensures a seamless final look. Using clamps or weighted objects helps create strong adhesion while the glue dries.
After drying, the edges are trimmed to bring the desktop to its final dimensions. A circular saw makes quick work of this step, ensuring clean and precise cuts.
Adding Trim for a Finished Look
To enhance the appearance, trim is added along the edges. A three-quarter-inch board is planed down to half an inch, then cut into strips that match the desktop’s edges. Attaching the trim with wood glue and brad nails secures it in place while maintaining a polished design.
A pull saw is useful for making sure the trim sits flush with the plywood, creating a smooth, seamless transition between the materials. This small detail gives the desktop a more professional appearance.
Sanding and Applying a Finish
Sanding is a key step in achieving a smooth and refined surface. Using 220-grit sandpaper, the entire desktop is sanded to remove any rough spots and prepare it for finishing. A wood conditioner is applied first to ensure an even stain application.
Staining can be done with a brush or cloth, depending on the desired look. For a slightly distressed appearance, a second coat of stain can be applied around the edges. Once dry, a clear matte polyurethane adds durability and protects the surface from wear.
Customization and Versatility
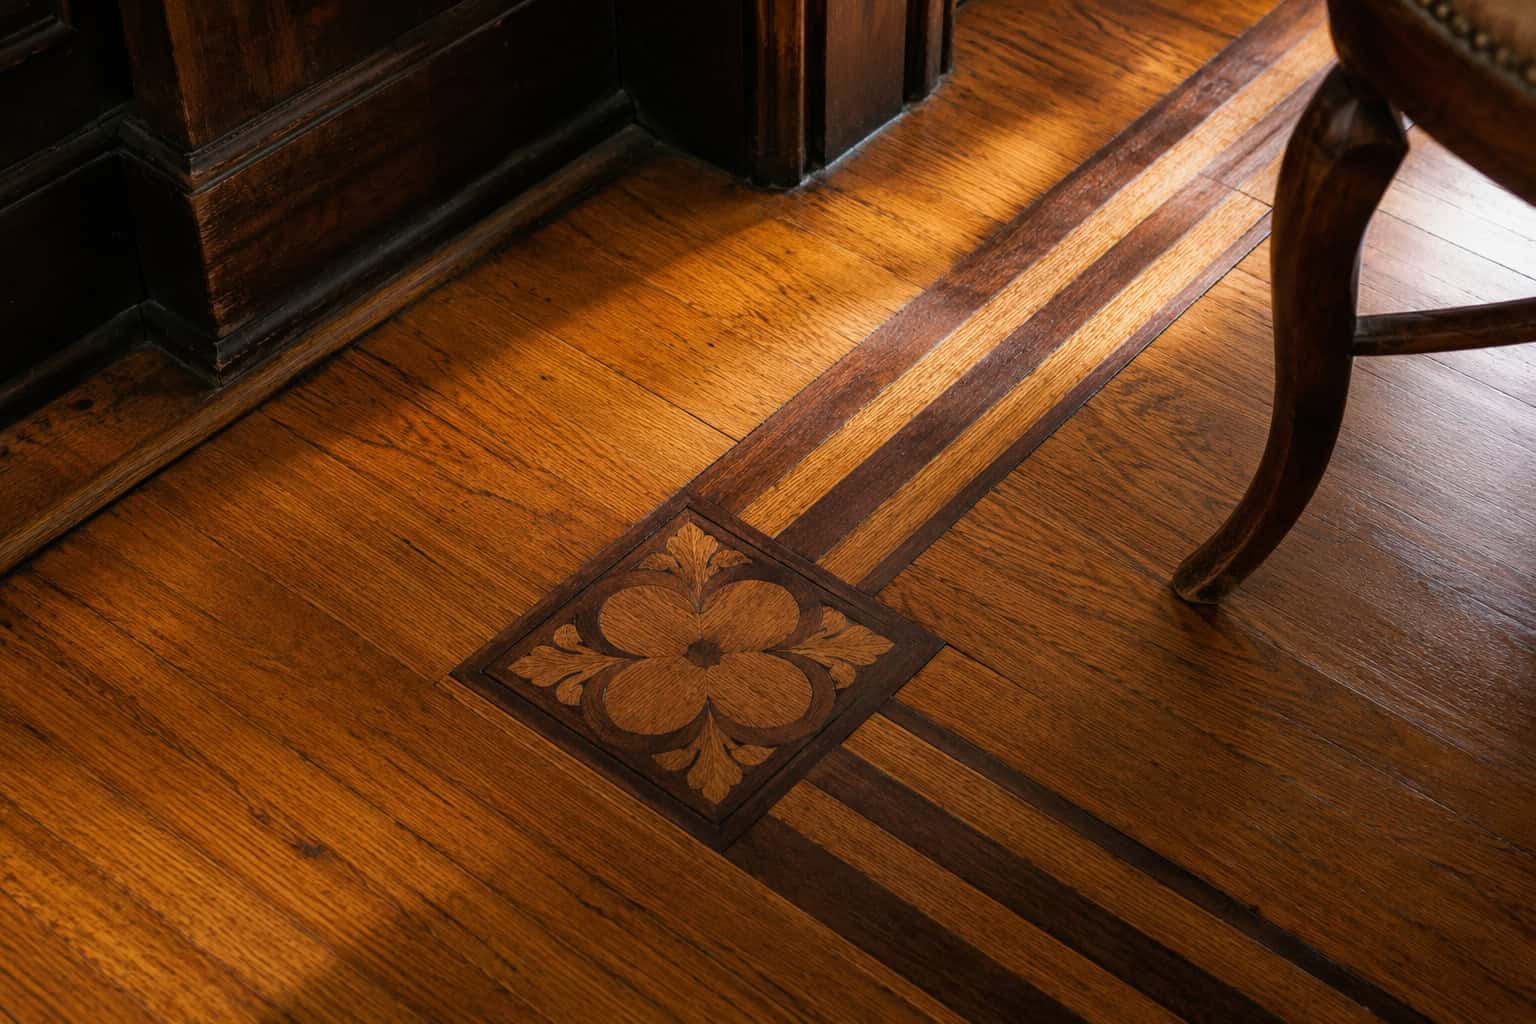
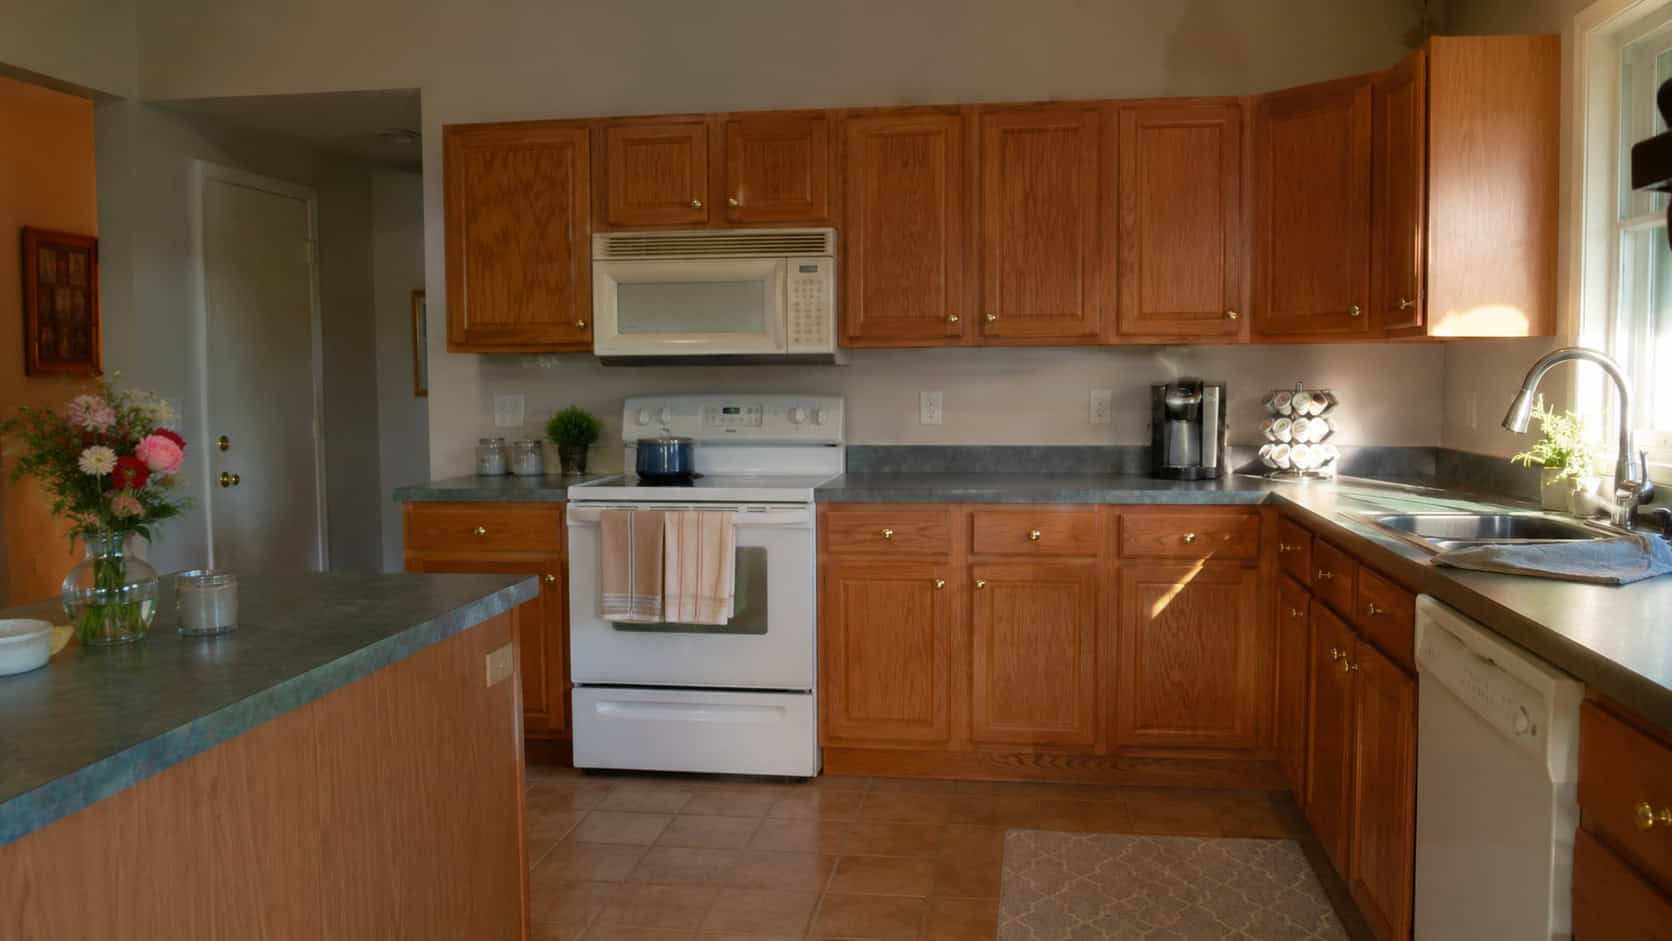
This design is highly adaptable and can be modified to fit different spaces. The desktop can be placed on existing furniture, such as cabinets or credenzas, or paired with legs for a freestanding workstation. Choosing a veneer plywood like birch or oak offers a more distinct grain pattern for those wanting a premium look.
A Simple and Functional DIY Project
This plywood desktop is a great way to build confidence in woodworking while creating something practical. The simple construction allows for customization in both size and finish, making it a versatile addition to any home office or workspace.
Want to see the full build in action? Watch Bear Mountain Builds’ video for the complete process and support his channel!

Matt’s Take
These are my personal thoughts and tips based on my own experience in the shop. This section is not written, reviewed, or endorsed by the original creator of this project.
This type of laminated plywood top is surprisingly sturdy once you get both sheets glued up properly. The key is getting even glue coverage — I like using a small foam roller to spread the adhesive uniformly across the entire surface. It prevents those dry spots that can lead to delamination down the road. When you’re aligning the sheets, take your time here because once that glue starts grabbing, you’ve got limited wiggle room to make adjustments.
One thing I really appreciate about this approach is how forgiving plywood can be for beginners. Unlike solid wood, you don’t have to worry about grain direction or wood movement nearly as much. That said, when you’re applying that wood conditioner, pay extra attention to any exposed plywood edges — they tend to soak up stain like crazy and can end up much darker than the face veneer if you’re not careful.
The trim detail really makes a difference in the final look. Those exposed plywood layers can be pretty obvious otherwise, and the solid wood edging gives it a much more finished appearance. Just make sure your brad nailer is set to the right depth — plywood can be unpredictable, and you don’t want those nails blowing through the face veneer. A couple test shots on scrap material will save you some heartache.