This project belongs to Steve from JKM Woodworking. If you enjoy fine woodworking and challenging builds, be sure to check out his YouTube channel for more inspiring woodworking videos.
Watch the full video and subscribe to Steve’s channel:
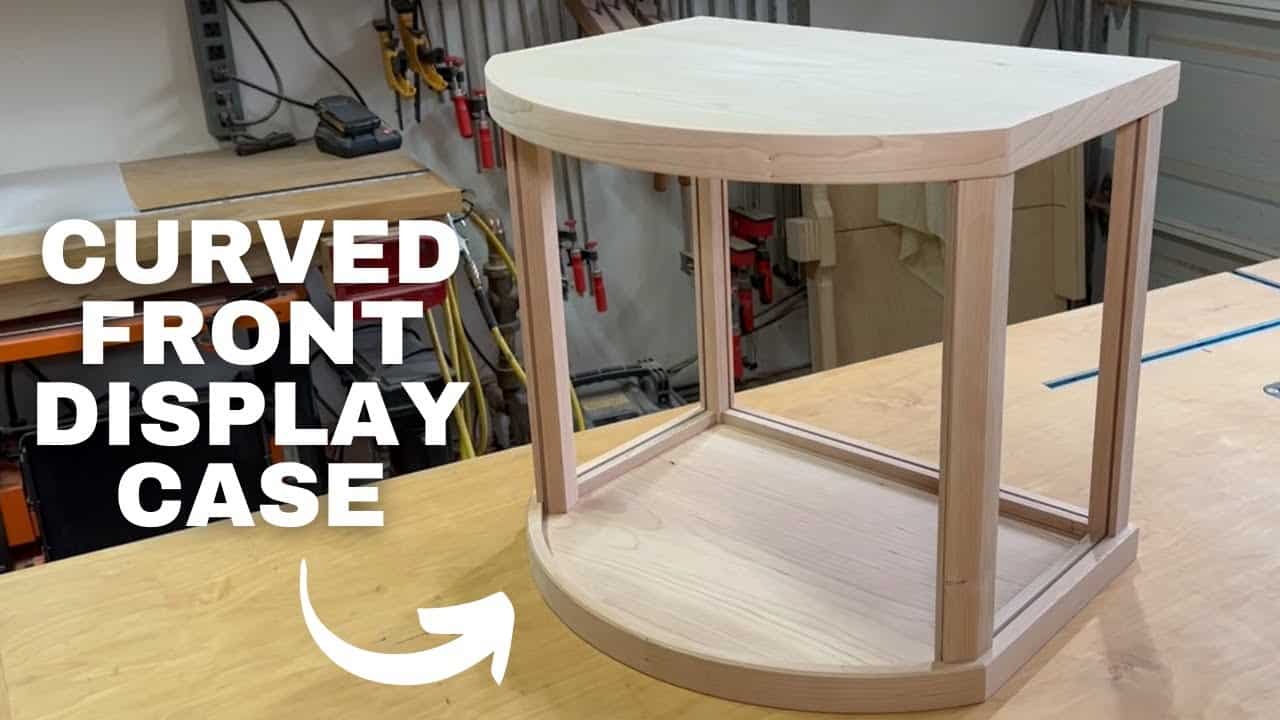
The Challenge of a Curved Display Case
Creating a display case with a curved front is a unique challenge that requires precise techniques and careful execution. Steve designed this cherry display case to showcase collectibles, incorporating bent lamination, angled joinery, and high-quality finishing methods. The build highlights the importance of patience and precision in woodworking.
Constructing the Top and Bottom Panels
The project starts with the top and bottom panels, which are cut to size before shaping the curved front. To minimize wood movement and maintain stability, Steve uses an MDF core covered with a thick cherry veneer. This combination enhances durability while keeping the natural beauty of the cherry grain.
To create a smooth, even curve, a circle-cutting jig is used. This setup requires a pivot point at the center of the panel, allowing for an accurate arc. The process begins with a rough cut on the bandsaw, followed by refining the curve at the router table. Taking the time to shape the curve properly ensures a flawless, professional look.
Shaping the Curved Facer Boards
The curved front is built using a bent lamination process, a technique that transforms straight wood into seamless, flowing curves. Steve carefully rips thin strips of wood, smooths them, and glues them together using a custom form. This method allows the grain to follow the curve naturally, resulting in a strong and visually appealing structure.
Once shaped, the curved facer boards are attached to the top and bottom panels. Their precise fit highlights the continuous wood grain, enhancing the case’s overall aesthetic.
Cutting and Assembling the Angled Joinery
Before assembling the frame, the front corners require precise angle calculations. Using the bent lamination form as a guide, Steve determines the correct angles and adjusts the miter saw accordingly. Each mitered piece is carefully cut, ensuring tight and seamless joints.
For assembly, painters tape and clamps hold everything securely in place while the glue dries. Once set, the joints are sanded to create a flush, continuous surface, reinforcing the clean and polished appearance of the case.
Crafting the Pillars and Crossmembers
The case frame is supported by a series of structural components, including front and back pillars. The back pillars are straightforward square shapes, while the front pillars are designed with a five-sided profile. Achieving these complex angles requires multiple precise cuts, emphasizing the importance of accuracy.
Mortises are cut into the pillars to house the crossmembers, which add strength and rigidity to the frame. Each piece is carefully sanded and prepared for the finishing stage.
Finishing for a Rich, Polished Look
Steve applies a combination of dyes and shellac to bring out the depth of the cherry grain before final assembly. This method allows for an even and consistent finish, ensuring that every surface is properly coated. After applying multiple layers of lacquer, the display case is ready for its final assembly.
Installing the Acrylic Panels
For the front and side panels, Steve uses cast acrylic, which is cut to size and carefully fitted into the frame. The curved acrylic front panel is shaped using heat and a form, requiring careful handling to avoid warping or overheating. Precision is key at this stage, as even small misalignments can affect the final fit.
Once the acrylic panels are installed, the display case is complete. The finished piece showcases expert craftsmanship, combining fine woodworking techniques with a sleek, modern design.
See the Full Build in Action
Steve’s process involves advanced techniques that take woodworking skills to the next level. If you’re interested in seeing the full build, check out his video for detailed insights and step-by-step demonstrations.
Watch the full video and subscribe to Steve’s channel:

Matt’s Take
These are my personal thoughts and tips based on my own experience in the shop. This section is not written, reviewed, or endorsed by the original creator of this project.
Bent lamination is one of those techniques that looks intimidating but becomes manageable once you understand the basics. The key is working with thin enough strips that they bend without breaking — usually around 1/8″ thick for tight curves like this. When ripping strips, keep them in order so the grain flows naturally around the curve. A good sharp blade on your bandsaw or table saw makes all the difference in getting clean, uniform strips.
The MDF core with cherry veneer approach is smart thinking for stability. Solid wood panels this size would likely move significantly with seasonal changes, but the MDF keeps everything flat while the veneer gives you that beautiful cherry appearance. When working with veneered panels, be extra careful with your router passes — it’s easy to tear out veneer if you’re too aggressive.
That five-sided pillar profile caught my attention. Cutting compound angles like that requires patience and test cuts. Mark everything clearly and double-check your miter saw settings before committing to your final pieces. And when heating acrylic for bending, work slowly and keep it moving — overheated acrylic will bubble or discolor, and there’s no going back from that.