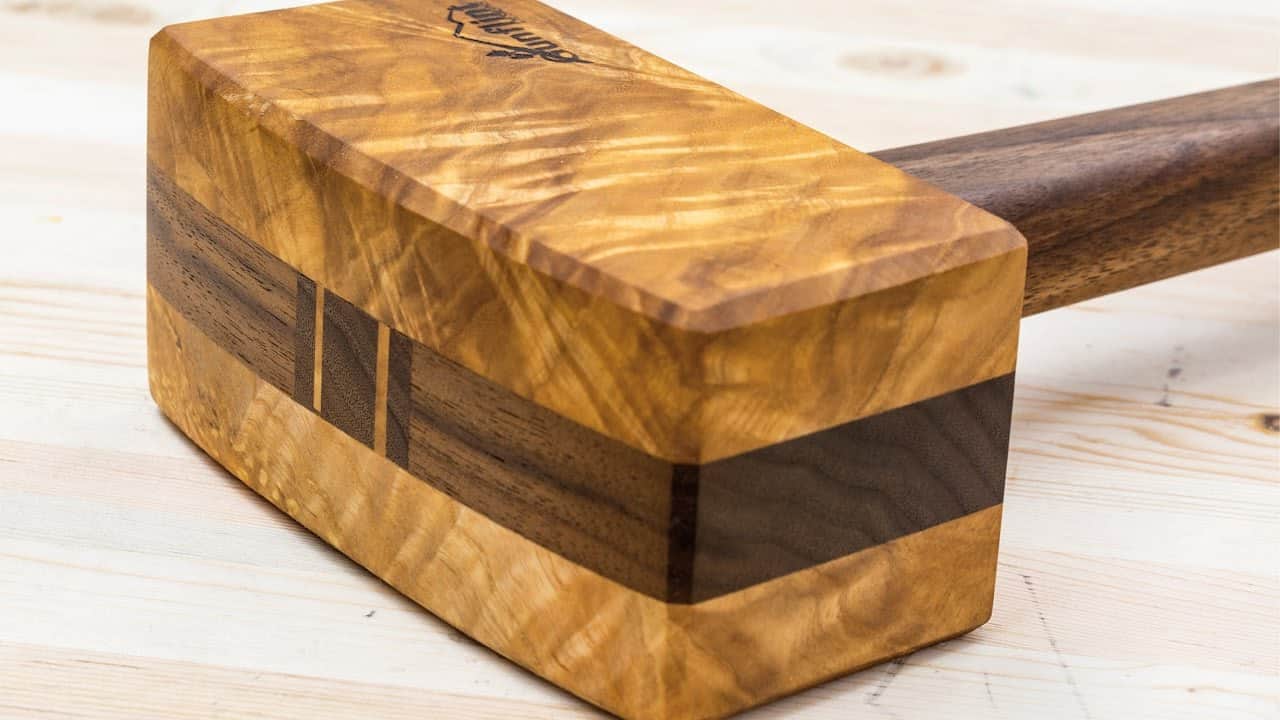
This project was built and designed by Mark from Gunflint Designs. It’s a weighted wooden mallet made from Ash and Black Walnut, designed to offer more impact with less effort during woodworking.
The design is simple, effective, and visually striking. It’s ideal for tasks that require precision and power, like working with chisels or adjusting joinery.
Watch the full video and subscribe to Mark’s channel:
Choosing the Right Materials
Mark starts the project by selecting Ash for the handle, a wood known for its shock-absorbing qualities. For the head, he uses Black Walnut, which adds weight, durability, and contrast.
Together, these woods create a balance of strength and appearance. The Ash keeps the handle resilient, while the Walnut ensures the mallet delivers solid, controlled strikes.
Preparing and Cutting the Wood
Once selected, the wood is flattened and cut to size. This step ensures a tight fit between the handle and head and makes shaping the components easier later on.
Ash boards are trimmed for the handle, while the Black Walnut is dimensioned for the head. A clean and accurate cut here is important to avoid gaps during assembly.
Adding the Extra Weight
One standout feature of this mallet is its weighted core. Mark melts down about 1.5 pounds of lead and pours it into a cavity in the mallet head.
This addition gives the mallet more striking power without increasing effort. It also improves control, especially during repetitive tasks.
Assembling the Mallet
With the parts ready, Mark glues the pieces together. It’s important that the joints are tight to avoid movement or separation over time.
The mallet is clamped securely and allowed to dry fully. This creates a strong, stable bond between all the components.
Shaping the Handle and Head
Once dry, the mallet head and handle are shaped to fit comfortably in the hand. Mark tapers the handle slightly, which helps improve grip and control.
The overall shape is refined using hand tools and sanding equipment. These small details make a big difference in how the tool feels during use.
Smoothing and Finishing
The entire piece is sanded thoroughly to remove any rough edges. Care is taken around corners and curves to avoid sharp spots and splinters.
For the finish, Mark applies a simple oil treatment. This brings out the grain in both the Ash and Walnut while providing a layer of protection.
Final Thoughts
The result is a sleek, durable mallet with extra power built right in. It’s a simple project with a big impact, especially for woodworkers who use hand tools regularly.
Mark designed this tool to be functional, attractive, and easy to use. It’s a great reminder that even small projects can offer big improvements in the shop.
Want to See the Full Build?
You can see all of Mark’s plans here: https://www.gunflintdesigns.com/project-plans.

Matt’s Take
These are my personal thoughts and tips based on my own experience in the shop. This section is not written, reviewed, or endorsed by the original creator of this project.
Mark’s choice of ash for the handle is spot-on — it’s one of the best woods for tool handles because of how it flexes and absorbs shock. That flexibility really saves your wrist and elbow during extended use. Black walnut for the head is smart too, since it’s dense enough to deliver solid strikes but won’t beat up your chisels like a steel hammer would.
The weighted core is a clever touch that takes this beyond a basic mallet. Lead shot or even steel washers work well for this kind of thing. Just remember to work with proper ventilation if you’re melting lead, and consider alternatives like steel rod or even dense hardwood plugs if you want to avoid lead altogether. The key is getting that weight concentrated in the striking face.
When shaping the handle, take your time with the taper — it makes a huge difference in how the tool feels. A handle that’s too thick gets tiring fast, while one that’s too thin won’t give you good control. Test the grip frequently as you work down the taper. A light oil finish like Mark used is perfect here since it won’t build up and get sticky over time like some heavier finishes can.