

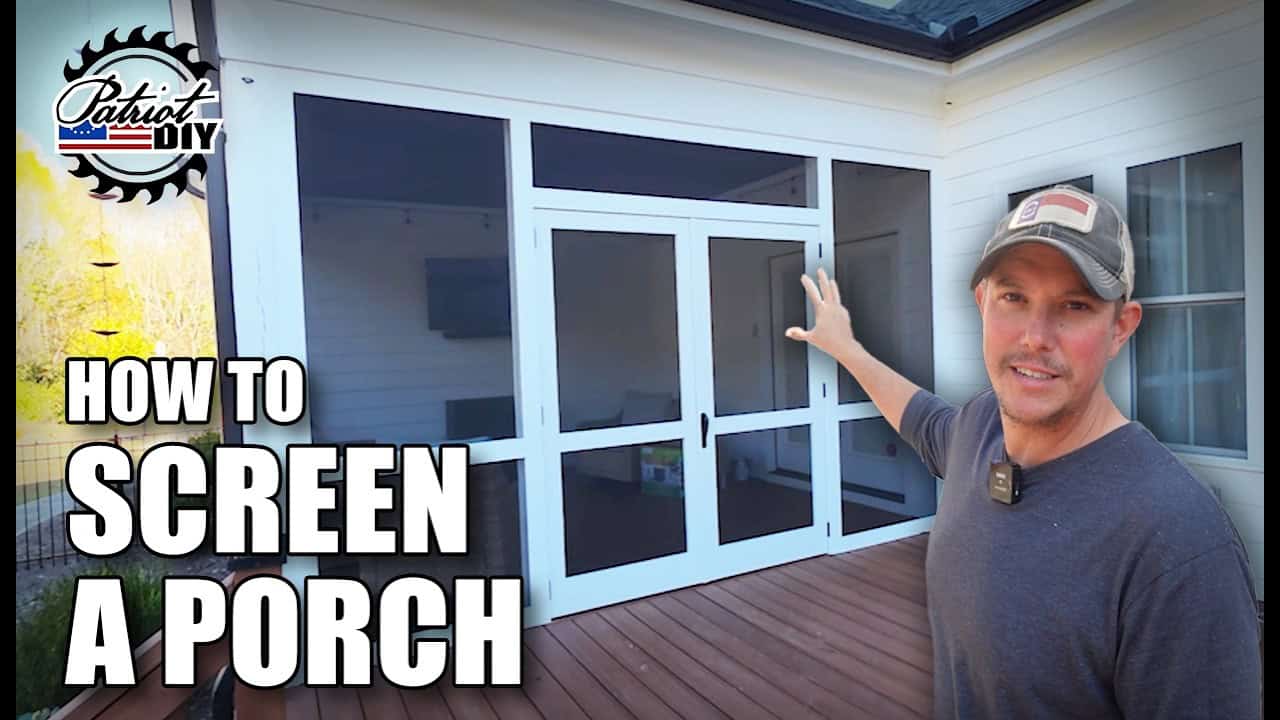
This project was built and designed by Jason from PatriotDIY.
Jason tackled the second half of his deck renovation by framing in and screening a covered porch area, turning it into a bug-free space for relaxing. The project involved reworking the existing railing, building new stud walls for a doorway, stretching and stapling screen material, adding PVC trim for a finished look, and building custom screen doors. The result is a complete transformation of an open covered deck into a functional, insect-free porch.
Watch the full video and subscribe to PatriotDIY:
Reworking the Railing and Framing
Before any screen could go up, Jason had to address the existing railing system. He removed the top rail sections and the spindle-filled portions, opting for a cleaner look that would better suit a screened-in space. He notes that anyone considering a similar change should check local building codes first, since removing structural railing elements can affect code compliance depending on the area.
With the railing reworked, he rebuilt the top rail and vertical posts using a mix of new and salvaged lumber. From there, he attached framing members to the side wall, securing them first with brad nails for placement and then reinforcing with screws. Adding extra width along these framing members gave him enough surface area to attach both the screen and the trim that would come later.
For the front side of the porch, which was going to include double doors, Jason essentially built two small stud walls. He used a chalk line to establish a straight reference point, then built each wall in place with a footer, header, and studs, checking for plumb along the way. A header made from doubled-up 2x4s was installed above the door opening, and a mid-level ledge was added for rigidity and a more finished appearance.
Paint Before Screen
Once the framing was complete, Jason primed and painted all the new wood before installing any screen material. Painting first meant he wouldn’t have to worry about overspray or brush marks landing on the screen later, which is a simple trick that saves a lot of cleanup time. He used a high-quality exterior paint suited for the elements.
Installing the Screen
For the screen material itself, Jason chose a heavy-duty option designed to hold up against pets while still maintaining good visibility. Rather than using a track system, he opted to staple the screen directly to the frame using an electric stapler and galvanized exterior-grade staples.
He worked wall by wall, stretching the screen tight and stapling roughly every inch to avoid sagging or rippling. Getting even tension without overstretching to the point of tearing was key to a clean, professional-looking result. Larger sections of the porch required extra hands to hold the screen taut while stapling, and any excess material was trimmed away with a razor knife once each section was secure.
Trimming It Out
To cover the framing and staples, Jason used PVC trim boards with a wood-grain texture that matched the look of the house siding without the risk of rot. Since the boards came pre-finished in white, there was no need for additional painting, and the material is easy to clean over time.
Installation was done using a hidden fastener system that drives screws to a precise depth and conceals them with matching plugs. This approach eliminated visible screw holes and the need for caulking, giving the trim a seamless finished appearance. Working methodically around the entire porch, Jason covered up all of the framing and screen staples for a clean final look.
Building and Installing the Doors
Jason built his own double screen doors for the entry, which he covers in more detail in a separate dedicated video. For this project, he focused on getting the doors properly hung, using a spacer to maintain consistent clearance at the floor and attaching pre-mounted hinges to the frame.
Since the opening called for one stationary door and one operating door, he added pins to secure the stationary side in place. Finishing touches included three types of weather stripping: a foam-lined stop around the perimeter, a custom-built astragal piece to seal the gap between the two doors, and a brush sweep at the bottom to block bugs from sneaking in underneath.
With the hardware installed, the screened porch was complete and ready to use. The combination of careful framing, a tight screen job, durable trim, and custom doors came together into a space that looks finished and functions well for keeping bugs at bay.
A Worthwhile Upgrade
This project rounds out a larger deck transformation that started with staining and finished with a fully enclosed, screened-in porch. The techniques Jason used, from reworking railings to installing PVC trim with hidden fasteners, can be adapted to a variety of deck and porch enclosures. For anyone looking to reclaim outdoor space without the hassle of bugs, this approach offers a practical and attractive solution.
See Jason’s plans here: https://www.etsy.com/shop/PatriotDIY

Matt’s Take
These are my personal thoughts and tips based on my own experience in the shop. This section is not written, reviewed, or endorsed by the original creator of this project.
Checking local codes before pulling off railing sections is a good call, and it’s worth doing that research early since requirements for guard rail height and spacing can vary a lot between municipalities. It’s one of those things that’s much easier to plan for upfront than to deal with after the framing is already in place.
Painting before the screen goes in is a smart sequencing choice. Once screen material is stretched and stapled, it’s nearly impossible to touch up trim or framing behind it without making a mess, so getting a full coat of exterior paint down first saves a lot of headaches. If you’re working with pressure-treated lumber for any of the framing, just make sure it’s dried out enough to accept paint properly, otherwise you risk peeling down the road.
Stapling screen by hand takes patience, and that tip about having extra hands on the larger sections is a good one. Even tension is everything here. Too loose and you get sagging that collects debris and looks sloppy, too tight and the screen can tear away from the staples over time, especially with pets or kids leaning on it. A galvanized or stainless staple is worth the extra cost since regular staples will rust and bleed through paint or trim.
Hidden fastener systems for PVC trim are worth considering on any exterior project where you want a clean look without constant caulk maintenance. PVC doesn’t rot, but it does expand and contract with temperature swings, so leaving tiny gaps at the ends per the manufacturer’s instructions will save you from buckling later. Small details like that go a long way toward a finished product that holds up for years.