

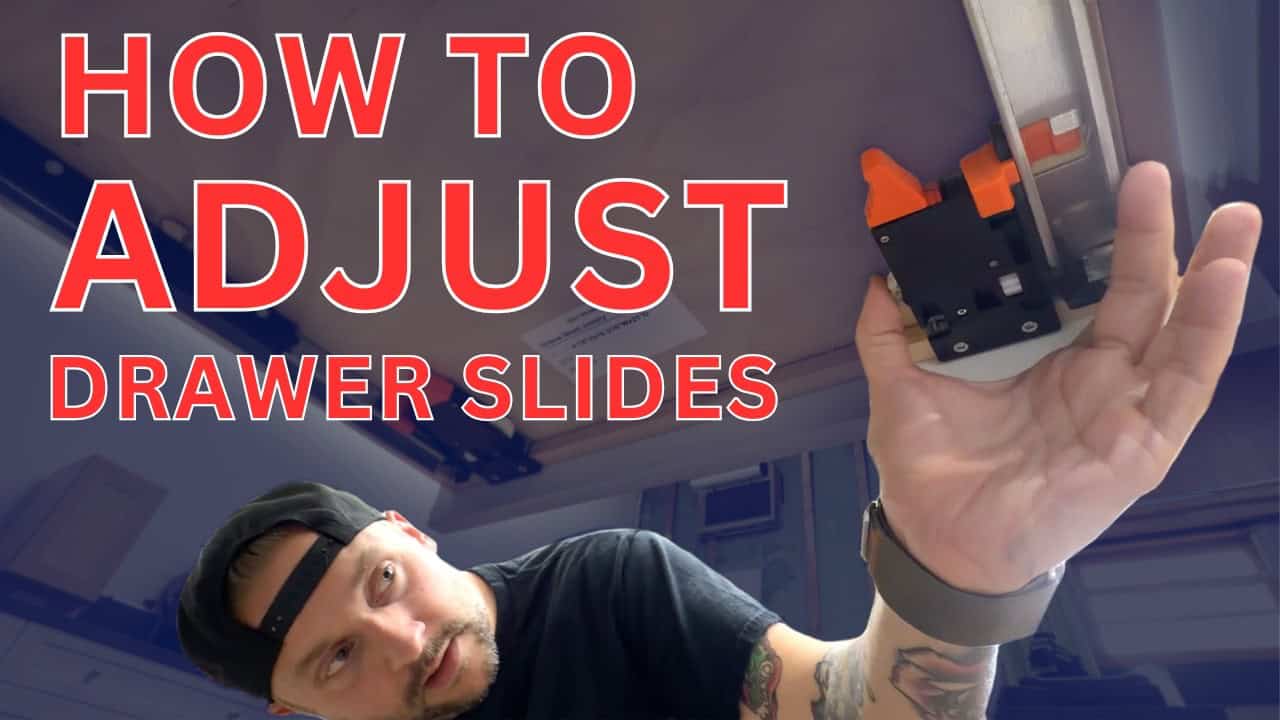
Jeff and Jon from TodaysCraftsmen shared the woodworking tip featured in this video.
Whether someone is a beginner cabinet maker or a homeowner dealing with a newly installed kitchen, understanding how to adjust undermount drawer slides is a valuable skill. Jeff and Jon break down the process in a way that makes it approachable for anyone working with a drawer that looks slightly off after installation.
Watch the full video and subscribe to TodaysCraftsmen:

Understanding the Hardware
Jeff starts by walking through the anatomy of a typical undermount drawer slide, using a common European-style slide as an example. He notes that while different brands and models have their own quirks, the overall structure and adjustment logic stays fairly consistent across the industry.
Every slide comes with a locking mechanism, sometimes referred to as a clip, that holds the drawer box in place. This clip is where most of the adjustment happens, giving installers the ability to fine-tune how the drawer front sits relative to the surrounding cabinet doors.
Jon points out that these systems typically offer three types of movement: front-to-back, side-to-side, and up-and-down. Some slides also include a tilt adjustment, though Jeff mentions this feature isn’t always necessary and is often skipped in favor of the more commonly used adjustments.
The Three Key Adjustments
The front-to-back adjustment controls how far the drawer front moves in and out, which is useful for aligning it flush with adjacent doors. This is usually one of the simpler tweaks to make and doesn’t require much explanation once someone sees it in action.
Side-to-side adjustment shifts the entire drawer assembly left or right, which helps correct uneven gaps along either edge of the drawer front. Jeff demonstrates that this is done through a small moving piece within the clip mechanism.
The up-and-down adjustment is handled directly on the slide itself, often using a wedge-like piece that raises or lowers the drawer front. This is particularly helpful when one side of a drawer front sits higher than the other, creating an uneven appearance across a bank of drawers.
Demonstrating a Real Fix
To show how practical these adjustments are, Jeff intentionally throws a drawer front out of alignment, creating uneven gaps and a noticeably crooked appearance. This gives a clear before-and-after comparison for viewers trying to visualize the process on their own drawers.
From there, Jon works through each adjustment step by step, starting with leveling the drawer front using the up-and-down wedge on each slide. He notes that sometimes the drawer needs slightly less tension to make these movements easier, a small tip that can save frustration during the process.
Once the drawer front is level, attention shifts to making sure the surface sits flush with the surrounding cabinetry. This is handled through the side-to-side adjustment, which pulls the drawer assembly closer or further from the face frame as needed.
Finally, a small side-to-side tweak evens out the gap along one edge, bringing the drawer front into a clean, consistent reveal that matches the rest of the kitchen. Jeff emphasizes how quickly this entire correction comes together once the adjustment points are understood.
Why This Skill Matters
This type of adjustment becomes especially important after a kitchen is loaded with heavier items, since added weight can shift a drawer’s alignment even after a cabinet maker has dialed everything in during installation. Knowing how to correct this without calling in a professional can save time and hassle for homeowners.
Jeff and Jon reassure viewers that this adjustment system is nearly universal among European undermount drawer slides, meaning the same logic applies across most brands and styles. Once someone understands the three basic movements, adjusting a misaligned drawer front becomes a quick fix rather than a stressful troubleshooting session.
This kind of practical, hands-on tip highlights how small adjustments can make a big difference in the finished look of a kitchen. It’s a reminder that even after installation, cabinetry can be fine-tuned to achieve a polished, professional result.
See Jon and Jeff’s plans here: https://todayscraftsmen.com/collections/frontpage

Matt’s Take
These are my personal thoughts and tips based on my own experience in the shop. This section is not written, reviewed, or endorsed by the original creator of this project.
Undermount slides are one of those things that seem intimidating until you actually get your hands on a set and start turning the adjustment points. Jeff and Jon are right that the logic is nearly universal across brands, so once you’ve adjusted one European-style slide, you can walk up to almost any kitchen and figure out the rest pretty quickly. I’d add that it’s worth taking a photo of the drawer front before you start making changes, especially if multiple drawers are out of alignment. It’s easy to lose track of what “level” looked like after you’ve loosened a few clips.
One thing worth mentioning for anyone tackling this for the first time: work slowly and adjust one drawer at a time rather than loosening several at once. Drawer fronts can shift more than expected when the tension is backed off, and it’s easier to keep your reference points straight if you’re only dealing with one variable at a time.
On the material side, it’s worth noting that heavier drawer boxes — like ones loaded with cast iron pans or a stack of dishes — will naturally sag or shift over time even with a solid installation. That’s just physics working on the hardware, not a sign anything was done wrong. Checking drawer alignment once a year, especially in a kitchen with heavy daily use, is a good habit to build.
Finally, a small safety note: if you’re working underneath a drawer box to reach the slide mechanism, support the drawer front so it doesn’t drop unexpectedly once the clip releases. It’s a minor thing, but it can save a pinched finger.