

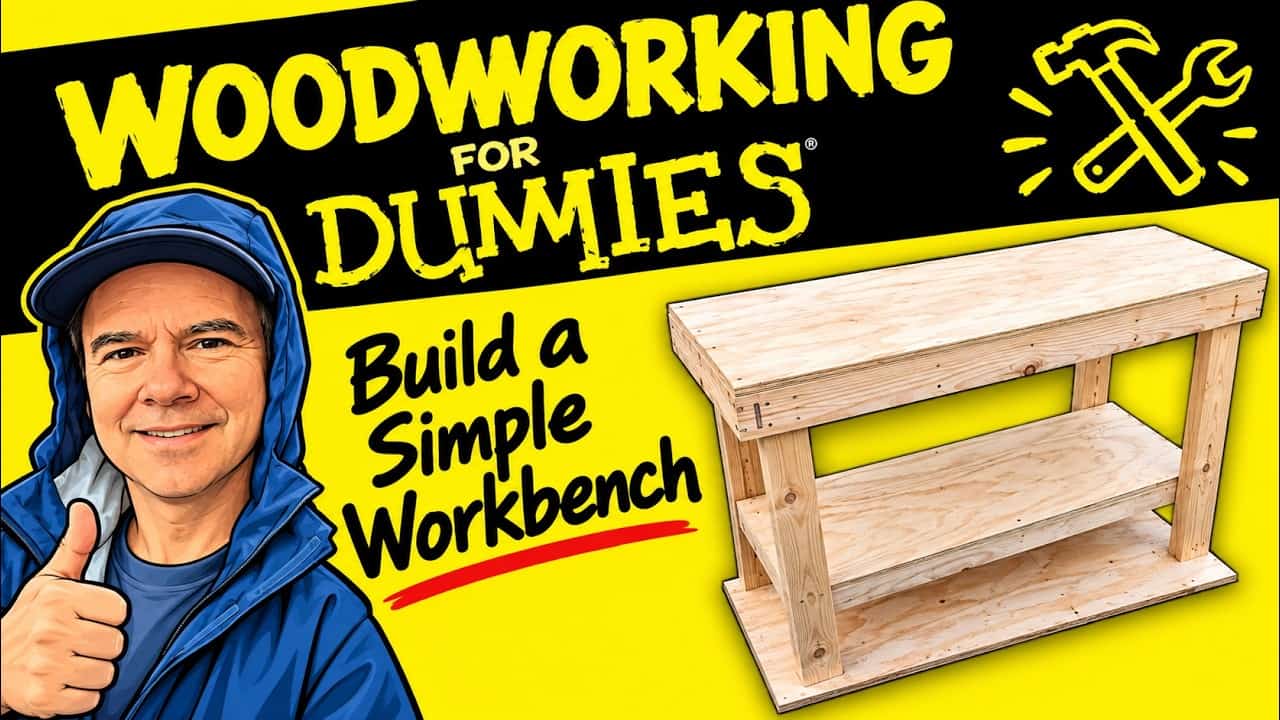
This project was built and designed by Tom from Alley Picked.
Tom set out to build a batch of simple, budget-friendly workbenches using nothing more than plywood and construction lumber from a home improvement store. Rather than handing out a set of plans, he encourages viewers to sketch their own bench to fit their own space, tools, and storage needs, treating the build as a lesson in basic design and problem solving rather than a paint-by-numbers project.
Watch the full video and subscribe to Alley Picked:


Planning Instead of Copying Plans
Tom’s philosophy for this build was simple: grab a pencil and paper, measure your available space, and design a bench that actually fits your shop rather than downloading someone else’s dimensions. He argues that mistakes are part of the learning process, and since the materials involved are inexpensive, there’s little risk in experimenting.
He worked out the material needs for four matching benches ahead of time, keeping the total lumber cost low per bench. That approach made the project approachable for someone just starting out in woodworking, and he even brought in his grandson to help with the build, turning it into a teaching opportunity as well as a shop upgrade.
Breaking Down the Plywood and Framing Lumber
The build started with breaking down full sheets of plywood into smaller sections that would become the bench tops. Each top was sized to a consistent, manageable footprint so the benches could be repeated easily.
For the framing lumber, Tom cut all of his boards to length using a improvised stop block clamped to an old cast iron sewing machine base sitting in his yard, which let him repeat the same cut lengths quickly and consistently. Building one complete bench first allowed him to confirm the design worked before mass-producing the rest.
Assembling the Frames and Attaching the Tops
Each bench frame was built as a simple rectangle sized to support the plywood top, with shorter cross pieces spaced evenly between the long rails. Tom used trim head screws for assembly, noting that a star-drive head resists stripping much better than a Phillips head under repeated driving.
He also took a moment to explain the difference between a standard drill and an impact driver, since both tools look and sound similar but serve different purposes. A regular drill uses a keyless chuck suited for drill bits and light fastening, while an impact driver uses a quick-change hex chuck designed to handle larger screws with far more driving power, making it the better tool for structural fasteners like the ones used on this bench.
With the frame built, Tom attached it to the top from the underside so the screws would be hidden once the bench was flipped upright. He used angled pilot holes to keep the screws from punching through the visible top surface, a small detail that gives the finished bench a cleaner look.
Adding Legs and a Lower Shelf
Legs were installed one at a time while the top was still upside down, using a framing square to keep each leg perfectly vertical before locking it in with additional screws. Tom kept his benches at a comfortable working height, but stresses that this measurement should be adjusted to suit the builder’s own height to avoid unnecessary bending or strain over long shop sessions.
A lower shelf was added a set distance up from the floor, using a second plywood sheet cut down from its original width to fit the frame. Leftover strips from the shelf cuts were repurposed into a smaller shelf for extra storage, so very little material went to waste.
Finishing Details That Add Function
Before calling the tops finished, Tom routed the edges to create a rounded profile, which both looks better and prevents splinters when hands slide across the surface. He also installed short sections of electrical conduit under the bench to hold spools of wire, tape, and other rolled materials, a simple but effective built-in storage solution.
For protection and a more finished appearance, Tom applied a light stain before sealing the benches with a couple of coats of polyurethane, reasoning that a stained and sealed surface looks far more intentional than bare plywood. Since these benches were built to handle years of heavy shop use, the extra finishing step was worth the added time and cost.
Why Building Your Own Bench Pays Off
By the end of the video, Tom had four nearly identical workbenches, each customized slightly for its intended spot in the shop. The real value of the project isn’t just the benches themselves, but the process of designing storage and layout choices around personal workflow rather than a generic template.
For anyone starting out, this build offers a low-risk way to practice measuring, cutting, and basic joinery while ending up with genuinely useful shop furniture. It’s a good reminder that a simple, well-planned project can teach just as much as a complicated one.
Watch the full video and subscribe to Alley Picked:

Matt’s Take
These are my personal thoughts and tips based on my own experience in the shop. This section is not written, reviewed, or endorsed by the original creator of this project.
I like Tom’s approach here, designing your own bench instead of chasing a set of plans is honestly one of the best ways to learn how to think through a project. Sketching it out on paper forces you to consider your own height, your storage needs, and how much space you actually have, which is something a downloaded plan can never account for. Plywood and construction lumber are also a smart choice for a first bench build since the cost of a mistake is low and you can always upgrade materials later once you know what you actually want out of the piece.
The point about trim head screws is worth repeating for anyone newer to building. Star-drive (often called Torx) bits really do resist camming out compared to Phillips, especially when you’re driving a lot of fasteners back to back. And the drill versus impact driver breakdown is a great one for beginners, a lot of people don’t realize how much torque an impact driver adds until they try driving long screws with a standard drill and feel it bog down or strip out.
One safety note worth keeping in mind any time you’re breaking down full plywood sheets: make sure the sheet is fully supported before cutting, whether that’s on sawhorses, a foam board setup, or a proper cutting table. Plywood can pinch a blade or sag unpredictably if it’s not supported well, which is an easy thing to overlook when you’re moving quickly through repeat cuts.
Finally, adding conduit for wire and tape storage is a small touch, but it’s the kind of built-in detail that makes a shop-built bench feel more thought out than something you’d buy off a shelf. Little storage solutions like that add up over time.