

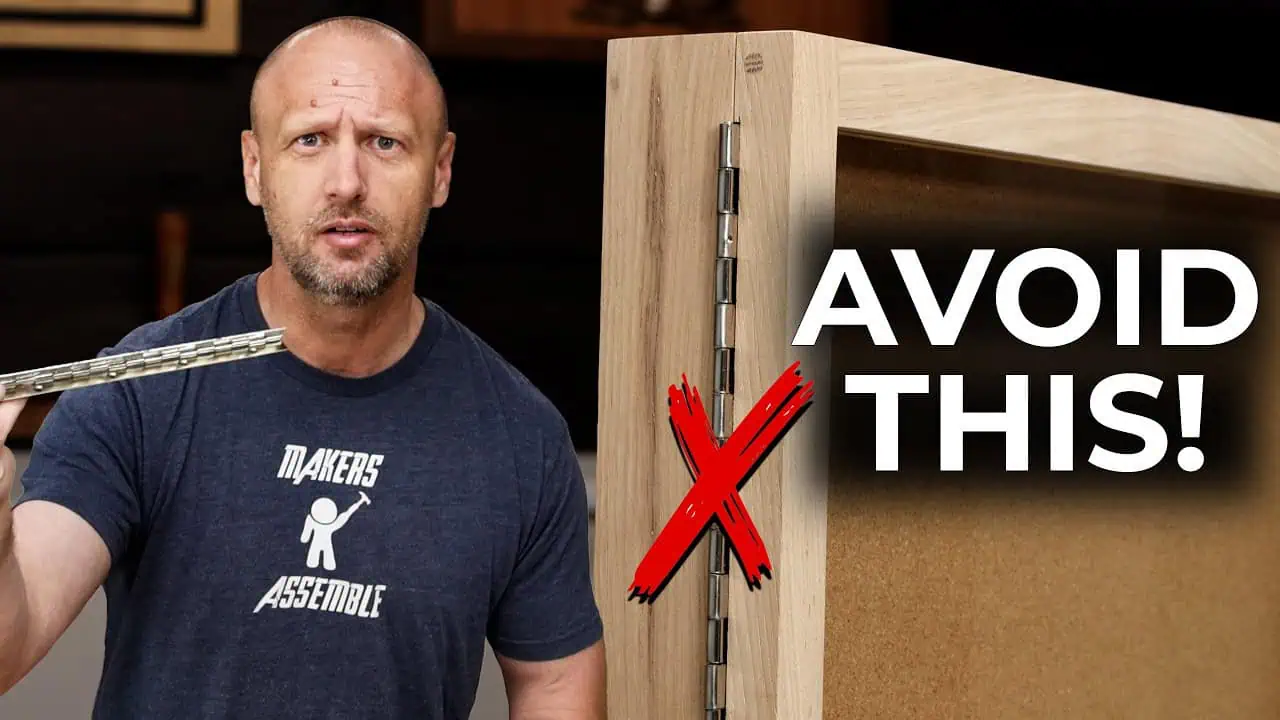
Billy from Newton Makes shared the woodworking tip featured in this video.
Piano hinges, also known as continuous hinges, are one of the simplest hinge options available, yet they’re often installed incorrectly. Billy breaks down why these hinges are so useful, the common mistake many woodworkers make when installing them, and a better method that results in a flush, properly aligned door every time.
Watch the full video and subscribe to Newton Makes:


Why Continuous Hinges Are Worth Using
Unlike traditional hinges that only support a door at two isolated points, a continuous hinge spreads the weight evenly along its entire length. This makes them more durable over time, especially on larger or heavier doors. They also tend to come loaded with plenty of screw holes, which adds even more strength to the connection.
One of the biggest advantages is flexibility in sizing. These hinges are typically sold much longer than needed, and cutting them down to the exact length required means woodworkers are never stuck choosing between a hinge that’s too short or one that looks oversized. Billy prefers to run his hinges as long as possible on a project, cutting at the nearest joint closest to his desired length using a cut-off saw or a rotary tool.
The Common Mistake With Surface-Mounted Hinges
The simplest way to install a piano hinge is to lay it directly on the surface and screw it down. While that technically works, it creates a gap between the door and the cabinet equal to the thickness of the hinge itself.
That gap causes the door to sit unevenly when closed, leaving an uneven reveal along the opening. On cabinets with two doors that meet in the middle, this problem can cause the doors to pinch against each other instead of closing cleanly. It also leaves a gap where dust and debris can sneak into the cabinet, which is a real concern for shop storage like router bit or drill bit organizers.
Mortising for a Flush Fit
Instead of settling for that gap, Billy mortises the hinge into both the cabinet and the door. It sounds more involved, but the process is quick once a simple jig is built, and it also makes it much easier to keep the hinge aligned so the door doesn’t end up crooked.
The jig itself is just three boards screwed together into a U-shape, sized to match the length of the hinge. MDF works well because it’s flat and consistent in thickness, and pocket screws or dowels can be used to join the pieces. The inside of the U needs to snugly fit the hinge so it doesn’t shift during routing.
Routing the Mortise
With the jig built, a palm router fitted with a pattern bit does the actual cutting. The bearing on the bit rides along the inside of the jig, and swapping in a larger acrylic base plate helps keep the router stable and prevents tipping.
The depth of the cut is set to half the thickness of the hinge, and a line is marked using the center of the hinge barrel as a reference. Billy takes a conservative approach, starting a bit high and gradually lowering the bit until the cut lines up perfectly rather than risking cutting too deep on the first pass.
To mount the jig for routing, Billy flips the hinge over and butts the barrel against the outside edge of the cabinet before placing the jig alongside it. Double-sided tape holds everything secure if the jig isn’t wide enough to clamp, which was the case since he used scrap material for his version.
Finishing the Mortise and Mounting the Hinge
Since the router bit’s bearing is round, it leaves rounded corners in the mortise that don’t quite match the square ends of the hinge. A few seconds with a chisel is enough to square those corners off and let the hinge sit perfectly flush.
The same process is repeated on the door side, lining up the hinge, routing the mortise, and cleaning up the corners with a chisel. Once both mortises are cut, a self-centering drill bit makes quick work of driving the many screws that come with a continuous hinge.
Why This Small Step Makes a Big Difference
Mortising a piano hinge takes a little more effort upfront, but the payoff is a door that sits flush, closes evenly, and keeps dust out of enclosed cabinets. For anyone tired of dealing with crooked doors or uneven gaps, this method offers a straightforward fix that doesn’t require much extra time once the jig is built.
See Billy’s plans here: https://www.newtonmakes.com/shop

Matt’s Take
These are my personal thoughts and tips based on my own experience in the shop. This section is not written, reviewed, or endorsed by the original creator of this project.
Piano hinges don’t get enough credit in most shop conversations, but once you start using them on cabinet doors, drawer lids, or even jigs, it’s hard to go back to individual butt hinges. That continuous strip of support really does make a difference on anything wider than 12 inches or so, where a couple of small hinges would otherwise let the door twist or sag over time.
The mortising approach Billy’s using is the standard for a reason — it’s the same principle behind mortising any hinge flush, just applied to a longer piece of hardware. If you’re building a jig like this for the first time, take the extra few minutes to test fit the hinge in your U-shaped jig before you ever pick up the router. A little slop in that channel means the hinge can creep during the cut, and that translates directly into a sloppy mortise. Snug is the goal, not tight enough that you’re fighting to get the hinge in and out.
One thing worth keeping in mind with pattern bits and bearings is that they’re only as accurate as the base they’re riding against, so a stable, flat base plate really does matter here — especially on a palm router where it’s easy to tip the tool without realizing it. And when it comes to setting depth, sneaking up on it in small increments is always smarter than trying to nail it in one pass. Wood doesn’t grow back, but you can always take another light pass if you’re not quite at final depth.
Lastly, keep those chisels sharp for squaring off the corners. A dull chisel will crush fibers instead of slicing them, leaving a rougher fit than the router already gave you.