

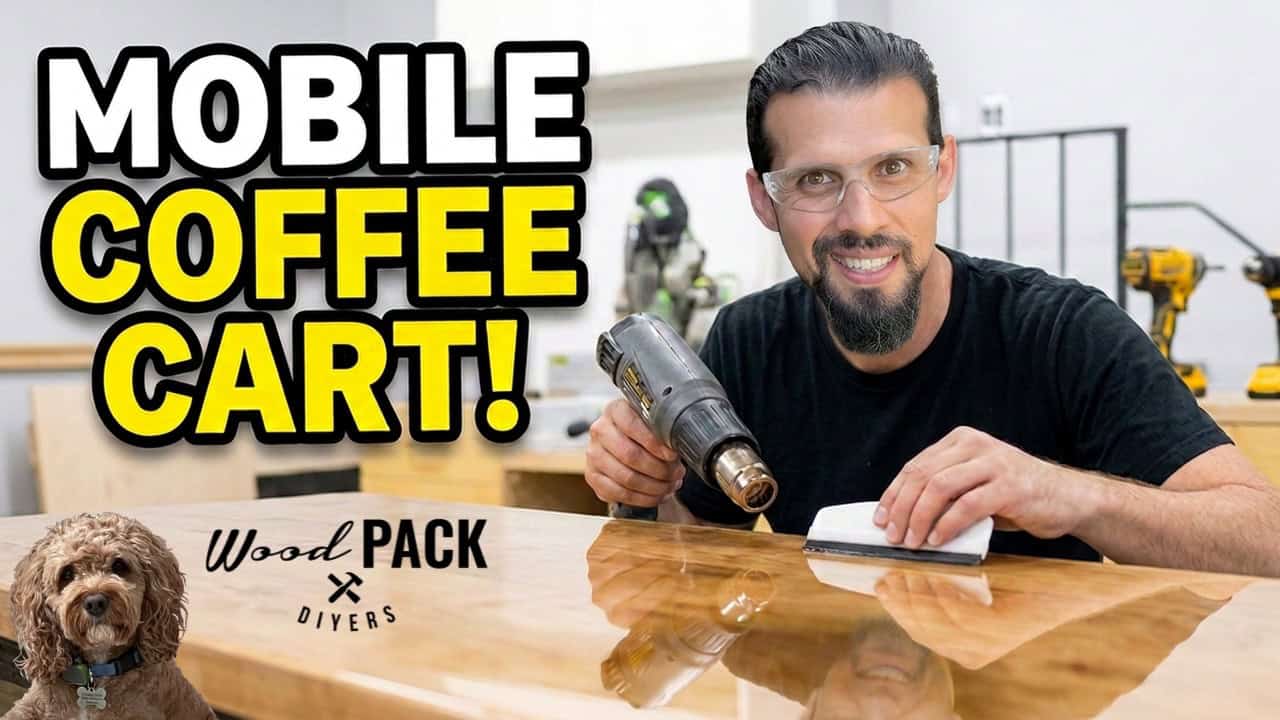
This project was built and designed by Anthony from Wood Pack DIY.
This build came together after a friend asked for help creating a mobile coffee cart for a pop-up shop inside his business. The goal was straightforward: a sturdy cabinet on casters with plenty of storage below and a solid work surface up top that could later accommodate sinks and equipment. Since the owner was still working out exactly what gear he’d need, the plan was built with flexibility in mind from the very start.
Watch the full video and subscribe to Wood Pack DIY:

Designing for a First-Time Woodworker
Since the client was new to woodworking and wanted to be hands-on with the process, Anthony aimed to keep the cabinet’s construction approachable enough that it could be replicated on future projects. That meant skipping a face frame in favor of simple plywood construction with edge banding, which kept costs down while still giving a clean look once finished.
The design evolved a few times before settling on a rustic aesthetic, a shift that ended up shaping much of the build’s later details. Instead of a painted finish showing off the plywood grain, the plan pivoted toward reclaimed-style cedar fencing boards for the front, giving the cart a more worn, farmhouse feel.
Building the Base Cabinet
The cabinet structure started with basic sides and a front, glued and screwed together with the help of dado grooves to lock the bottom panel into place. This approach kept the whole frame rigid without needing more complex joinery.
Inside, the cabinet was divided into three sections to handle water jugs, sink plumbing, and other equipment, with one bay left intentionally larger than the others. The center section received adjustable shelving using a simple shelf-pin jig, giving the owner room to configure storage as his equipment needs become clearer.
Supports were added along the top of each divider to keep everything square and rigid, while also creating solid attachment points for the countertop later. Clamps and glue were used liberally throughout the pocket-hole assembly to prevent any shifting during construction.
Building the Hard Maple Top
For the top, Anthony moved from plywood to hard maple boards, ripped straight with a track saw and cleaned up further as needed. Dominos were used purely for alignment during glue-up rather than structural strength, a method that sped up the process while keeping costs reasonable compared to fully jointed stock.
The glue-up came together in stages, with specialty clamps helping keep the boards flat and tight without bowing under pressure. A follow-up glue-up added a few more boards with slightly different coloration, which actually complemented the rustic theme by adding extra character and variation.
To give the top a beefier appearance without adding excess weight, edge strips were cut, book-matched, and glued back onto the perimeter. This technique creates the illusion of a much thicker slab while keeping material use efficient, a trick Anthony has used successfully on past builds.
Adding the Rustic Cedar Front
To achieve the rustic look the client wanted, cedar fencing boards were planed smooth, stained dark, and nailed to the cabinet front in randomized lengths. Leaving gaps and varying board sizes intentionally created the look of reclaimed lumber pieced together over time.
Rather than aiming for tight, precise seams, the boards were installed with a looser, more organic fit, with stain used to darken any small gaps so the plywood underneath wouldn’t show through. This approach also accounted for natural wood movement in the cedar without risking visible flaws later.
Finishing Touches and Epoxy Top
After rounding over the edges of the maple top and staining it in a lighter tone than the cedar front, the cabinet received a polyurethane finish on the exterior for durability. A small toe kick was added at the base, cleverly designed to conceal the casters while still preserving the built-in look despite the cart’s mobility.
The most nerve-wracking part of the build was the epoxy pour on the countertop, a technique Anthony was trying for the first time. While a few drips and unevenness appeared along the sides, a second coat with a foam brush cleaned things up nicely, resulting in a top that looked professional despite the learning curve.
Oversized screw holes were drilled to attach the top, allowing room for wood movement without compromising the connection between the top and the cabinet base. Casters were installed with a mix of locking and free-swiveling wheels to keep the cart both mobile and stable when needed.
A Practical Build With Room to Grow
This coffee cart shows how a simple cabinet design can be dressed up with creative finishing choices to completely change its character. The rustic cedar front and book-matched maple top prove that thoughtful detailing can elevate an otherwise basic build without adding major complexity.
With the mobile cart now easy to roll into place, the next step will be adding the sinks and equipment once the owner finalizes his setup. It’s a great example of building with flexibility in mind, especially for a project still in its trial phase.
See Anthony’s plans here: https://www.etsy.com/shop/WoodPackDIY

Matt’s Take
These are my personal thoughts and tips based on my own experience in the shop. This section is not written, reviewed, or endorsed by the original creator of this project.
There’s a lot to like about the approach here, especially skipping the face frame for a first-time woodworker. Plywood with edge banding is a great way to get clean results without needing tight miters or complex joinery, and it’s a good stepping stone into cabinet building before tackling face frames down the road.
The book-matched edge strips on that maple top are worth paying attention to if you haven’t tried the technique before. It’s a smart way to get the look of thick, heavy stock without paying for or hauling around 8/4 material through your whole top. Just make sure your glue lines are tight and your grain match is close, since any gap or mismatch will stand out on a light-colored wood like maple.
On the epoxy pour, that’s one of those processes where patience pays off more than skill. Self-leveling epoxy still needs a dead-level surface and a controlled shop temperature to cure evenly, so a cheap torpedo level and a couple of space heaters can save you from a lot of the drips and unevenness that show up on a first attempt. A second flood coat is a completely normal part of the process, not a sign anything went wrong.
One general reminder with reclaimed-style fronts like this cedar: always plane and re-check for old nails or staples before running boards through a jointer or planer. Fencing lumber is notorious for hiding hardware, and it’s a quick way to ruin a blade or hurt yourself if you’re not careful.